Microsoft has provided Power Automate which helps to manage the approval of documents or processes across several services including SharePoint, Dynamics 365, Salesforce, and OneDrive for business. It enables users to automate repetitive tasks and streamline workflows, improving productivity and efficiency. With its seamless integrations, Power Automate connects various platforms, making it easier to manage approvals and keep processes consistent.
In this blog, we’ll explore how to develop approval workflows using Power Automate, incorporating advanced features like email-based approval requests and automated follow-ups. These features can be seamlessly integrated into your existing processes, whether you’re handling document approvals, leave requests, or purchase orders. We’ll guide you through setting up and developing approval flows that send automated notifications, gather responses, and trigger actions based on the approver’s input, ensuring a smooth and efficient approval process.
Let’s look at a scenario where Power Automate helps automate the approval process for purchase invoices. When a new invoice is created, an email is sent to the approver with options to either accept or reject the invoice. Depending on the approver’s response, the workflow updates the “Is Billed” field to “Yes” if the invoice is accepted or “No” if rejected. This automation makes the approval process quicker and keeps everyone informed while ensuring the records are updated correctly.
Prerequisites:
- Power AutomateFlow: Microsoft 365 account with permission to use Power Automate.
- Data sources: Make sure all of your Data sources such as Dynamics 365 CRM, SharePoint are configured and available.
We will take the following steps to fulfill this requirement.
Step 1:
- Navigate to Power Automate and sign in with a Microsoft account.
- Create > Automated cloud flow or Instant cloud flow and name your flow.
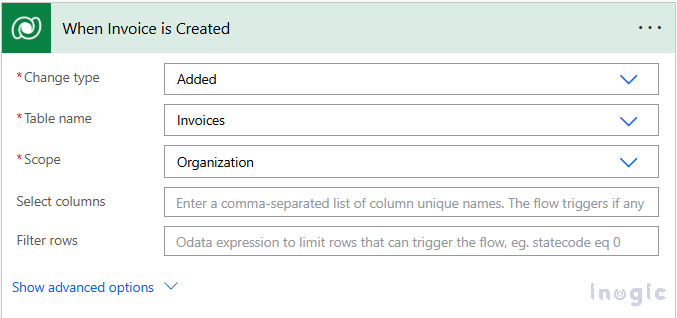
- Select a trigger for your flow, such as “When an item is created” in SharePoint or “When a record is added” in Dynamics 365.
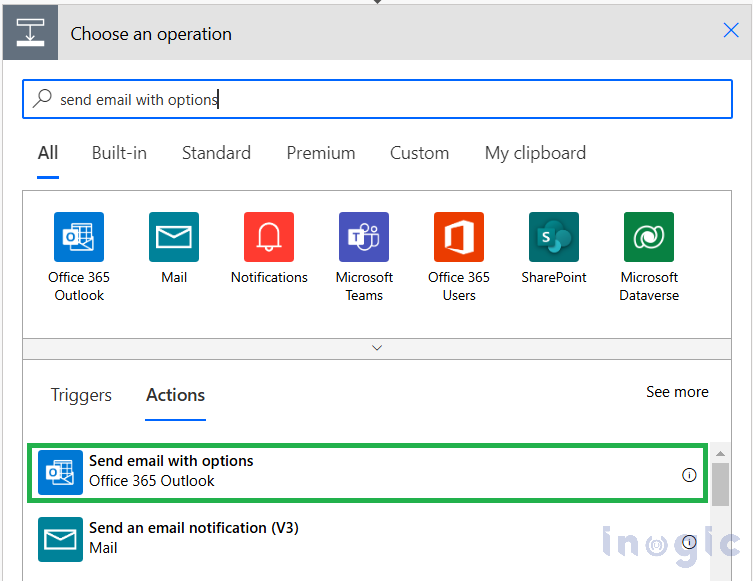
Step 2: Add the ‘Send Email with Options’ Action
- Click New Step and Select Send Email with options action.
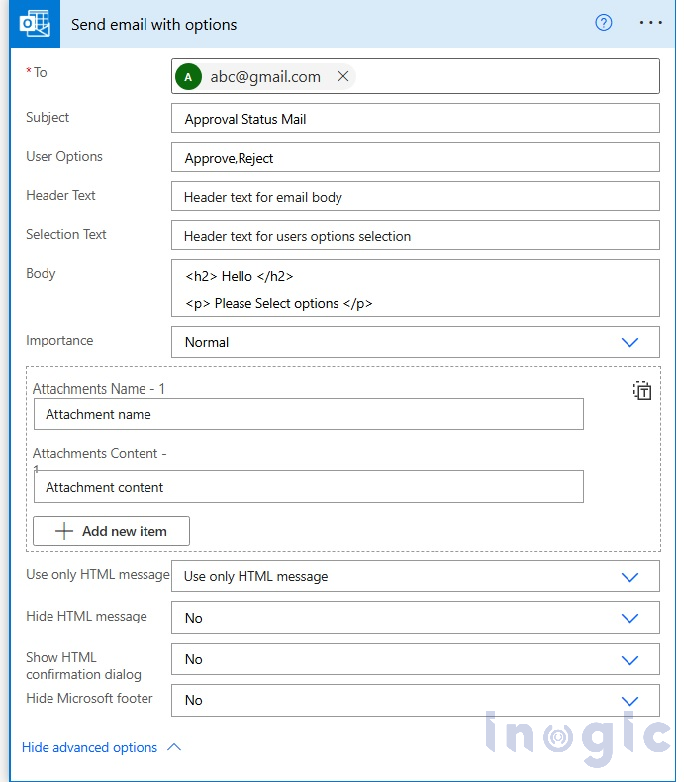
- Configure the Fields
- To: Add the approver’s email address.
- Subject: Specify a clear subject.
- User Options: Define Response Choice E.g. we have used (Approve, Reject).
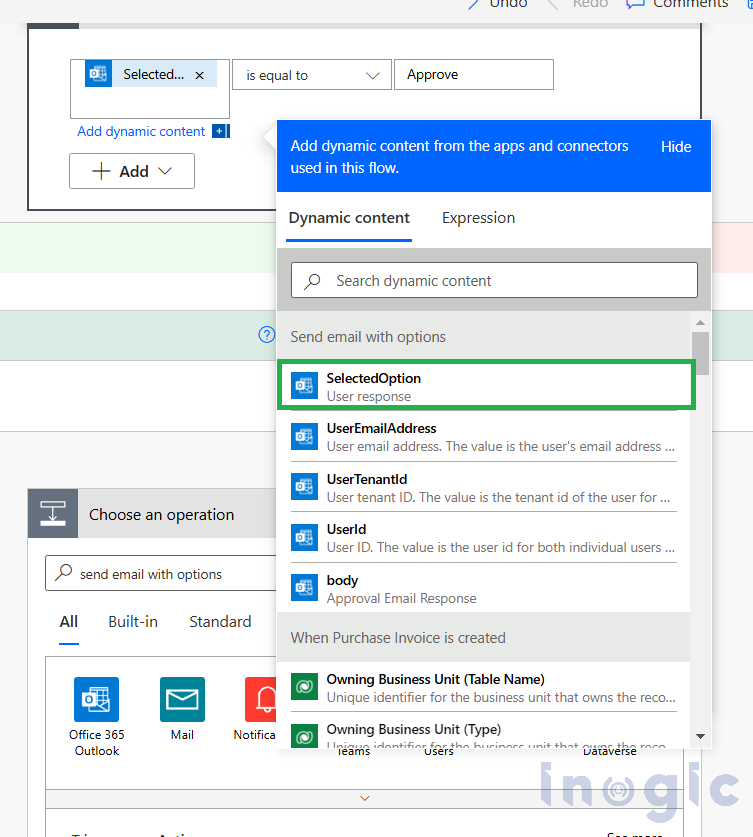
Step 3: Obtain the response and process it once the approver’s response is received.
The response from the Approver i.e user response will be checked and based on the response we can update the Status of Approved field if Response is approved then set it to Yes and Reject then to No.
In our scenario, when an invoice is created, an email will be sent. Based on the response, the IsBilled Field value will be updated to “Yes” if Approved and “No” if Rejected.
Step 4: This will be sent via email, where the approver can view the options as buttons and submit their response.

Conclusion
Using the Power Automate Flow, “Send Email with Options” action, you can create simple yet effective approval workflows. This feature allows approvers to respond directly from their email, making the process seamless and efficient. By following this guide, you can streamline your approval process, save time, and improve organizational efficiency.