Copilot in Microsoft Dynamics 365 helps to streamline the sales process and close deals faster by reducing the time they spend usually on critical tasks. Copilot provides AI assistance to boost the productivity of the business, generative AI capabilities can be utilized for the summarization of records and email content generation. You can find more details about copilot in this Microsoft doc.
In this blog, let’s understand how to configure the copilot quickly and understand the end user authentications. While configuring the copilot there is a setting available that can be selected for the end user authentication.
There are two types of authentication that you can select depending on the business need. Two types of authentication available are:
- User authentication
- Copilot author authentication.
Curiosity led to the discovery of a Microsoft document that outlines the authentication methods and the supported channels, specifically detailing their impact at the end-user level.
Creating a new custom copilot from scratch:
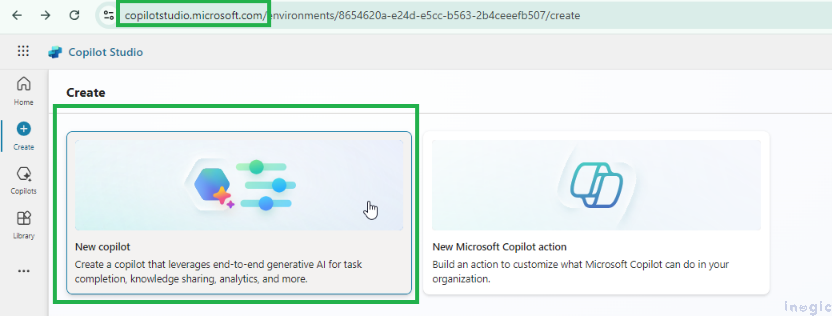
To create a new custom Copilot, navigate to https://copilotstudio.microsoft.com/ and select the “New Copilot” option from the highlighted menu.
The following window will appear. You can proceed by clicking on “Skip to configure” to continue with the setup.

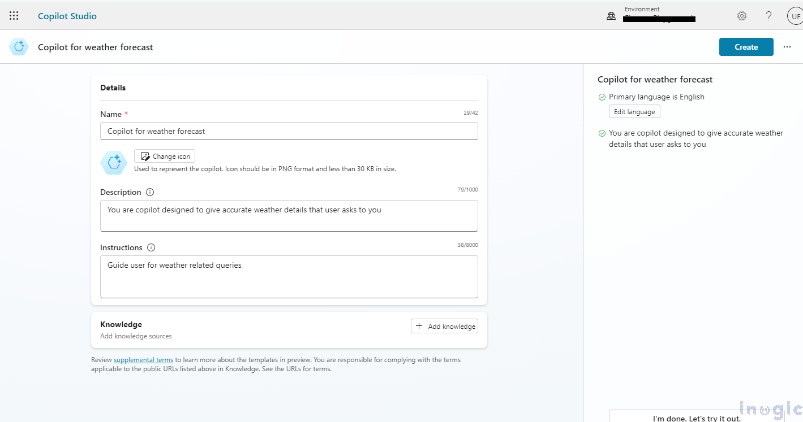
Enter the basic details as follows:
– Name: Provide a relevant name for your custom Copilot.
– Description: Add a brief description outlining the purpose and functionality.
– Instructions: Specify any instructions or guidelines for the Copilot’s operation.
Refer to the example below for guidance.
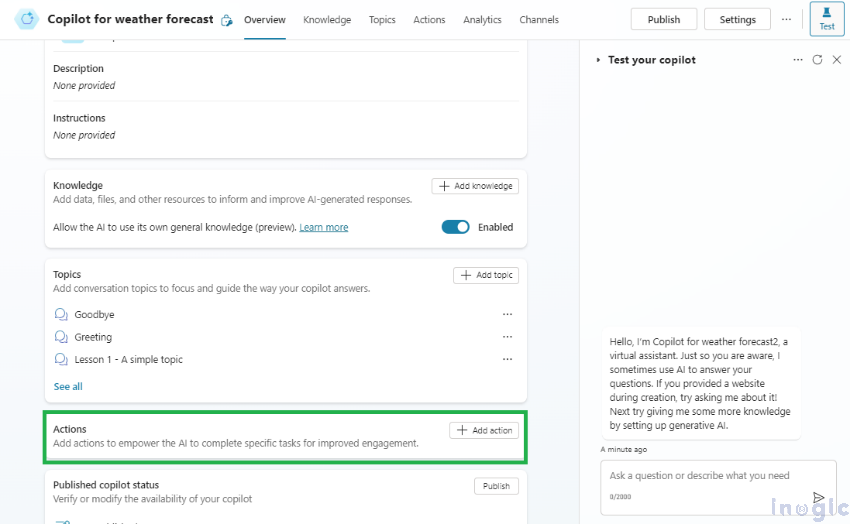
Adding Action to Copilot:
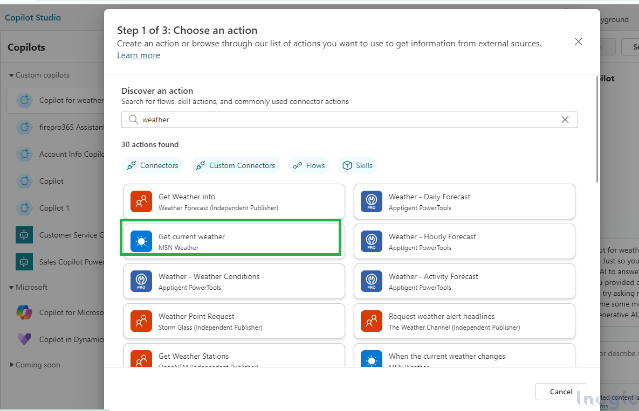
After creating the Copilot, scroll down to the “Actions” section. Use the “Add action” button to select and add predefined actions from the available list.
Now select the “Get current weather” action as shown below:
User Authentication Method:
Upon selecting the action, the Configure Action window appears as shown below. Note that the End User Authentication is set to the default option, “User Authentication.”
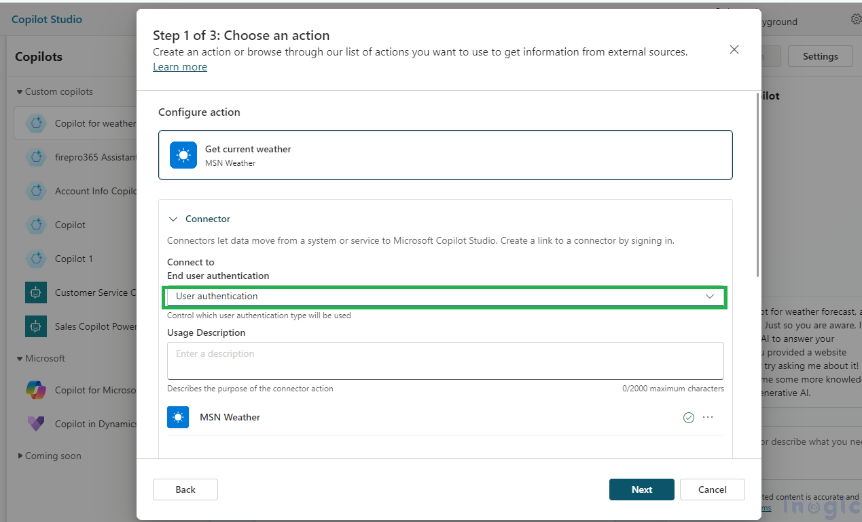
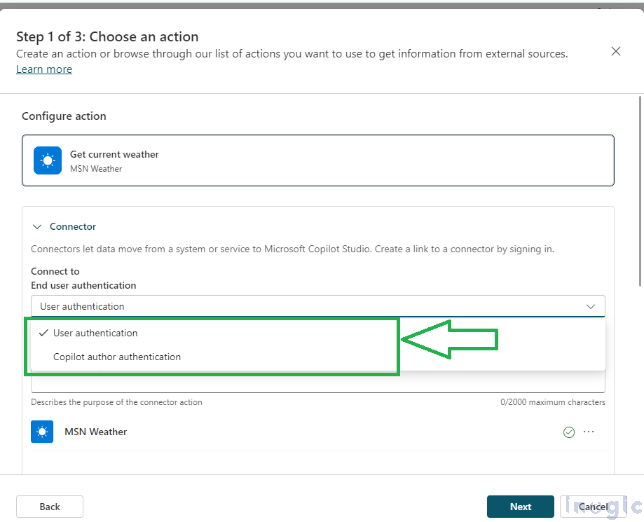
Note: You can change it to “Copilot author authentication” by selecting from drop-down, for now, I am keeping it as “User authentication” only.
Once you click on the “Next” button, the below window will appear where you can edit inputs and outputs for your action (if needed).
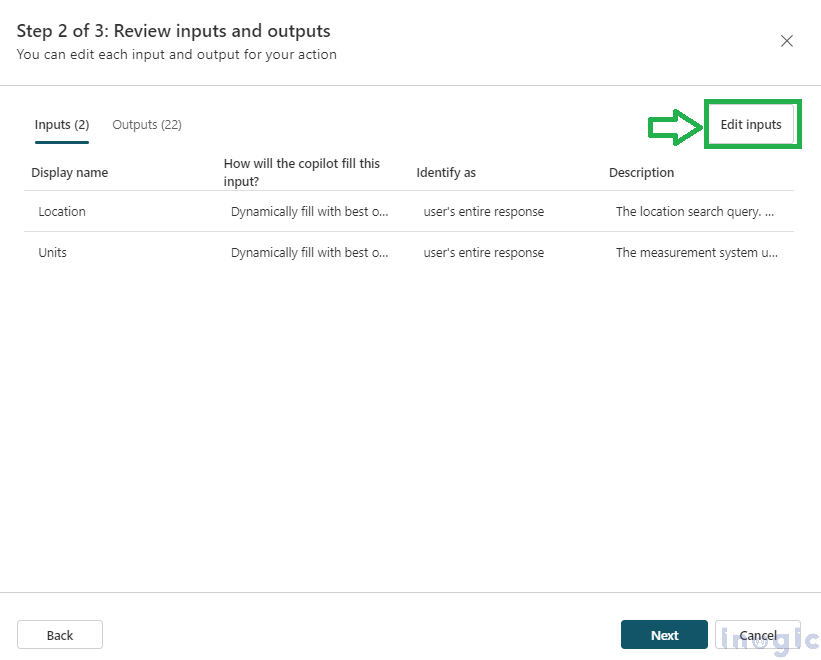
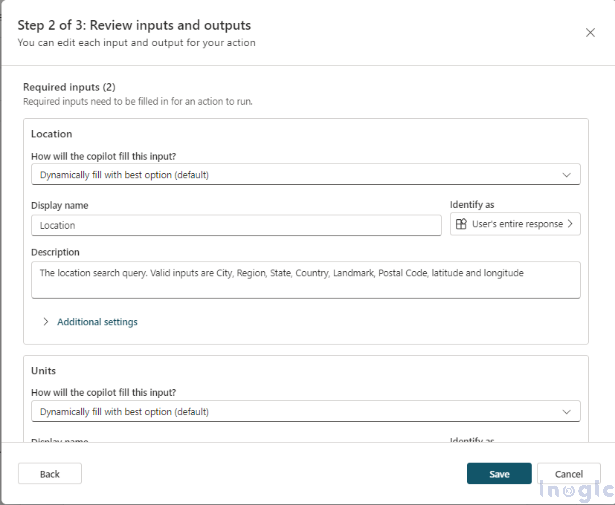
I have left the “Location” input setting unchanged and modified the “Unit” setting for simplicity, as shown below.
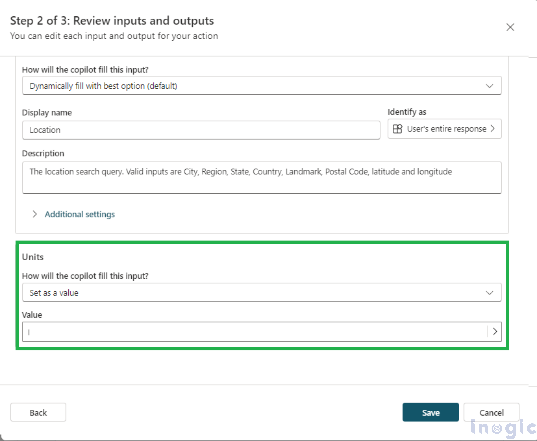
Set the “How will the copilot fill this input?” option to “Set as a value” and assign the default value as “I” for the “Unit” field, as demonstrated above.
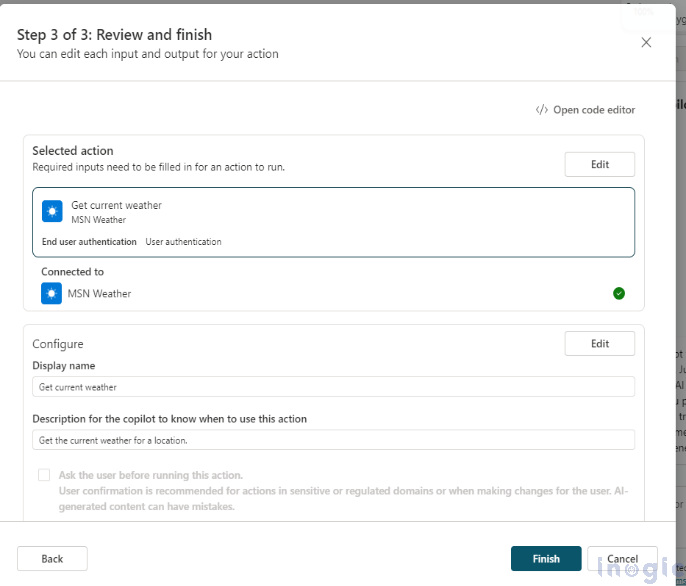
Click Save, then proceed by selecting the “Next” button. The following window will appear—click Finish.
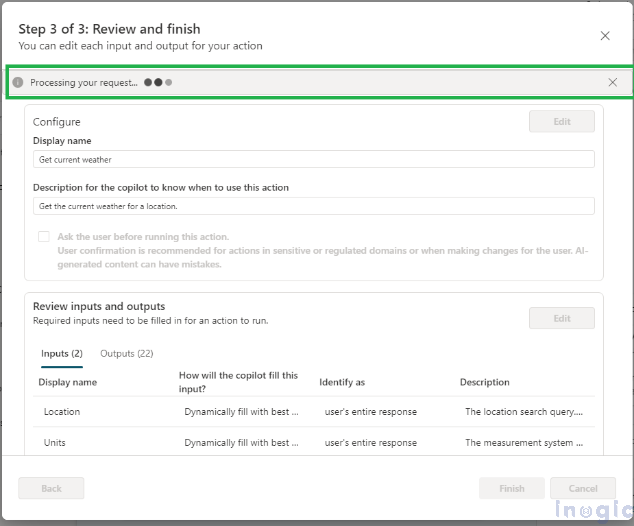
The process will take a few seconds, and you’ll see a “Processing your request” message as shown below.
Once completed, you will see the action being added successfully as shown in the “Overview” tab below
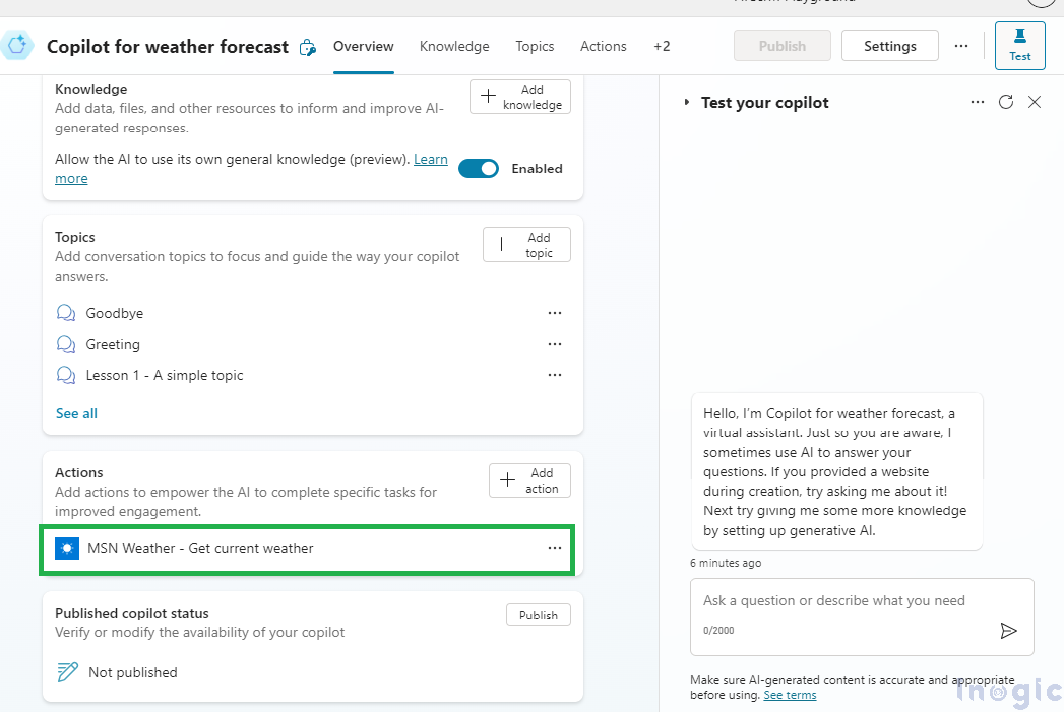
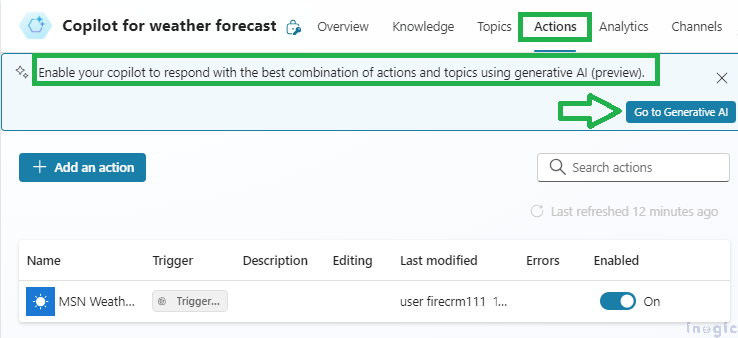
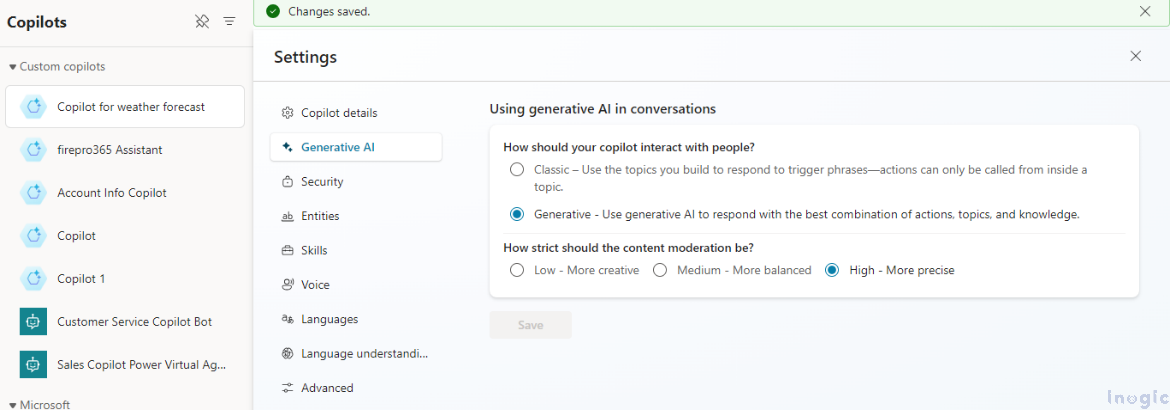
Now enable “Generative AI” for added action, navigate to the “Actions” tab as shown below where you will see the “Go to Generative AI” button, and click on it:
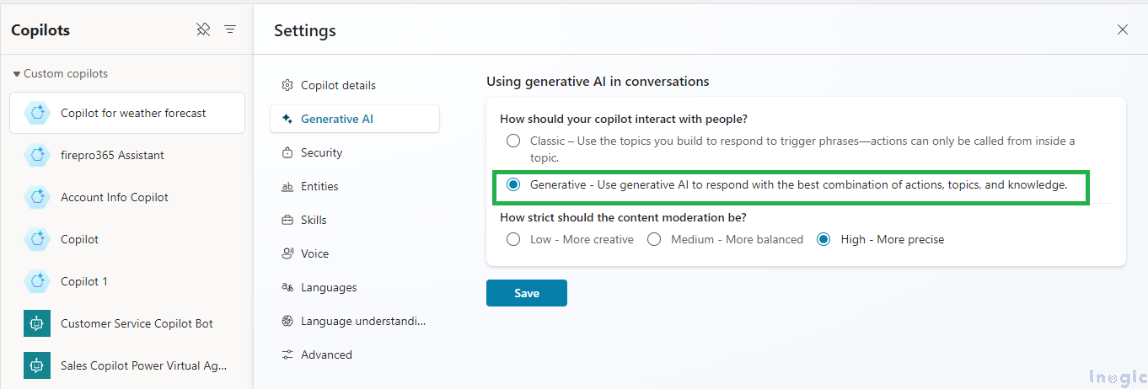
Select the option highlighted below and click the Save button. Please note that the saving process may take a few minutes to complete.
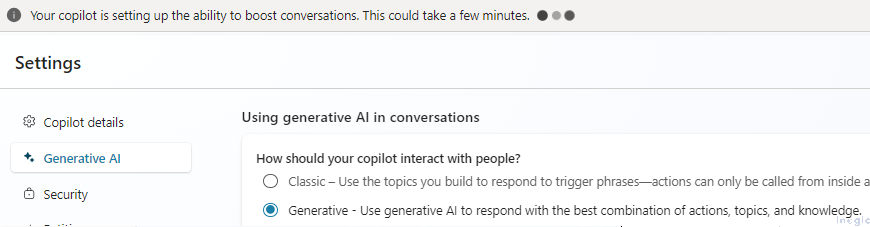
Once saved you will see the below message:
To test the Copilot, click on the “Test” button as highlighted below. You can ask a simple question, such as “What is today’s weather condition?”, as shown in the example.
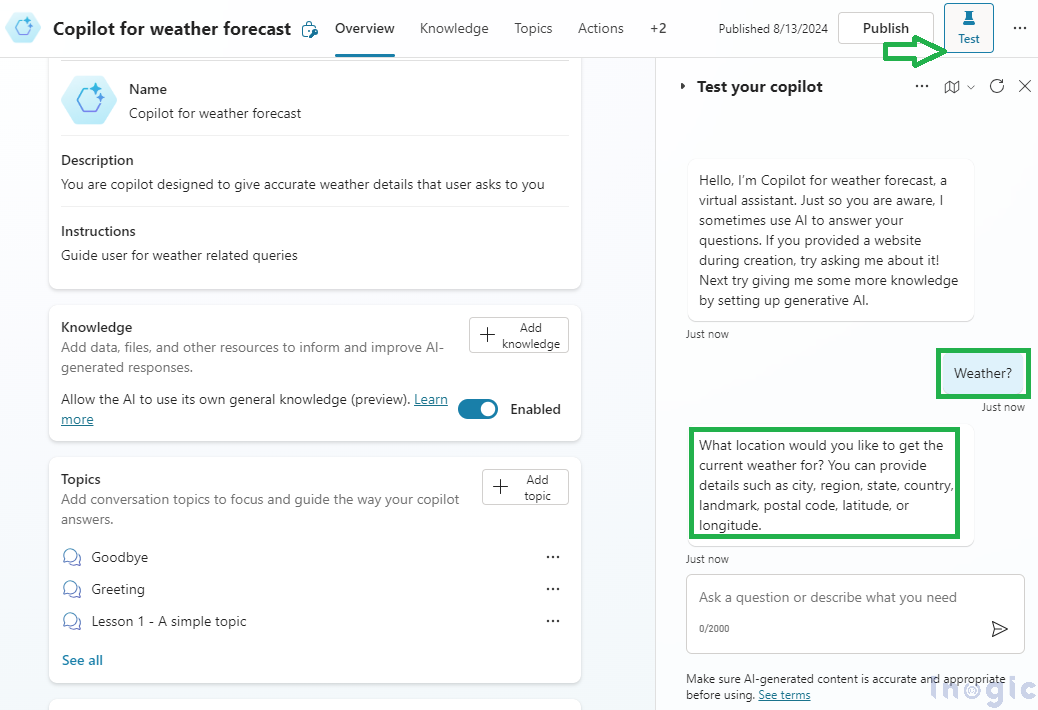
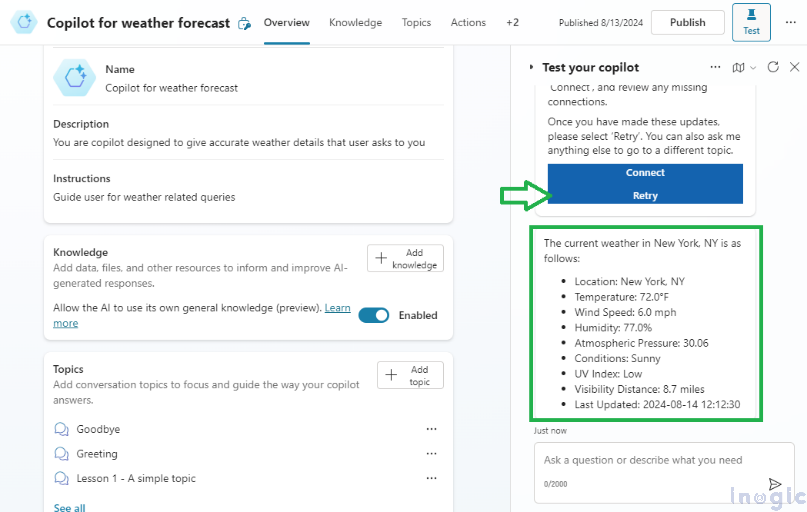
Since the Copilot is requesting specific details such as the “Location”, provide the required Location and verify the output. You will notice that the end user is prompted to establish a valid connection. Users must explicitly connect to an authenticated account by clicking on the “Connect” button, as the “End-user authentication” was previously set to “User authentication”. A pop-up will appear displaying two options: “Connect” and “Retry.”
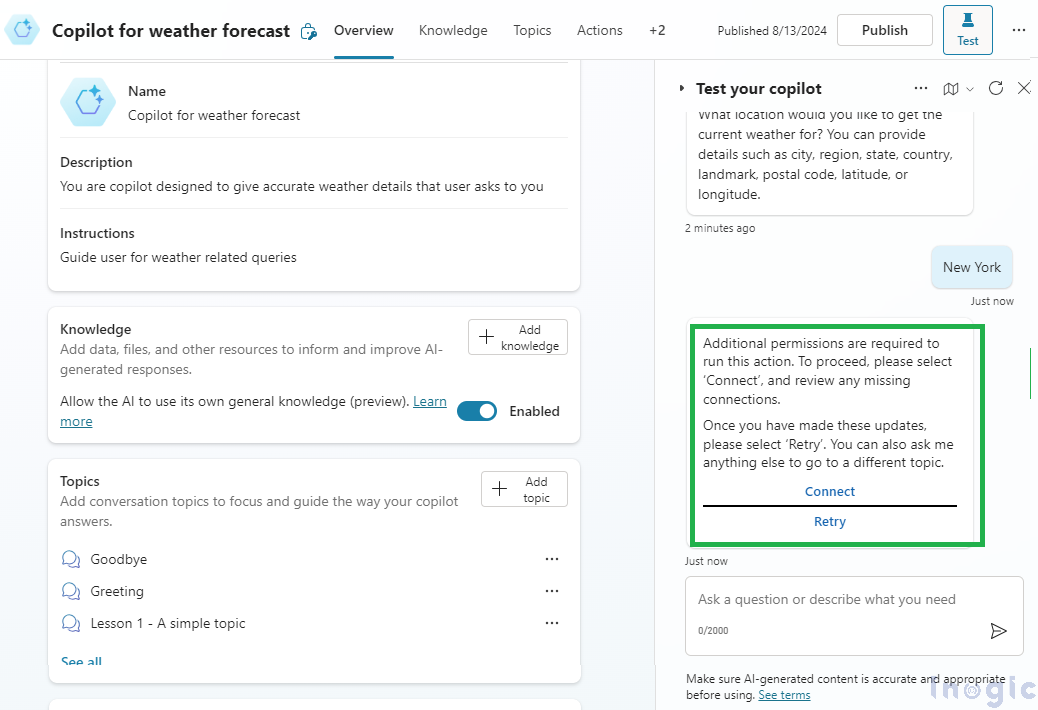
Once click on “Connect” ” you will see that the connection will appear with the status “Not Connected” and additional authentication is required from a user to authenticate this connection. Click on “Connect” as shown:

Pick a valid connection and submit.
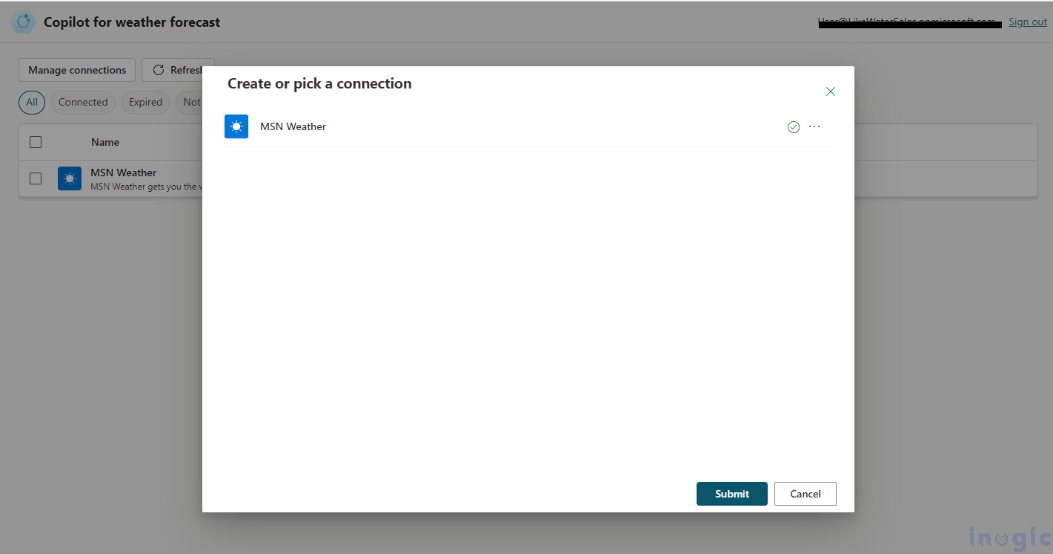
Status will be changed to Connected as shown below:

Now once connected, return to the “Test” window and click on “Retry” and you will observe the desired output as below:
Above mentioned steps of connecting to the connector are additional in the case of “User authentication”
Copilot Author Authentication Method:
If you change the End user authentication setting to “Copilot author authentication” and test the copilot then below will be the user experience:
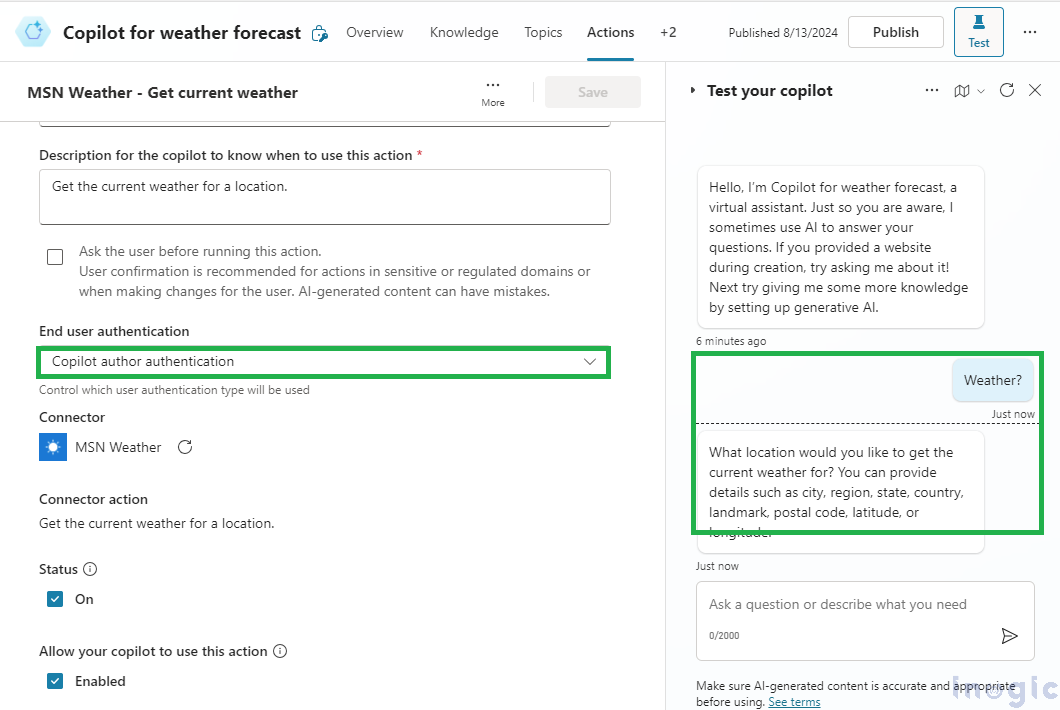
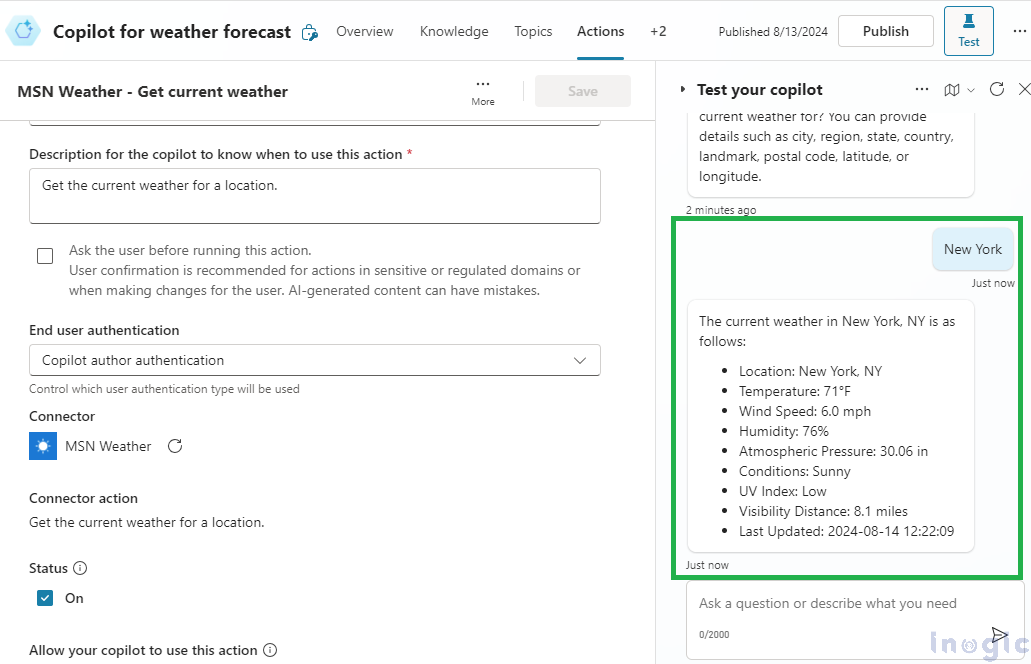
Observe that there is no need to explicitly connect to the connection as it runs under the copilot author authentication connection.
Conclusion:
End-user authentication selection is important and should be selected based on the business need. As demonstrated if it is “Copilot Author Authentication” then the user won’t be prompted for the connection page and get Copilot author authentication directly/without selection of connection but If need to restrict the user for auto authentication then with the “User Authentication” option valid connections can be explicitly selected from connections page.
Stay ahead with the latest updates in Copilot, integrating Microsoft Copilot into your developments. Connect with us at crm@inogic.com for personalized AI-enabled solutions tailored to your business needs.