Introduction:
In our previous blog, we discussed how to create and integrate Power Pages websites into a solution and how to configure them.
Now, in this blog, we will guide you through the process of transferring existing website configurations from one environment to another and exporting solutions using the Command-Line Interface (CLI).
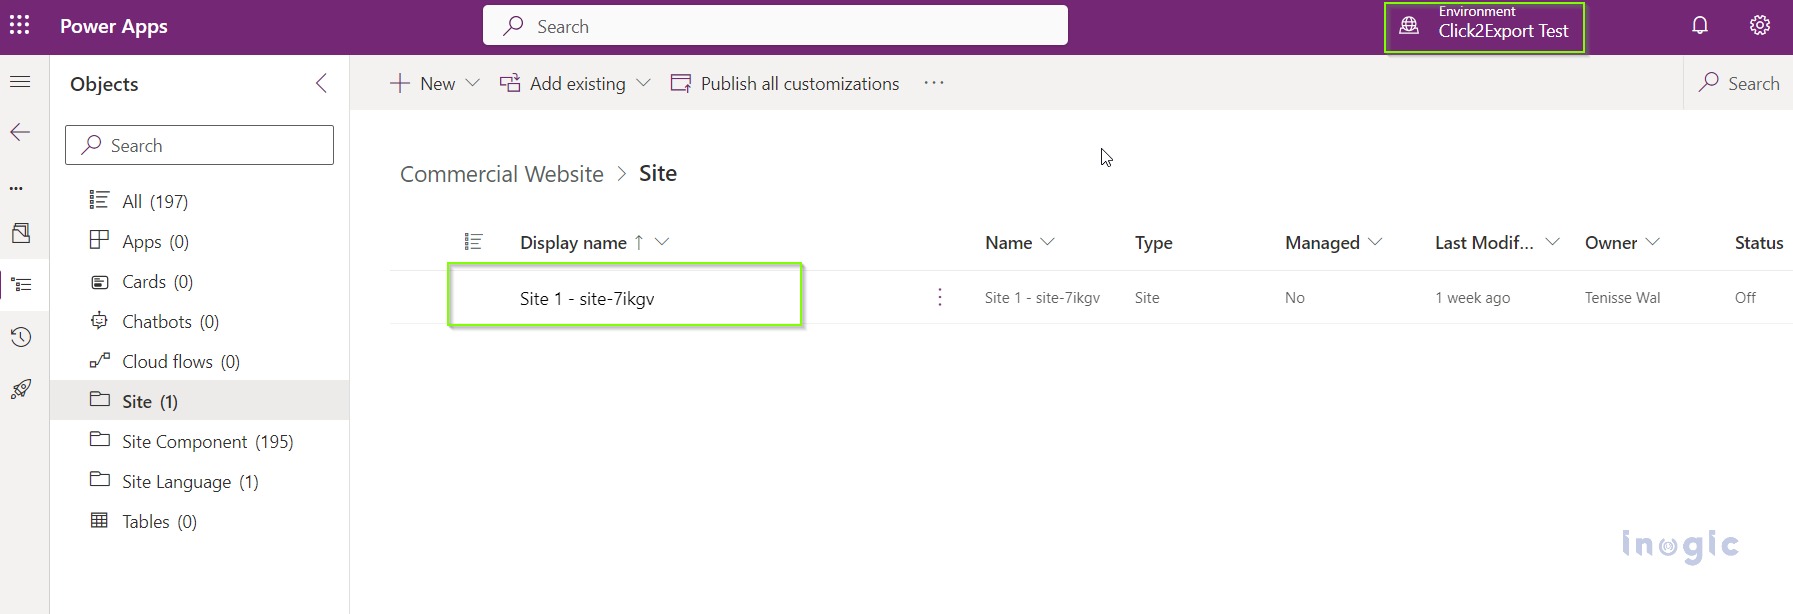
To begin, let’s identify the existing Power Page site and its relevant details:
Site name: Site 1 – site-7ikgv
To integrate the existing Power Page website into an alternative environment through the Command Line Interface (CLI), follow the below steps-
1. Installation and Setup:
Install Visual Studio Code and the Power Platform Tools extension. This extension allows you to execute Power Platform CLI commands directly within the VS Code terminal.
2. Authentication:
Open the Terminal and enter the below command:
pac auth create –name [Name] -u [Dataverse URL]
- Name: It is an optional parameter to identify between the target and source environments.
- -u: Specifies the URL of the environment you wish to connect to.
Upon successful authentication, a confirmation message will be displayed, indicating the connected environment’s name and profile.
Once the authentication profile is established, the next step involves associating an index, which can be identified using the “list” command:
pac auth list
Executing the command above will display comprehensive details for all environments, as seen in the image below-
Now, we have already created a power pages website on this https://c2etest.crm8.dynamics.com environment. The next step is to configure the same website configurations on this https://tesla.crm8.dynamics.com environment.
To transfer the identical configurations from one environment to another, you can proceed with the following steps:
Firstly, select the Power Platform CLI authentication profile linked to the source environment using the command below:
pac auth select –index [source environment index]

pac paportal list
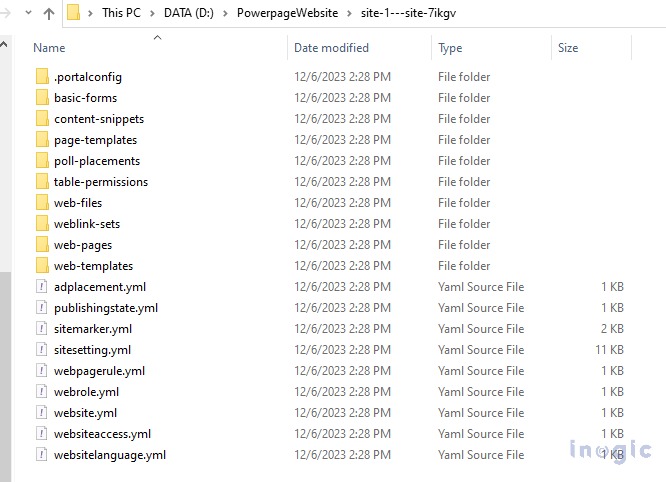
After obtaining a list containing all WebSiteId identifiers, we can proceed to download the configuration data of the Power Pages website into a designated local directory:
pac paportal download –path [path] –webSiteId [website id]

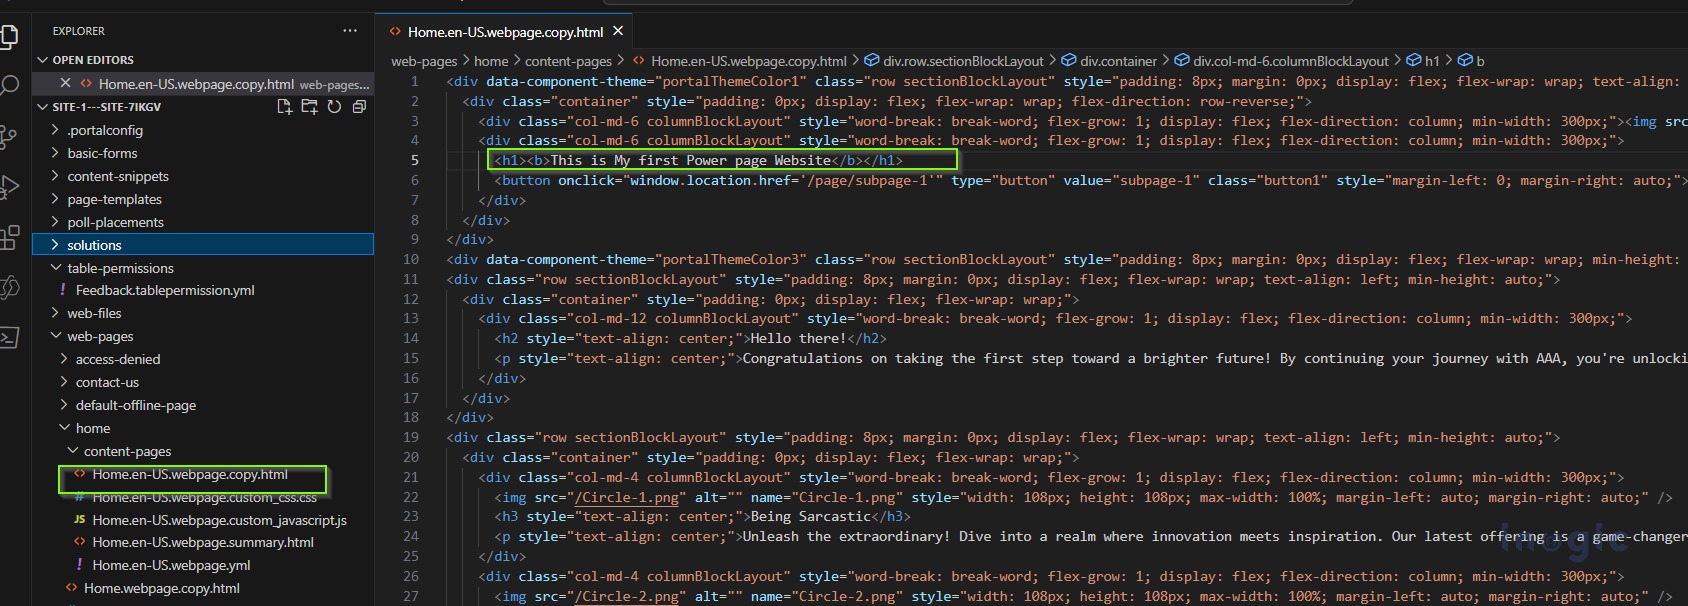
Once the website configuration has been downloaded, if you wish to make changes to the website, you can do so by opening the downloaded subdirectory in VS Code, modifying the website’s header, and saving the edited file.
Once the changes are completed, the next step involves connecting to the target environment where we intend to add this configuration.
Select the Power Platform CLI authentication profile connected to the target environment.
pac auth select –index [target environment index]
Next, upload the website configuration data to the target environment.
pac paportal upload –path [path] –modelVersion 2
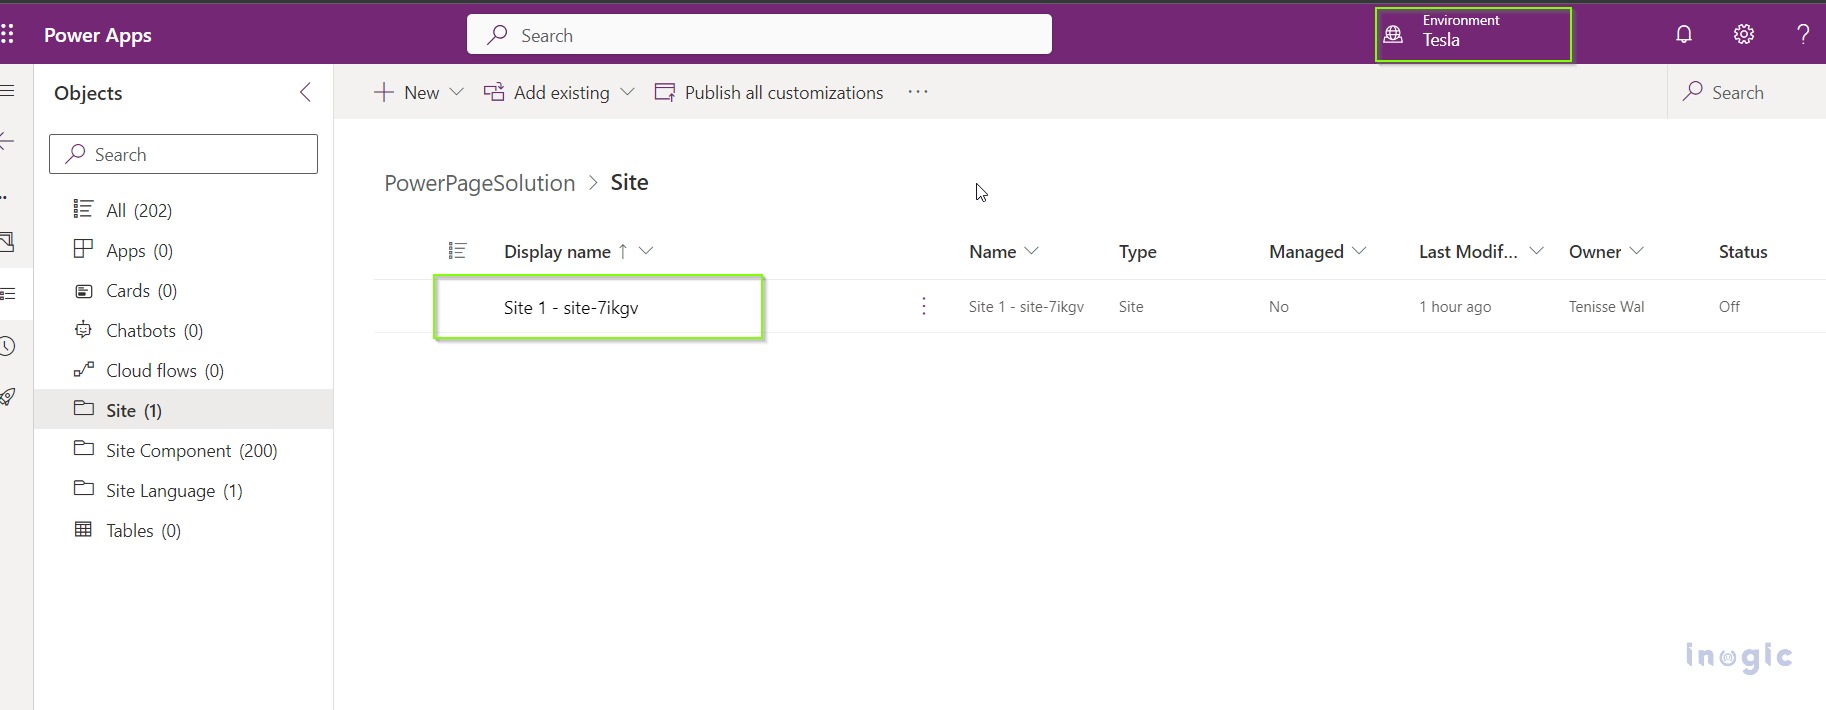
Once the website is successfully uploaded, navigate to the relevant environment and access the site to view the newly created website, as shown in the below screenshot-
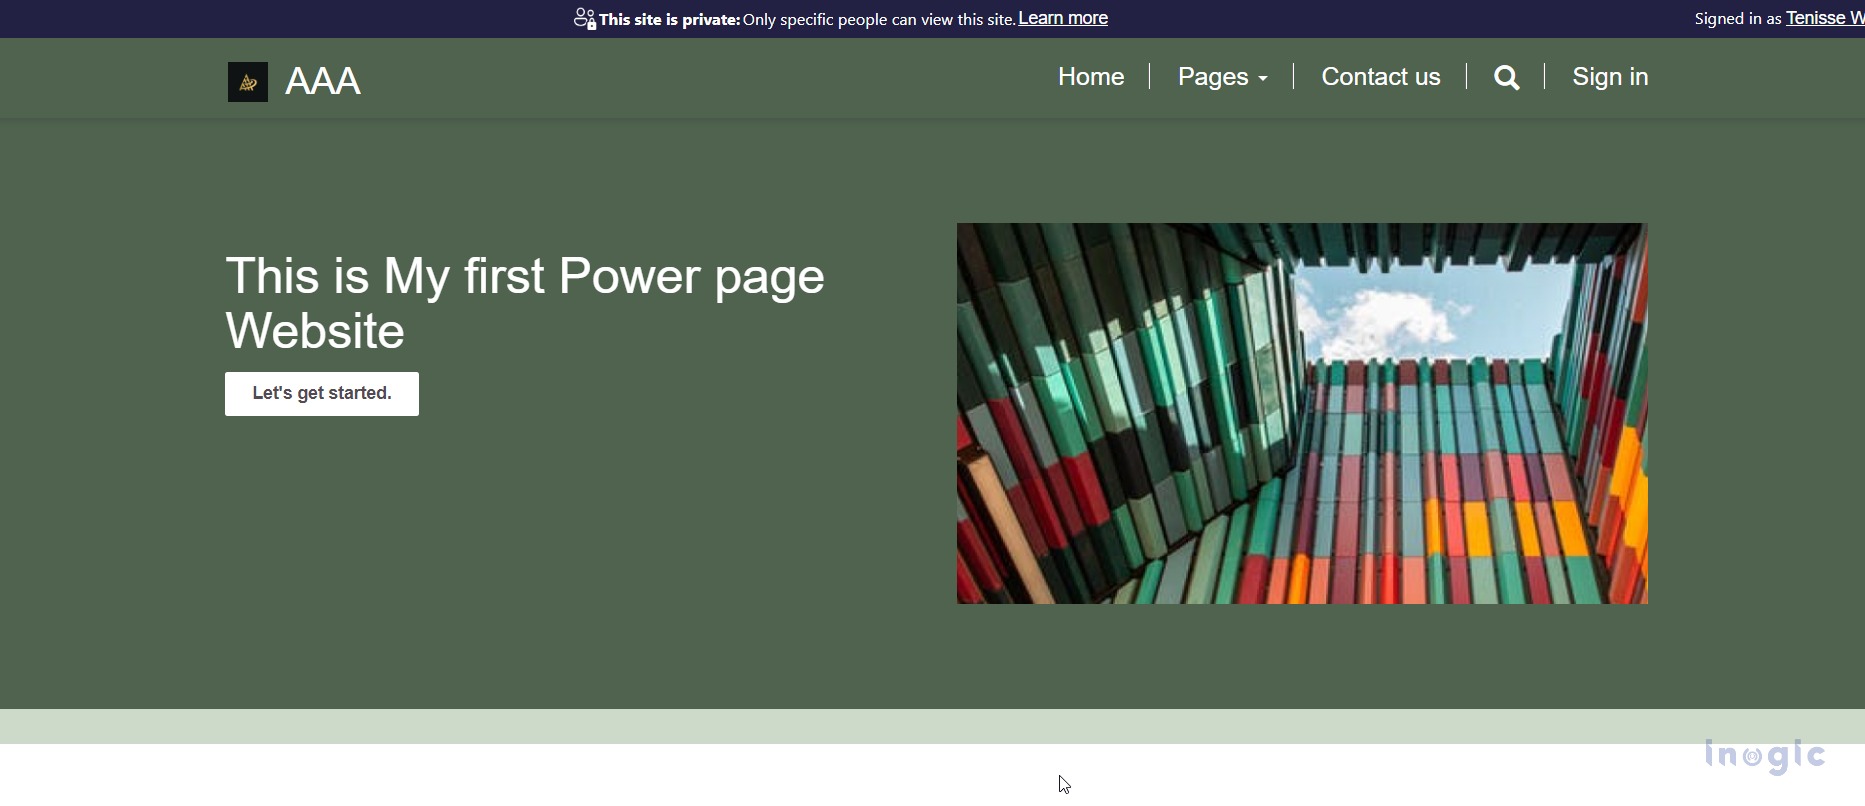
Once you click on Site 1 – site-7ikgv, the power page website loads and it will be shown as below-
To perform an export of the solution via the Command Line Interface (CLI), you can utilize the following command-
pac solution export –name [SolutionName] –path [path]
- SolutionName: Represents the solution’s unique name.
- Path: Path where the exported solution zip file is written.
Example:
pac solution export –name PowerAppSolution –path C: \Downloads
Conclusion
Using Command Line Interface (CLI) makes it easy to add Power Page sites to a new environment. CLI commands help export solutions faster, making development smoother.
