Pre- Requisites required before adding single or multiple QuickBooks companies: Before proceeding with the configuration of QuickBooks, you need to make sure about the following items:
User needs to enter a redirect URI in QuickBooks which would allow the InoLink application to interact with QuickBooks without any interference.
You need to copy the below link and paste it in QuickBooks
Link: https://inolinkapi.azurewebsites.net/QBResponse/AccessToken
Steps to enter redirect URI in QuickBooks.
Step 1: Copy the above link.
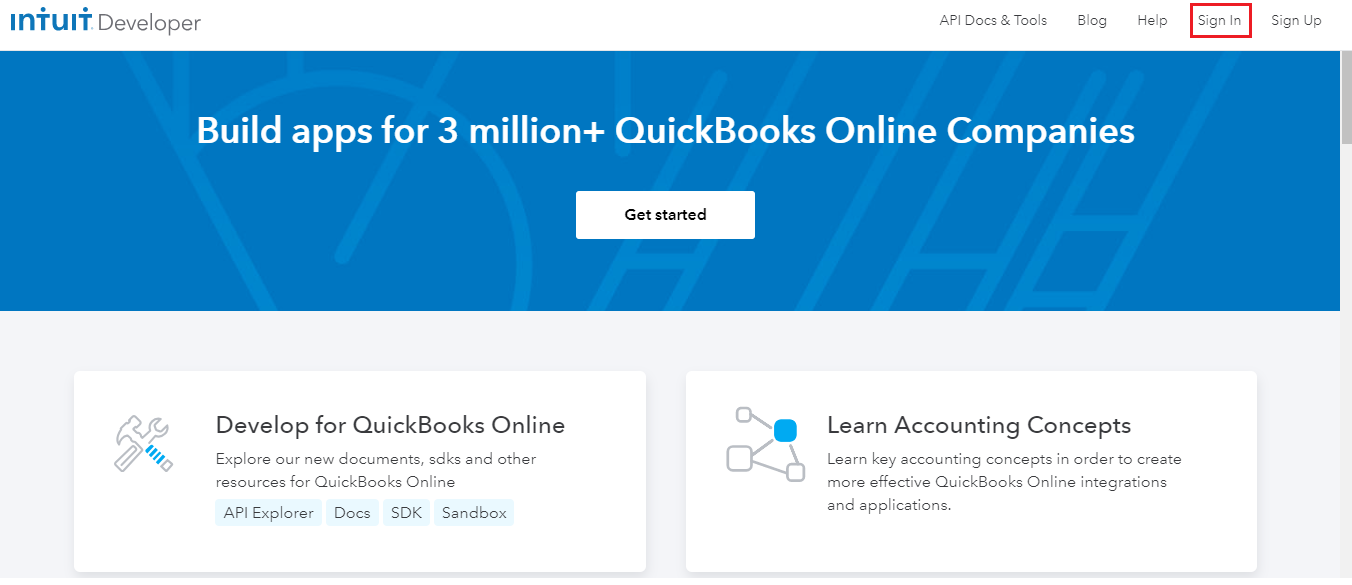
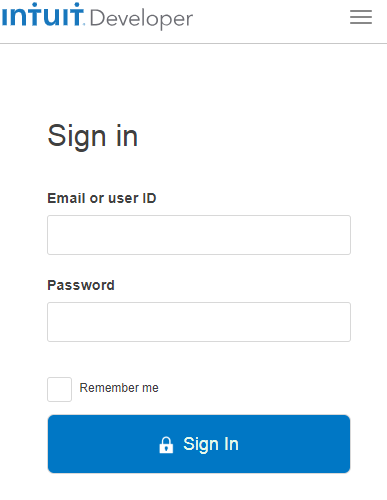
Step 2: Open QuickBooks, login by visiting https://developer.intuit.com/ with admin credentials (full QuickBooks privileged user)
Step 3: Click on My Apps and select the app you have created.
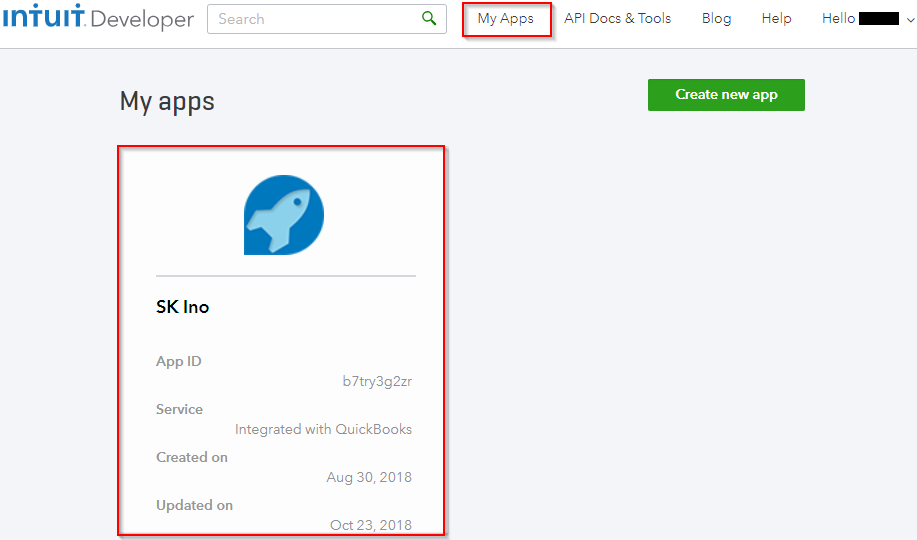
If you don’t have existing App then click on Create New App as shown in the below screenshot.

After clicking on Create new app, a screen will open which would ask to create the type of app. Click on Select APIs (as shown below)
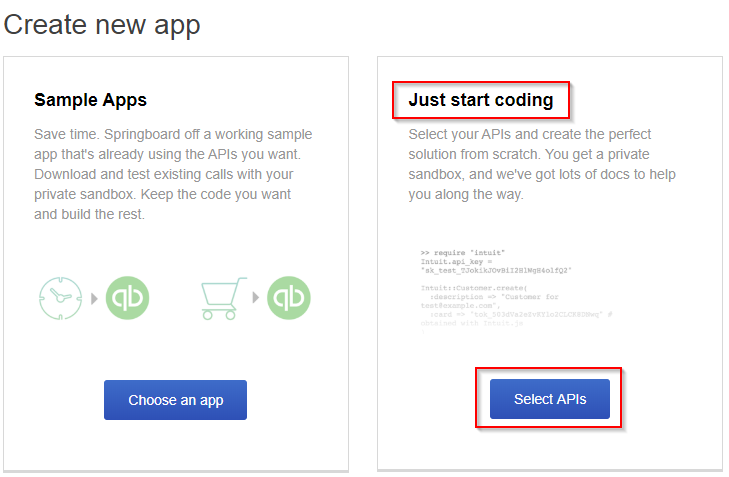
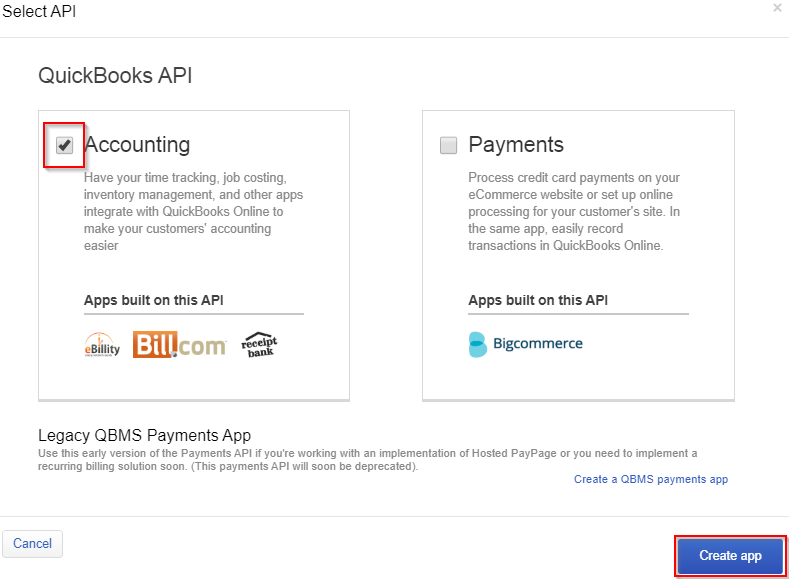
After clicking on Select APIs, a popup window will open to select the type of API. Click on Accounting checkbox, and then click on Create app (as shown below)
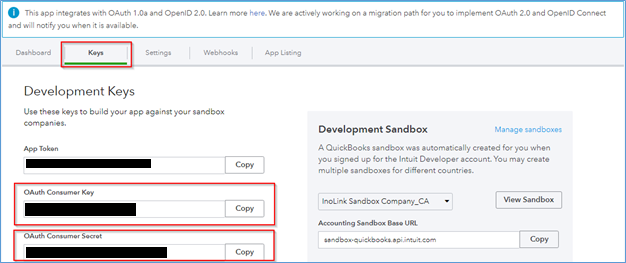
For OAuth 1.0
If your developer account has created apps before July 17, 2017, and any apps created by that account, including future apps and apps under development now, will use OAuth 1.0
Now click on Keys. Here you will find Production & Development keys. Note: Use the keys you need.
You will need the ‘OAuth Consumer Key’ and ‘OAuth Consumer Secret’ to link QuickBooks Online with InoLink.
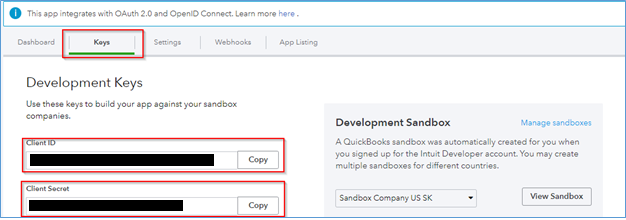
For OAuth 2.0
Now click on Keys. Here you will find Production & Development keys. Note: Use the keys you need.
You will need the ‘Client ID’ and ‘Client Secret’ to link QuickBooks Online with InoLink.
Step 4: Click on Keys and scroll down to find Redirect URIs
![]()
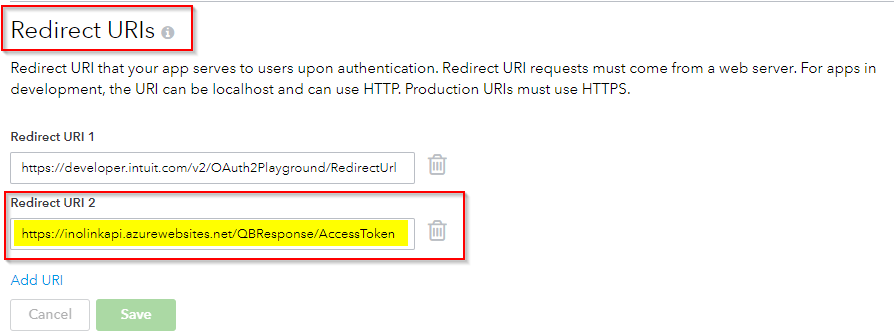
Step 5: Enter the redirect URI provided and click on Save button.
This will allow InoLink to interact with QuickBooks.
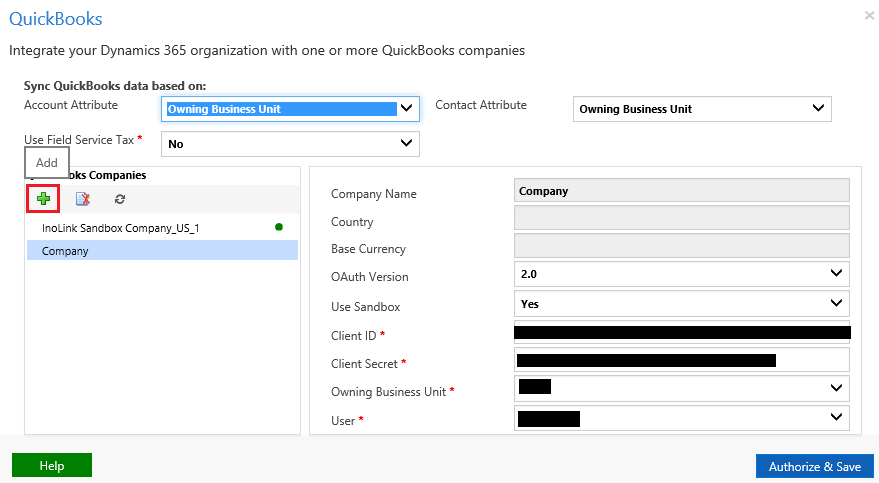
Once you have all the pre-requisites set in place you are good to add and connect single and multiple companies. Then, you need to configure the QuickBooksconnection as per your requirement in InoLink Settings. After clicking on QuickBooks option in Enable and connect to Dynamics 365 and QuickBooks system section in InoLink Settings you will get the window shown below.
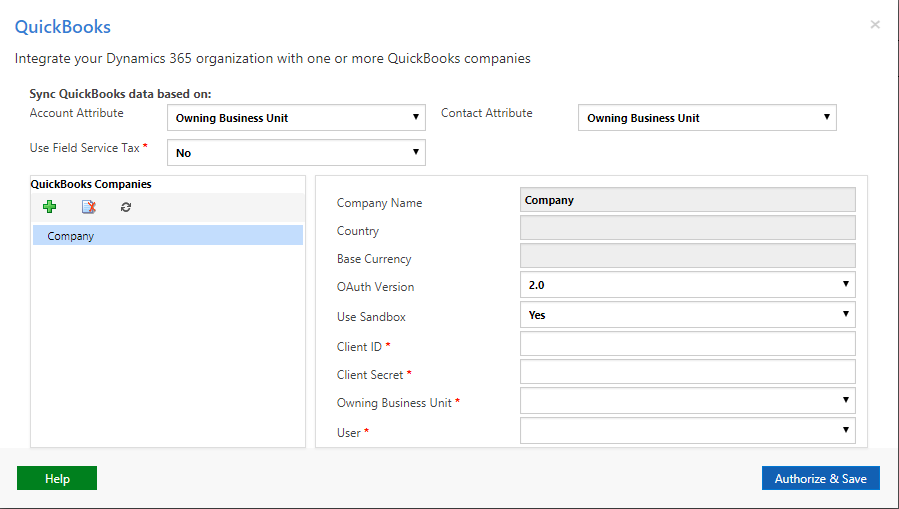
Here user needs to select the suitable details of the QuickBooks that are to be synced with the CRM system.
Sync QuickBooks data based on:

Account Attribute
This is a dropdown that populates all the lookup fields on Account entity. You have to select value which would be considered as criteria for syncing data from CRM to QuickBooks and vice-versa. The default value is considered Owning Business Unit.
Contact Attribute
The drop-down that populates all the lookup fields on Contact entity. You have to select value which would be considered as criteria for syncing data from CRM to QuickBooks, and vice-versa. The default value is considered Owning Business Unit.
Field Service Tax
Field Service Tax works only for US QuickBooks companies. This is a dropdown that gives the user an option to either choose Field Service Tax entity or InoLink Tax entity. Tax data would be synced in the chosen tax entity. If the user has selected No, then InoLink Tax entity would be considered, if the user has selected yes, then Field Service Tax entity would be considered.
If Field Service Tax is set as ‘Yes’, then Tax Code and Tax Code Details (Field Service tax entities) privilege must be given to InoLink security roles for Tax synchronization.
Note: Selected values of Account and Contact Attribute must be the same.
QuickBooks Companies: This section allow the users to configure the single as well as multiple QuickBooks companies.
Case 1: Configuring Dynamics CRM with 1 QuickBooks Company.
Company Name
It will display the name of the QuickBooks Company. Initially, it will be empty, once the company data has been saved, the user can see the name of the company.
Note: The user cannot add the same company twice at the same time. As once the company is added it is saved in QuickBooks Companies section. The user add the same company again after removing the Company from the selected list.
Country
It will display the country of QuickBooks Company. Initially, it will be empty, once the company data has been saved, the user can see the country.
Base Currency
It will display the base currency of QuickBooks Company. Initially, it will be empty, once the company data has been saved, the user can see the base currency.
OAuth Version
User has to select the OAuth version of the QuickBooks Company.
Use SandBox
User has to select Yes if configuring company of the Sandbox environment, or No if configuring company of Production/Live environment.
OAuth Consumer Key/Client ID
This depends on the version of QuickBooks i.e. OAuth 1.0 or OAuth 2.0. The user needs to copy the key obtained from the QuickBooks Developer/Production Account App as mentioned in the Pre-requisites.
OAuth Consumer Secret/Client Secret
This depends on the OAuth version of OAuth 1.0 or OAuth 2.0. The user needs to copy the key obtained from the QuickBooks Developer/Production Account App as mentioned in the Pre-requisites.
Owning Business Unit
User has to select which Business Unit to be considered for syncing the data from CRM to QB and vice-versa. If the user selects Root/Parent BU, then all CRM data would be integrated with configured QB Company. If the user selects a child BU, then only records of selected child BU would be integrated with QB.
User
User has to select a CRM user under whom the records would be created (i.e. Owner of the record would be the selected CRM user)

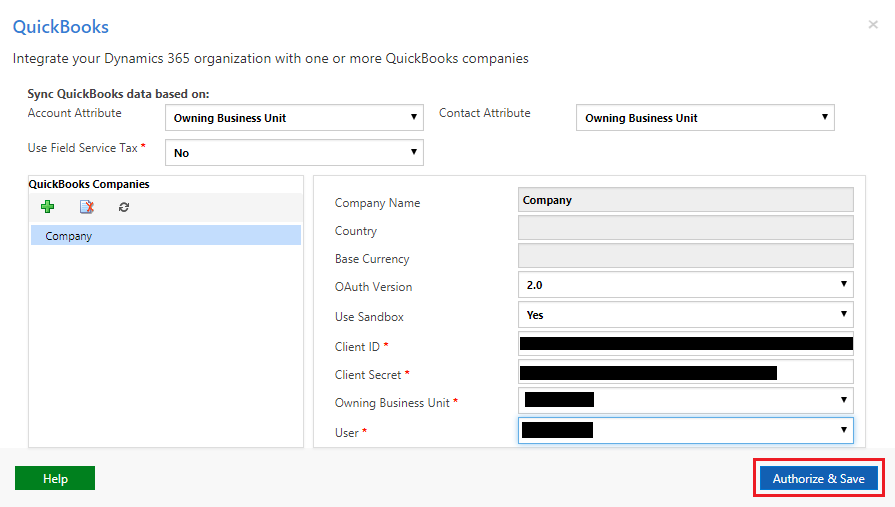
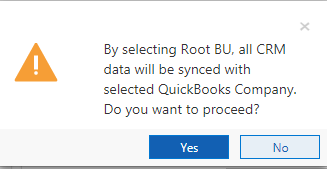
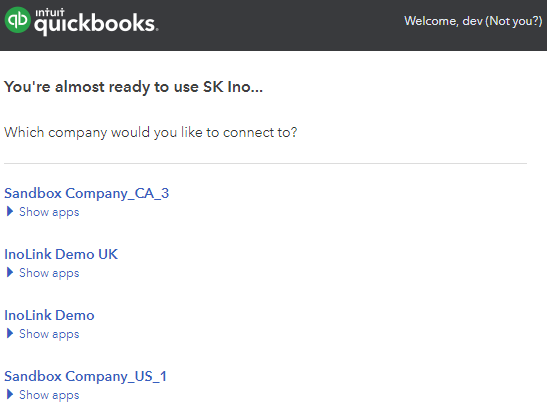
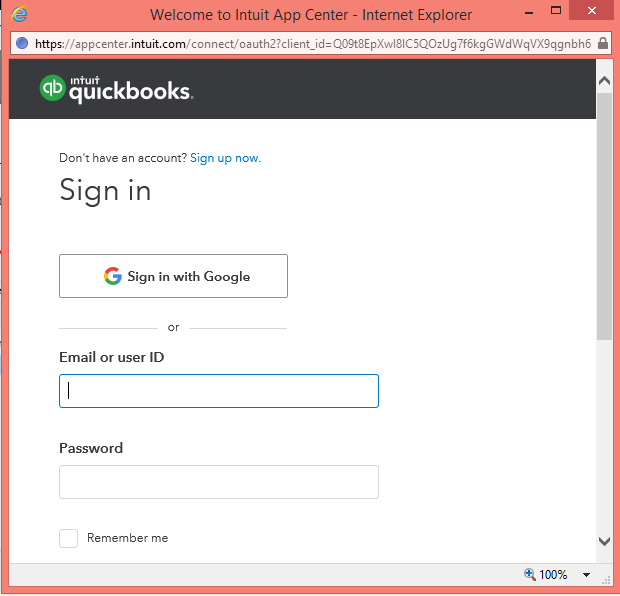
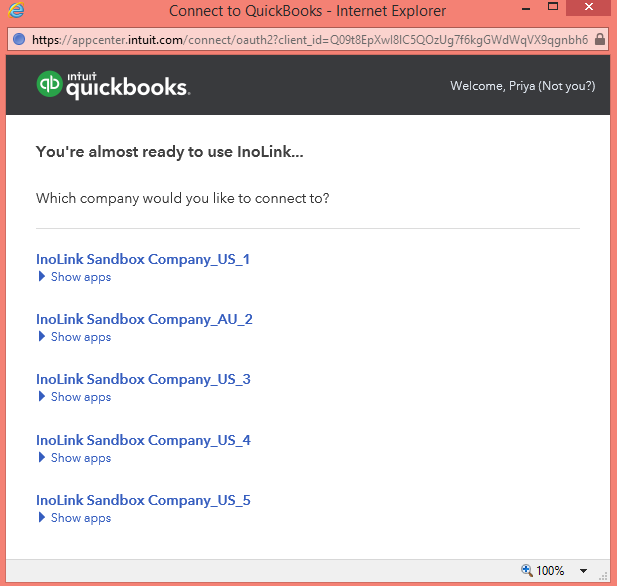
After clicking of Authorize & Save button you will get the above message to proceed further. Once you click on Yes you will be redirected to sign in your QuickBooks system. There user needs to select the required company with which he wants to sync with the Dynamics CRM.
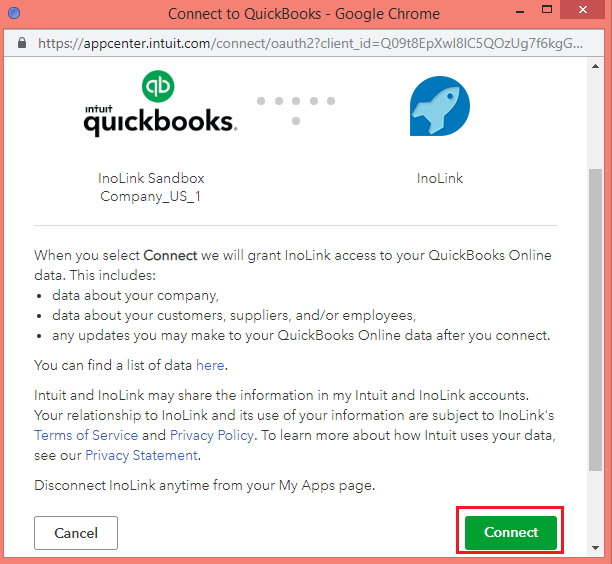
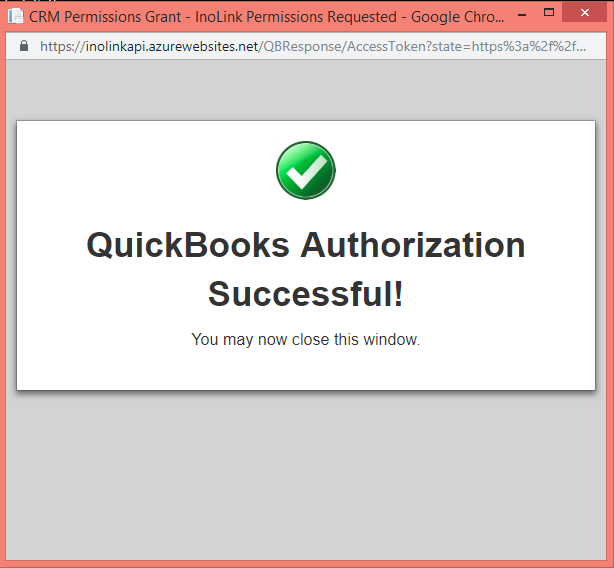
After clicking on Connect you will get success message as shown below.
Case 2: Configuring Dynamics CRM with Multiple QuickBooks Company.
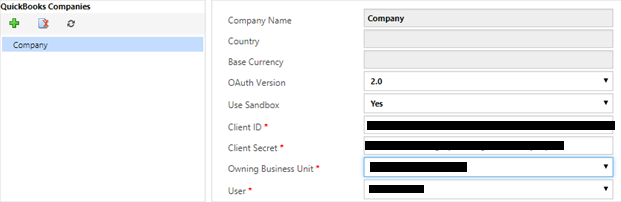
User needs to click on (+) Add button to configure more than one QuickBooks company and fill the required details as shown in below screenshot.
Now, user needs to click on Authorize & Save button and he/she will re-direct to QuickBooks company list screen. In case the user is not log-in to QuickBooks then the user will be re-directed to Sign in page. Then user needs to select the required company for which he/she wants to sync with the Dynamics CRM.
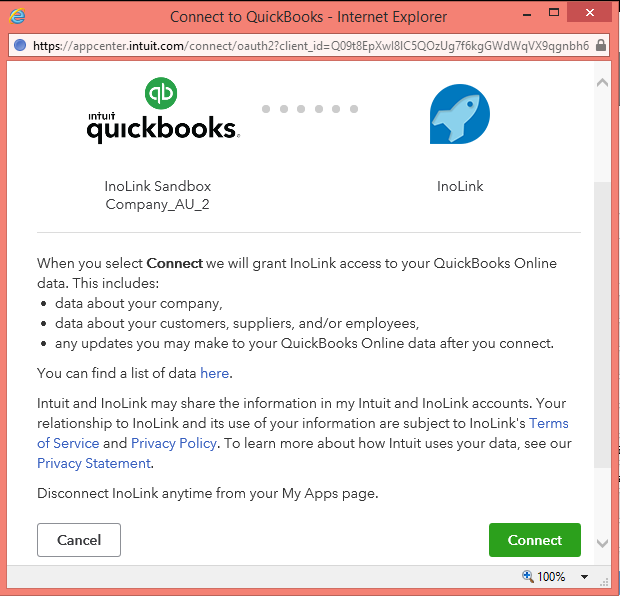
After clicking on Connect you will get success message as shown below.

Note:
-
-
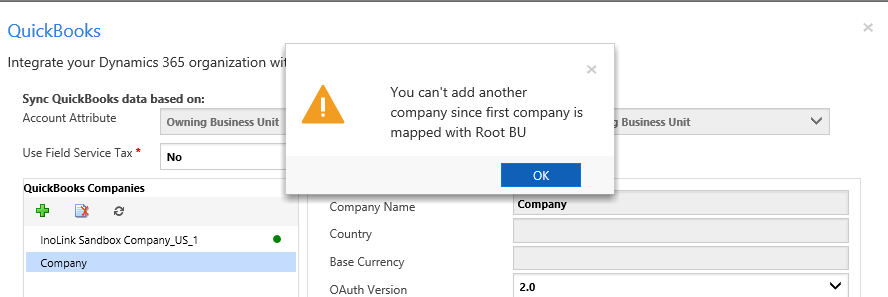
- If users configure the Root/Parent Business Unit for the first time in QuickBooks Companies then they cannot add and configure the multiple QuickBooks companies. Only when the Child Business Unit is added for the first time the user can configure multiple QuickBooks companies.
-
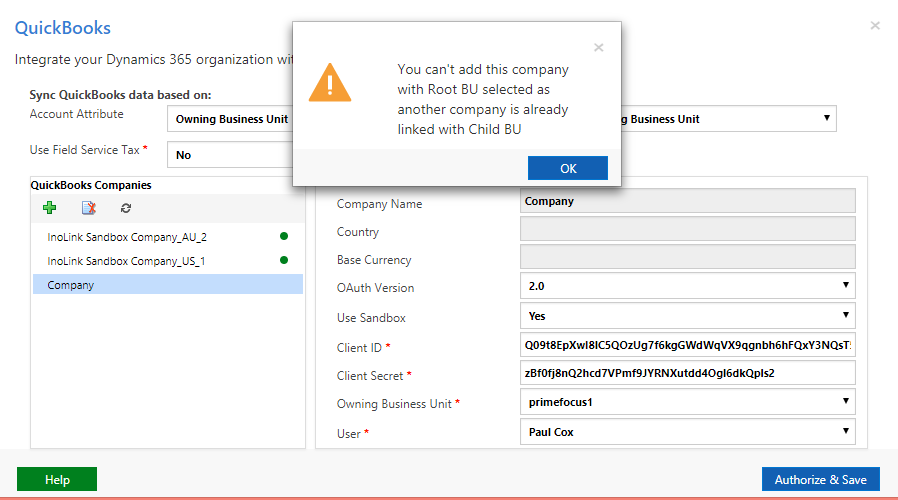
2. If users configure the Child Business Unit for the first time in QuickBooks Companies and try to add another company with Root Business Unit then the user gets the below error. Once the company is linked with particular child business unit then user can only select child business unit to configure another QuickBooks company.
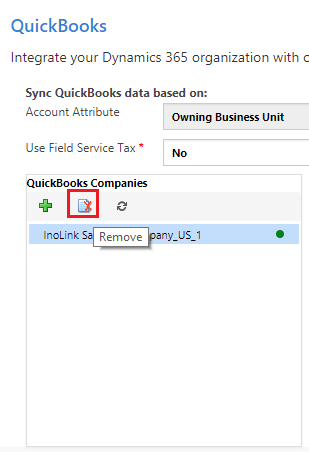
If the user wants to delete the selected company from InoLink Settings then he/she first needs to unlink the Accounts/Contacts/Products. After doing so there is an option of Remove QuickBooks Companies as shown below.