Using the design studio’s Setup workspace, you can quickly add payment options to your Power Pages site. This tool lets you add a payment section to your multi-step form without needing to write any code. With this setup, you can easily link your site to a payment provider, making it simple for users to make payments and improving their experience on your site.
Scenario: A fitness club center wants to streamline its membership registration process and enable online payments for memberships, classes, and personal training sessions.
To accept payments on your Power Pages site, follow these steps:
- Install the Package: The site admin installs a package that includes the necessary tables and prerequisites for enabling the payment feature.
- Configure the Provider: The site admin or creator sets up the specific keys needed for a payment provider.
- Enable Payments on Your Form: The creator adds the form and activates the digital payments feature on the required step of the multistep form.
Prerequisites
- Sign Up with Stripe:
- Set up a Stripe account as your payment provider.
- Obtain the Stripe Marketplace payment app’s test mode or live keys.
- Set Up a Microsoft Dataverse Table:
- Create or identify a Dataverse table to use in a multistep form.
- Ensure this table has a currency field type to charge the amount you want to collect from the site user.
To get started with the integration setup, follow these steps:
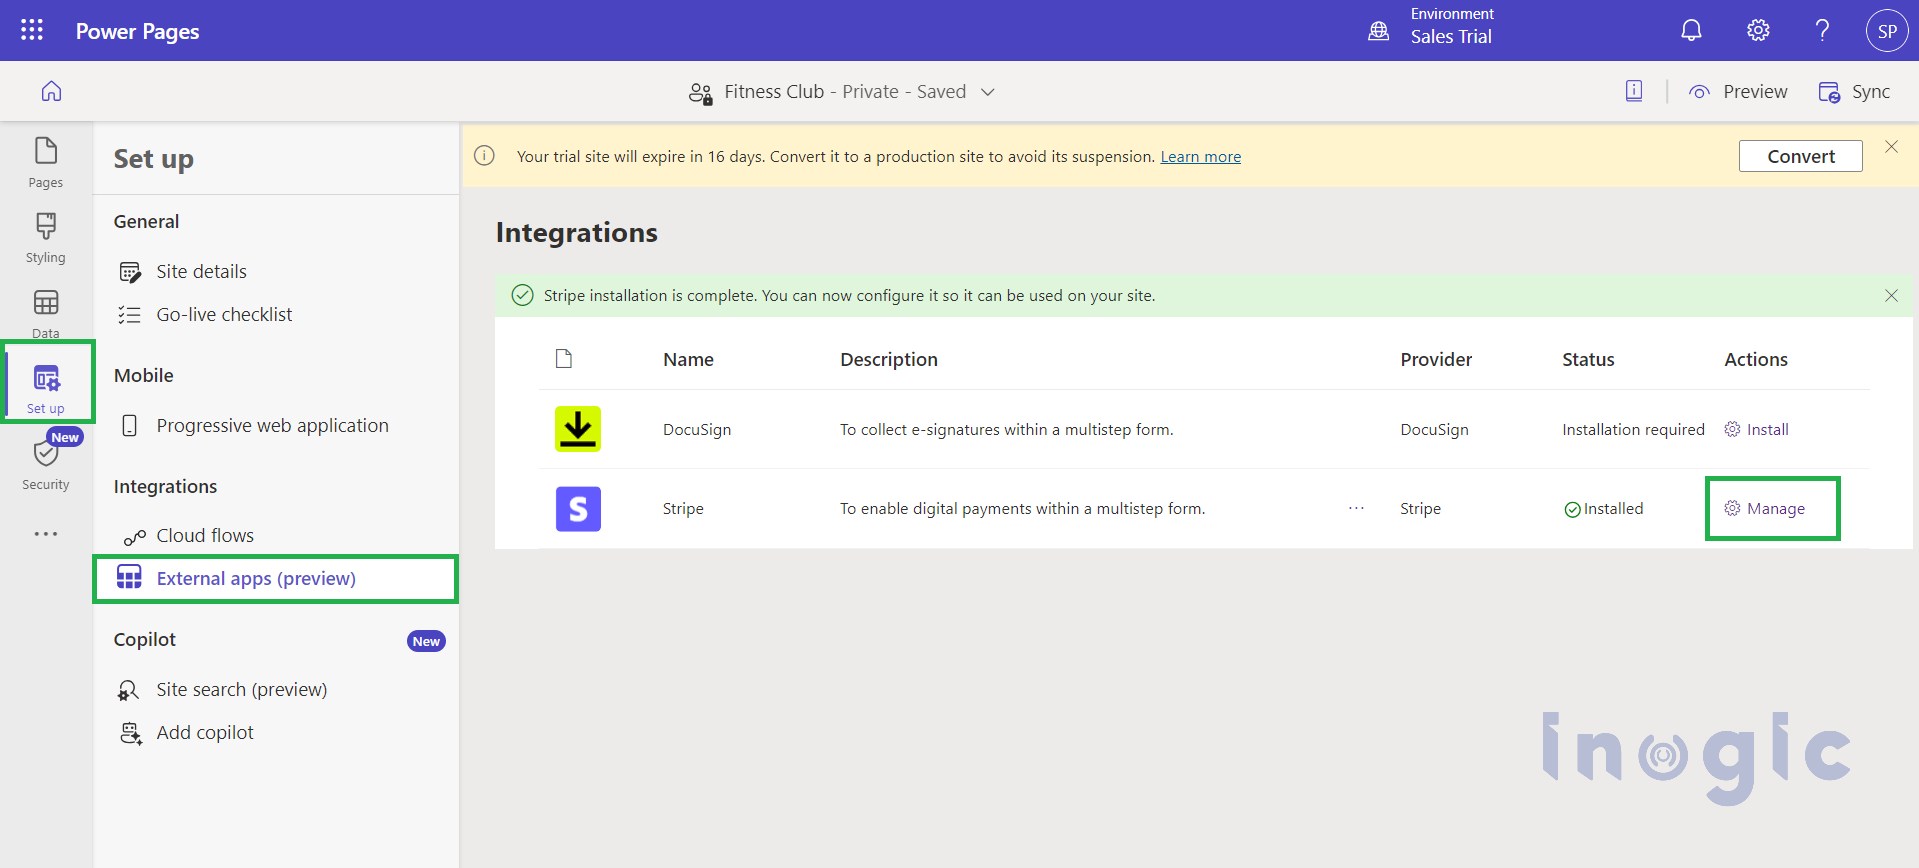
- Go to the setup tab in your Power Pages portal.
- Select “External Apps” in the integration group.
- Find and install the Stripe application.
- Once installed, click on the “Manage” option in the action column.
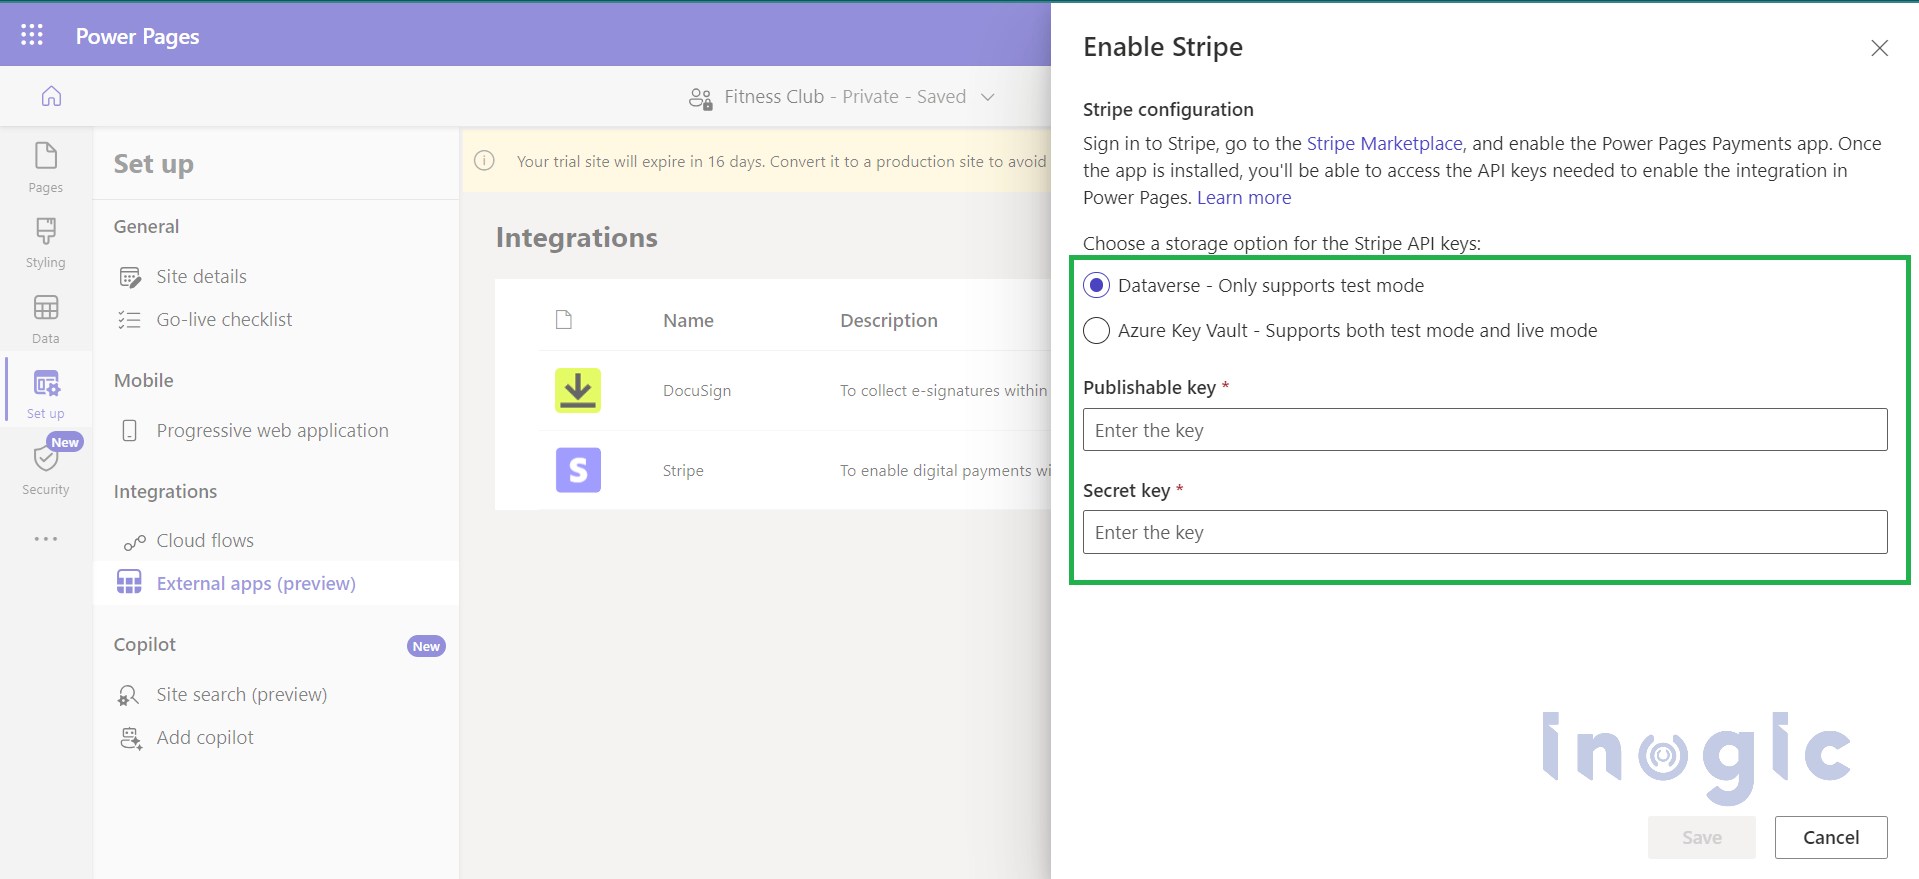
Now, you need to choose the storage options:
- Dataverse Storage:
- It requires the publishable and secret keys, which support only test mode.
- Azure Key Vault Storage:
- Requires the Publishable and Secret keys and an additional Azure key.
For more details on integrating with Azure Key Vault, please refer to the relevant documentation.
To get your publishable & secret key
- Visit the Stripe Marketplace and install the Microsoft Power Pages Payments app.
- Once installed, obtain your Stripe publishable and restricted key.
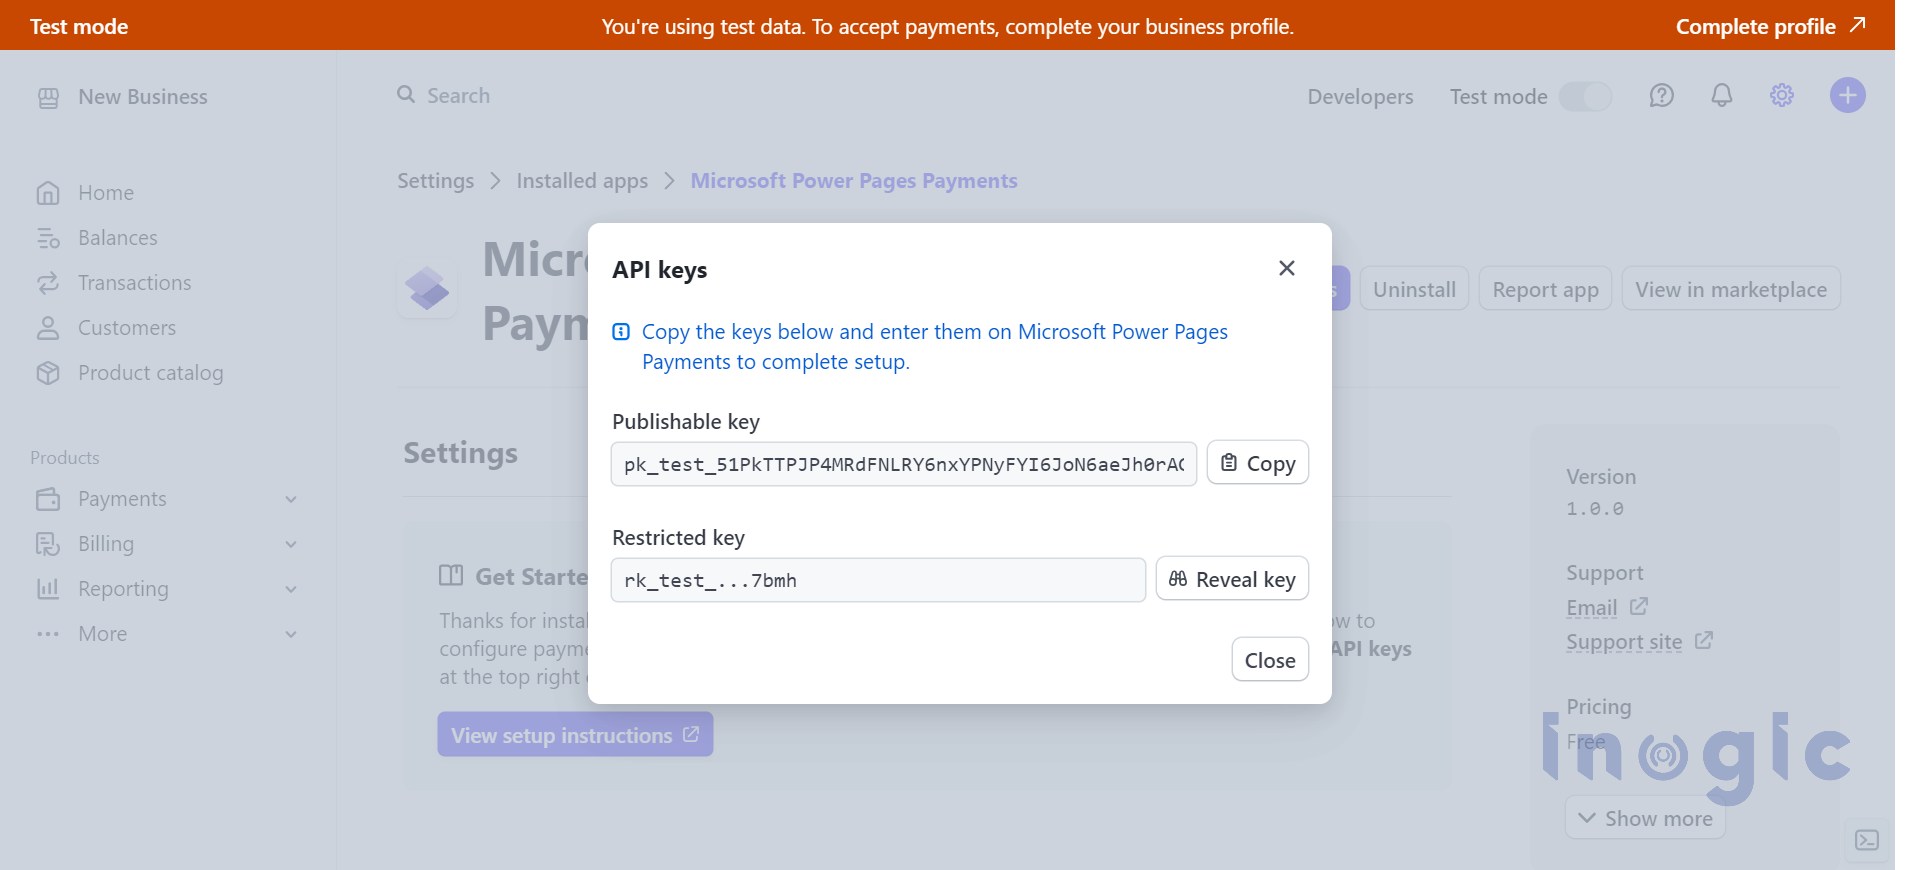
Note: For the secret key, it is recommended to use the Restricted keys provided by Stripe. These keys help limit access and permissions for different areas of your account data in Stripe.
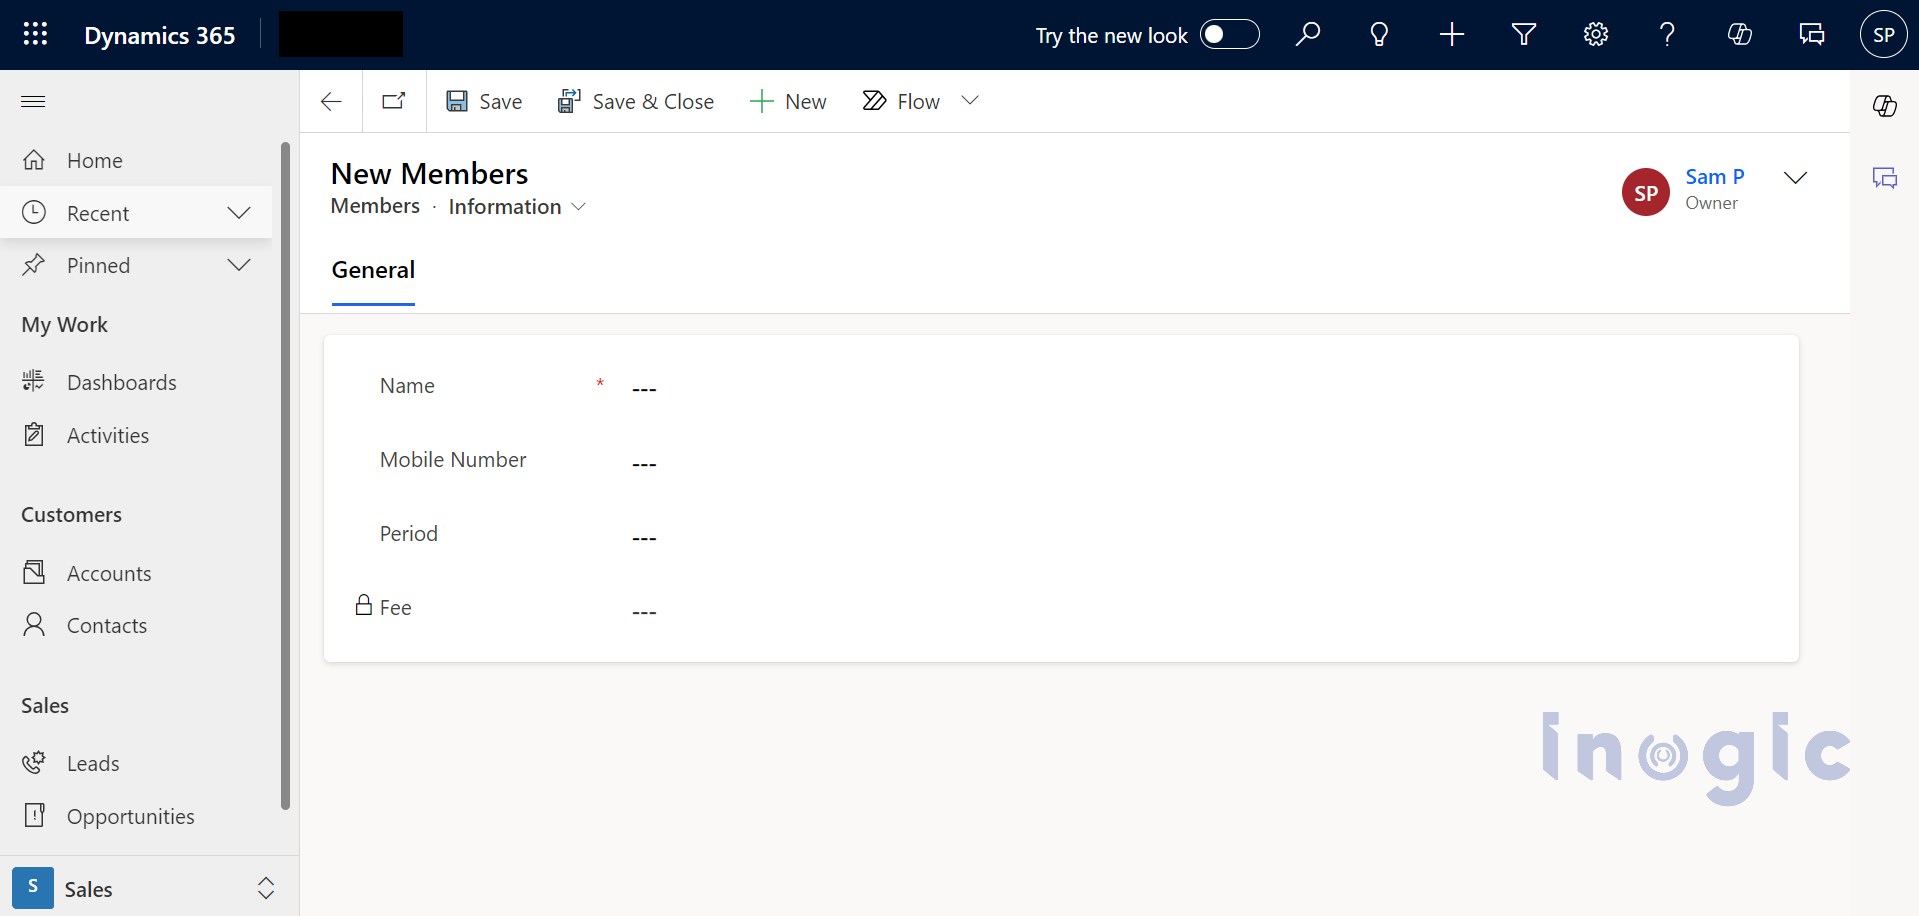
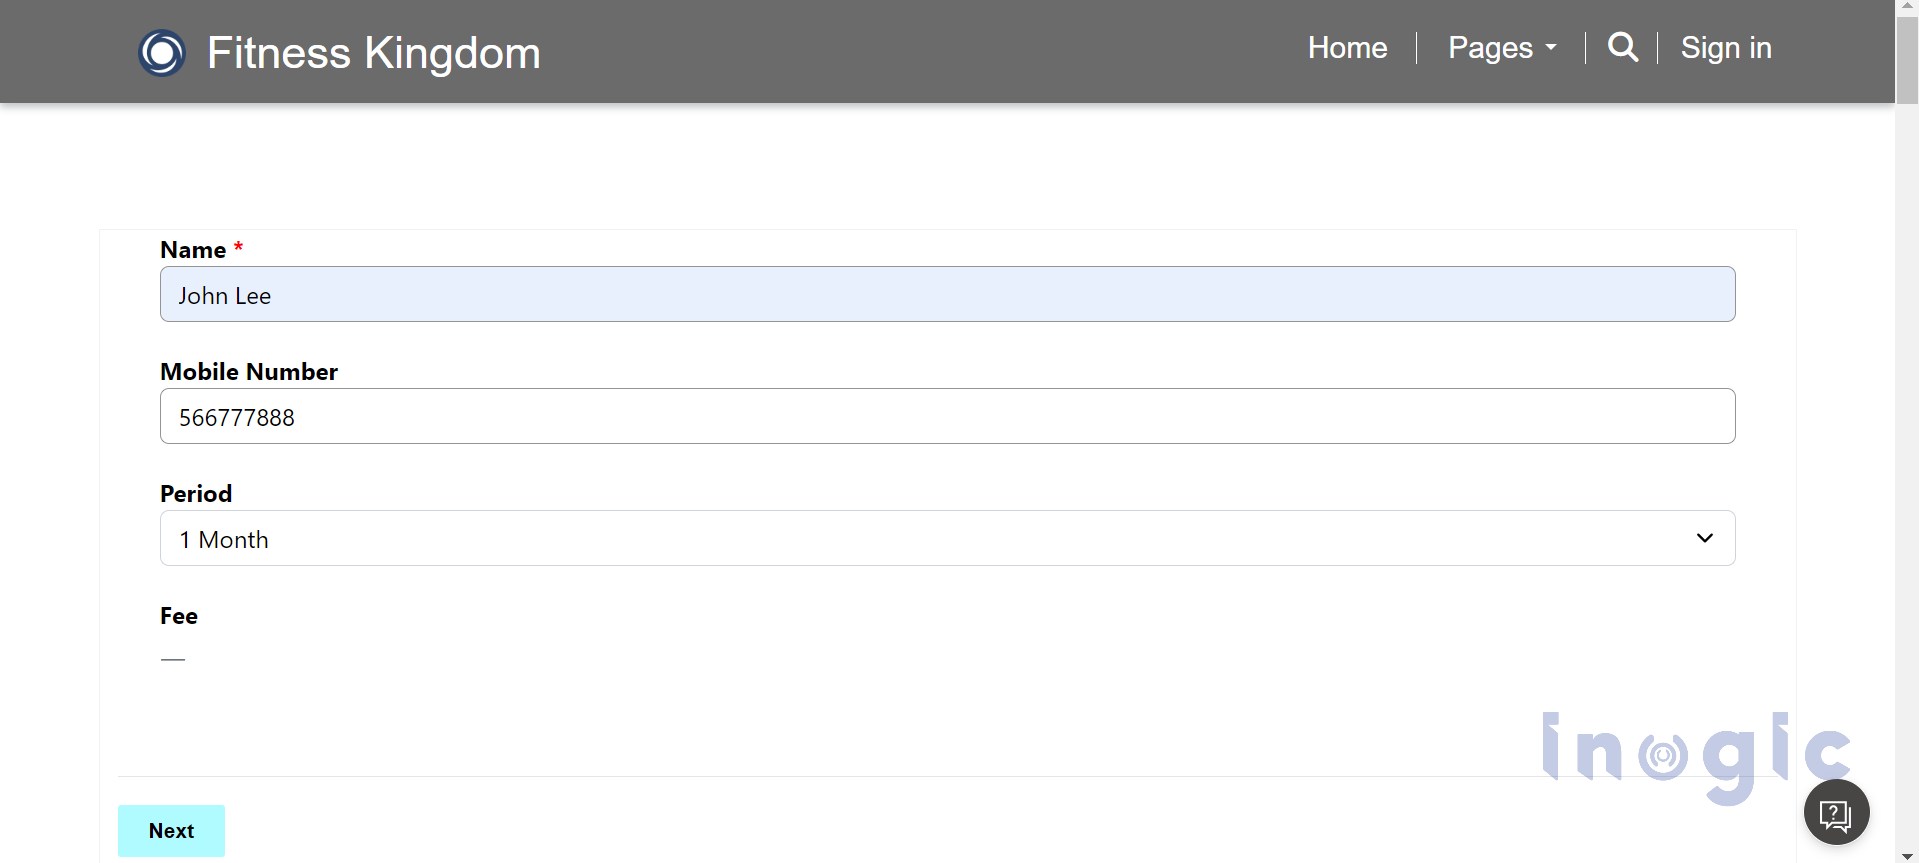
To implement this scenario, we created a fitness club portal with a multistep form and linked it to a custom entity called ‘Members.’ This entity includes the following fields:
- Name
- Mobile Number
- Period (e.g., 1 month, 3 months)
- Fee (calculated based on the period: $200 for 1 month, $500 for 3 months, etc.)
We added this form as the first step in the multistep form. The payment integration can only be added to the multistep form, not to single-step forms.
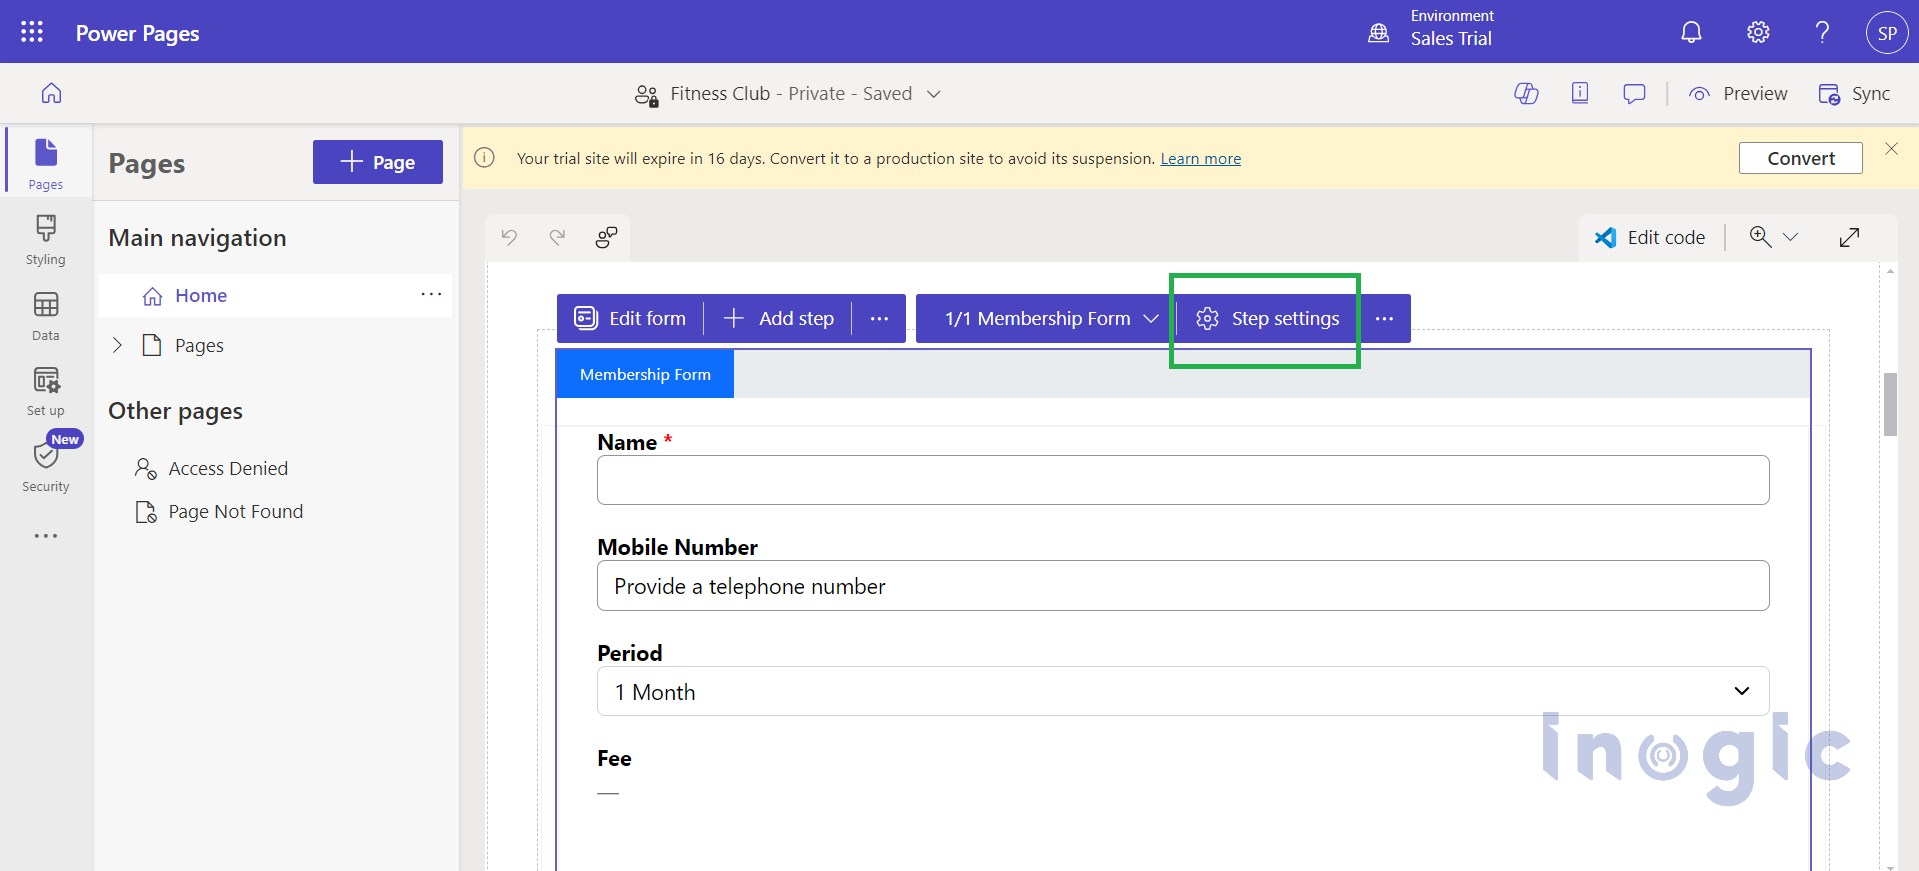
In the next step of the multistep form, you will enable the payment mode:
- Click on the step settings for the second step of your multistep form.
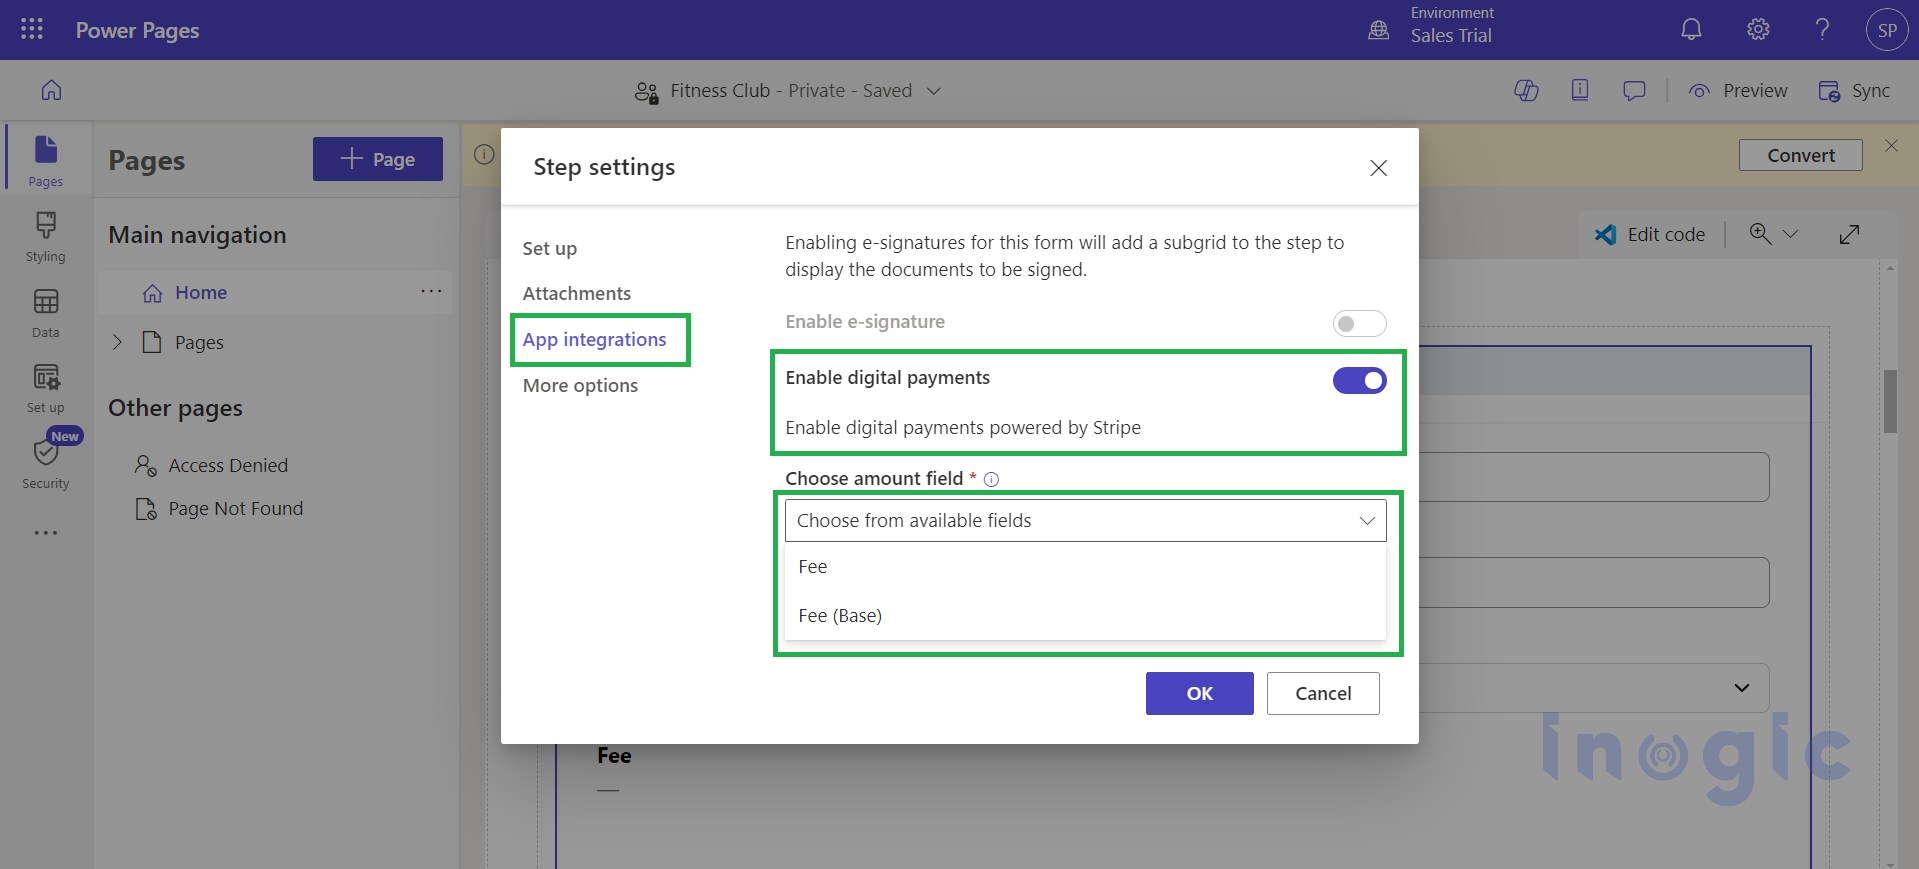
- Select “App Integrations.”
- Find the “Enable Digital Payment” option and enable it. (This option was disabled by default because the Stripe application wasn’t integrated yet.)
- After enabling it, you will need to bind the payment (Currency) field to the form.
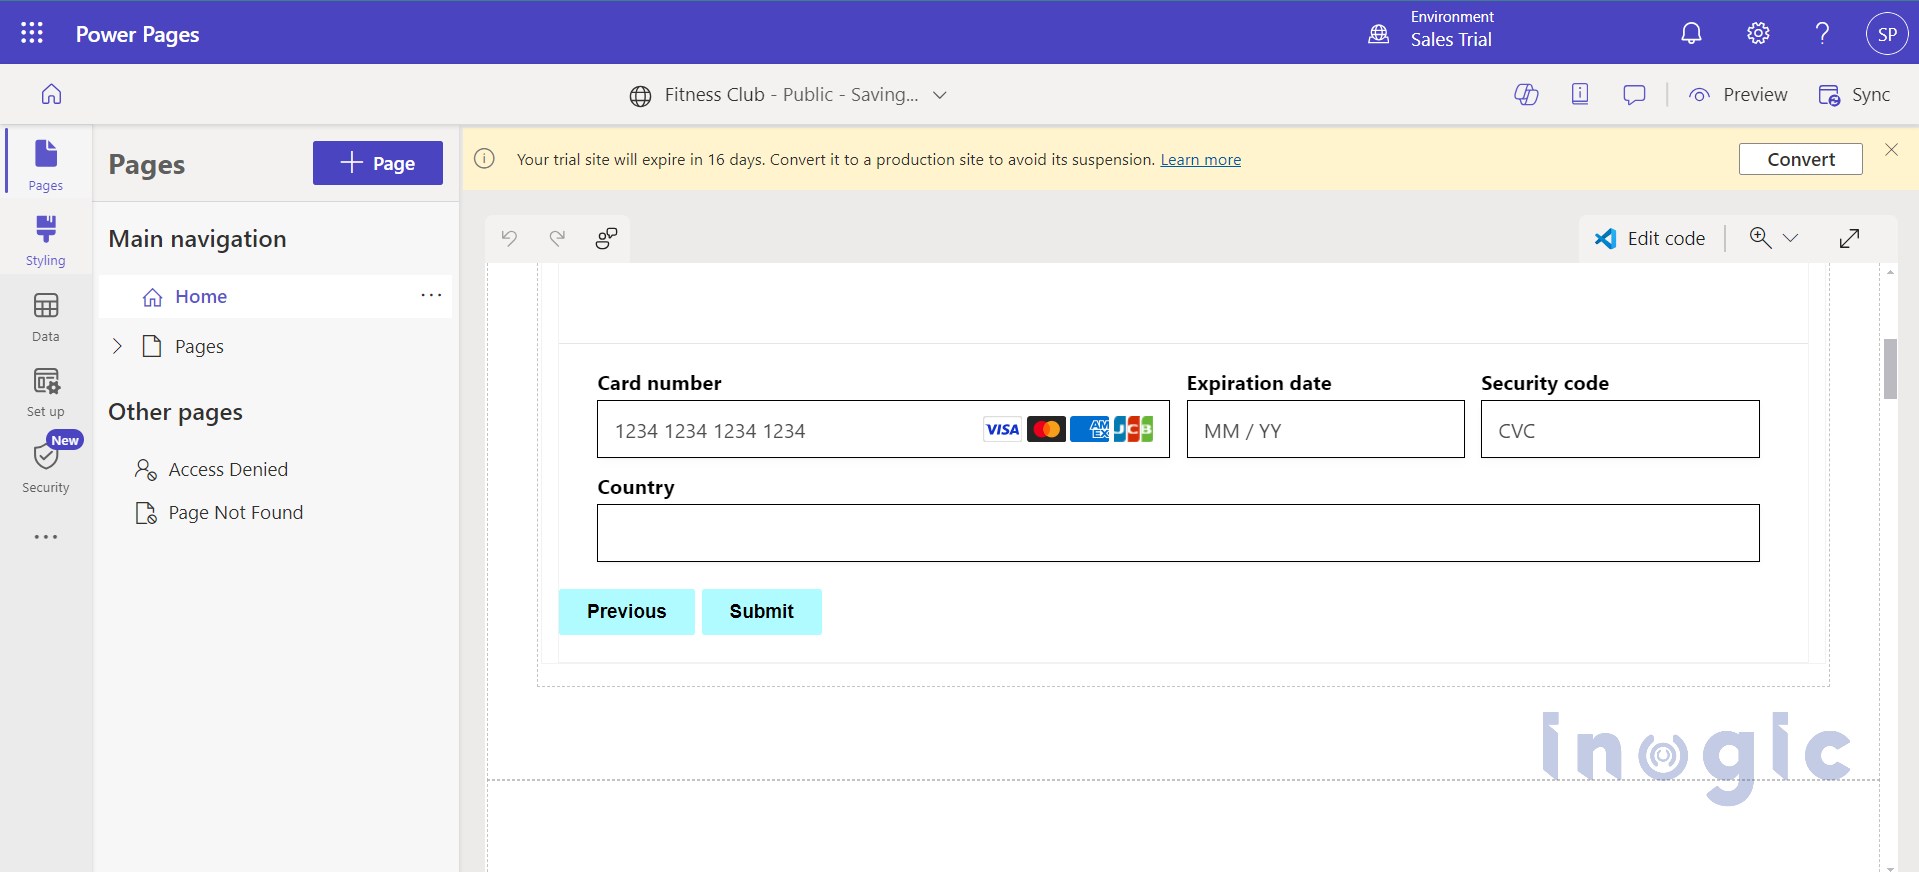
After completing the setup steps, you’ll notice a new payment field conveniently located below your form. This user-friendly interface allows customers to enter their payment information directly on your Power Pages site, eliminating the need for redirects or external payment gateways.
Now, sync the site and preview it on your desktop. Fill out the form with the required details, and click “Next.” This action will create the record in the CRM and start the payment process.
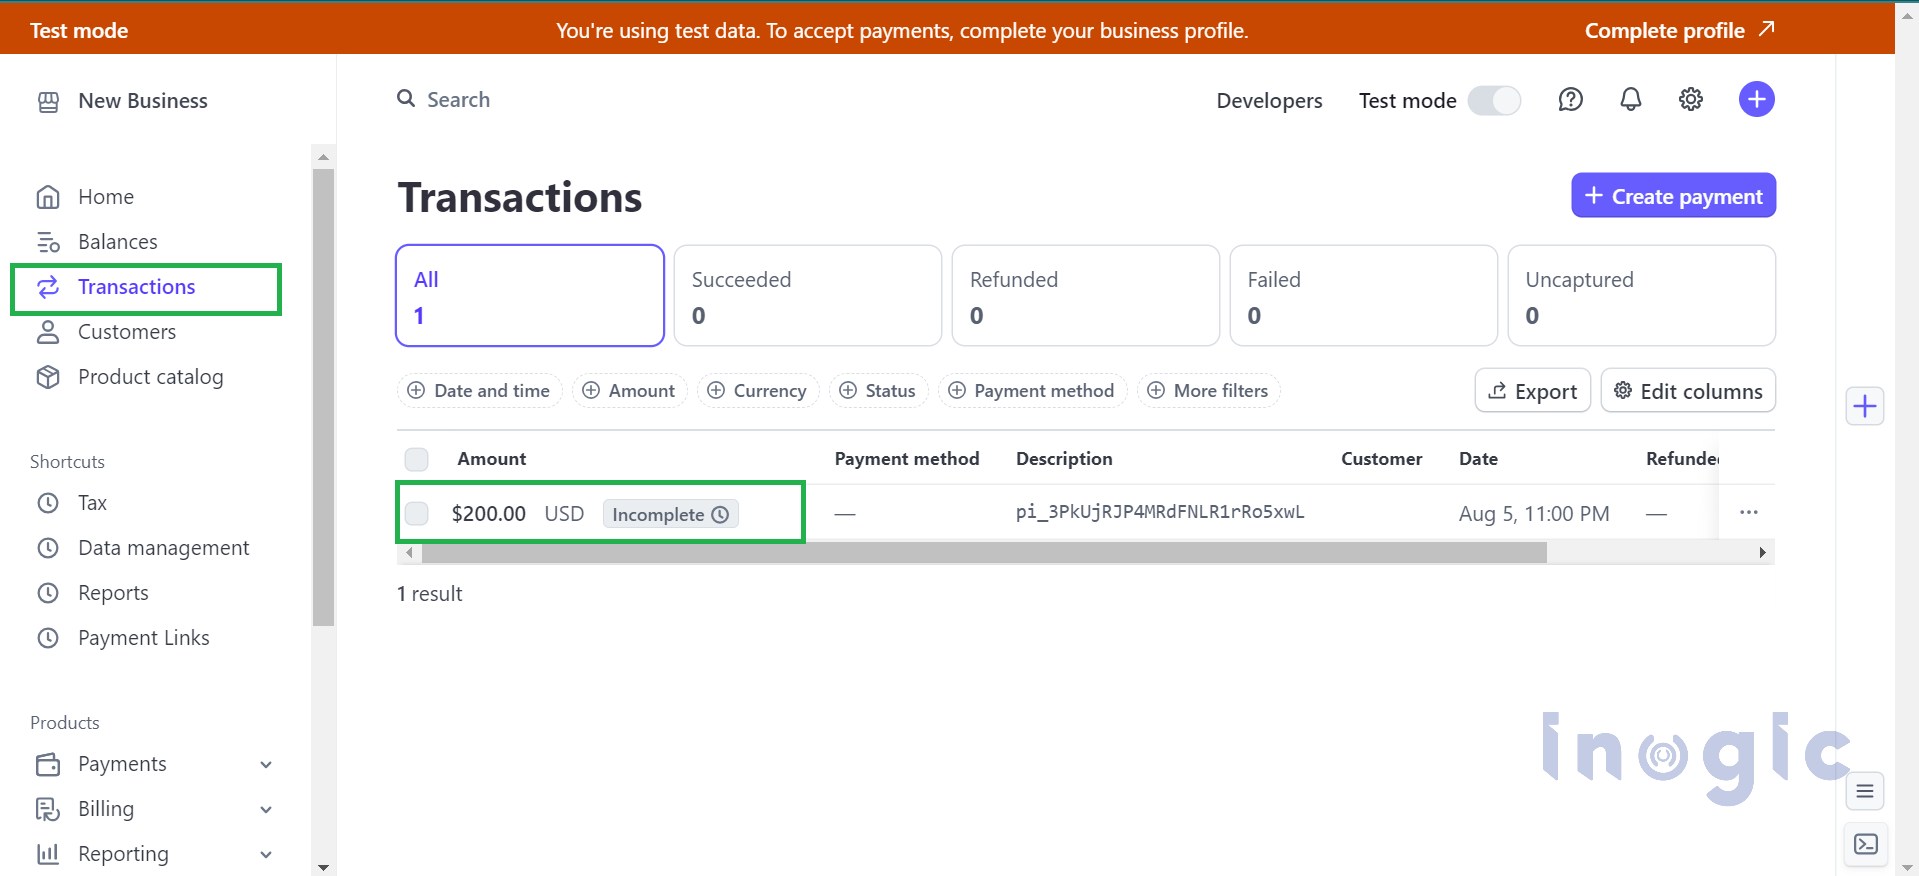
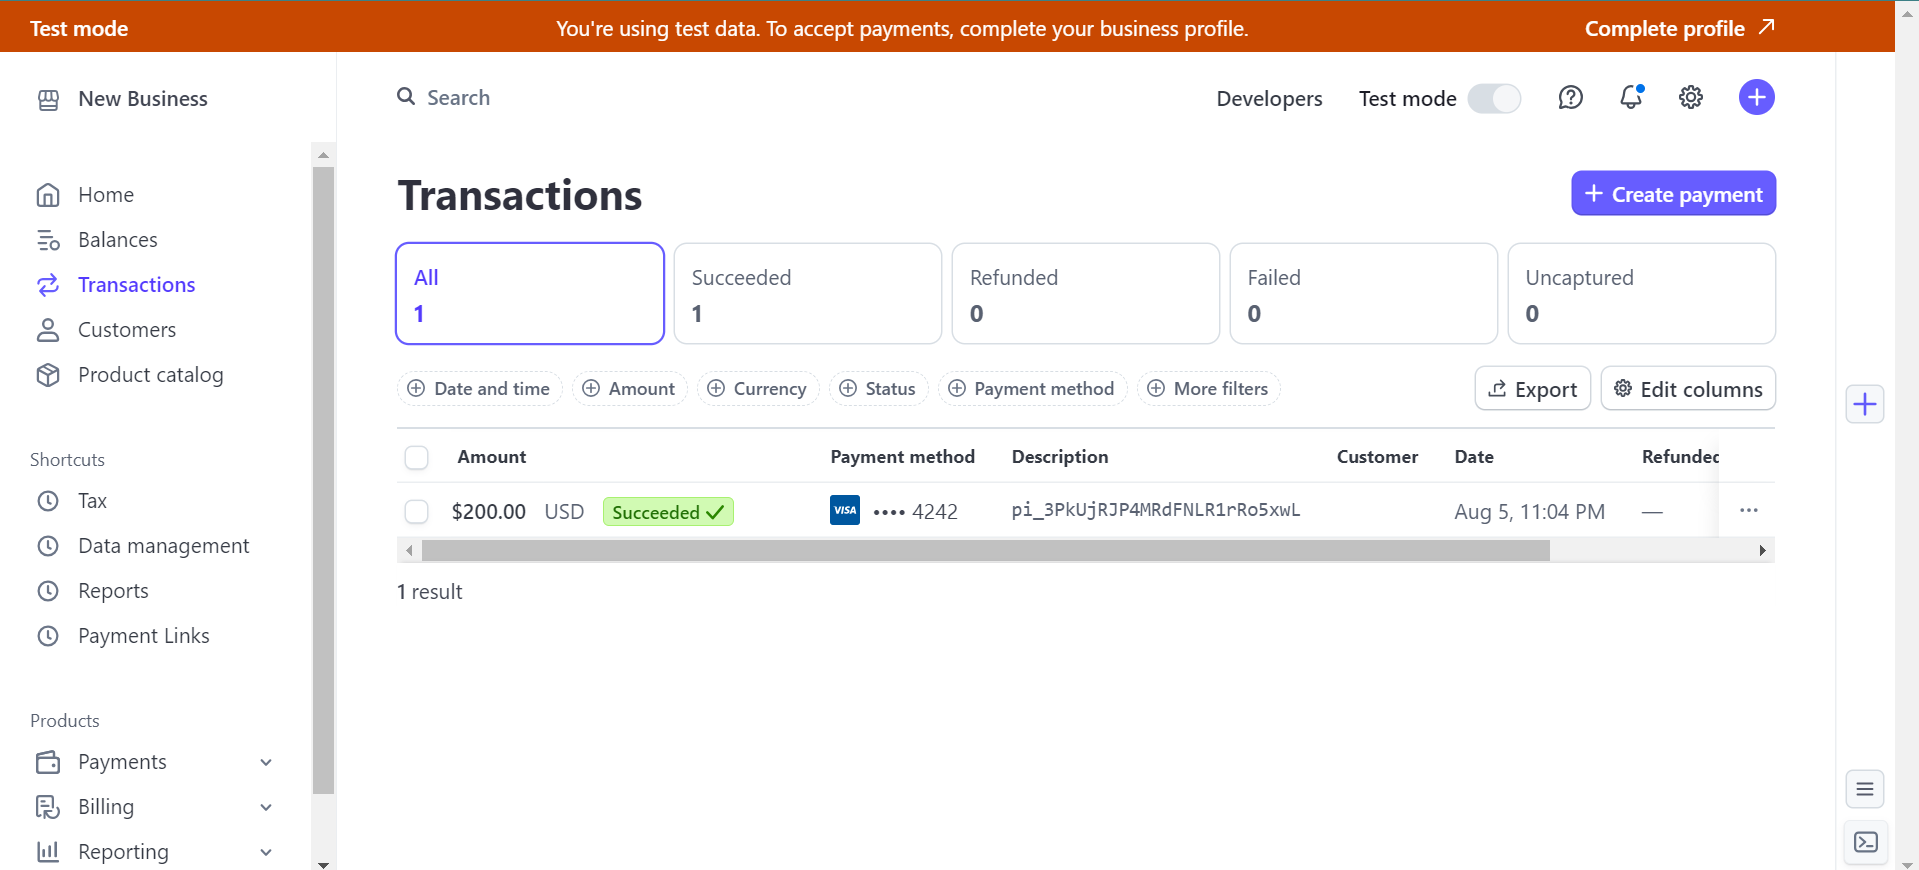
As shown in the screenshot below, you’ll see the $200 payment listed in the Stripe transaction section of your Stripe dashboard.
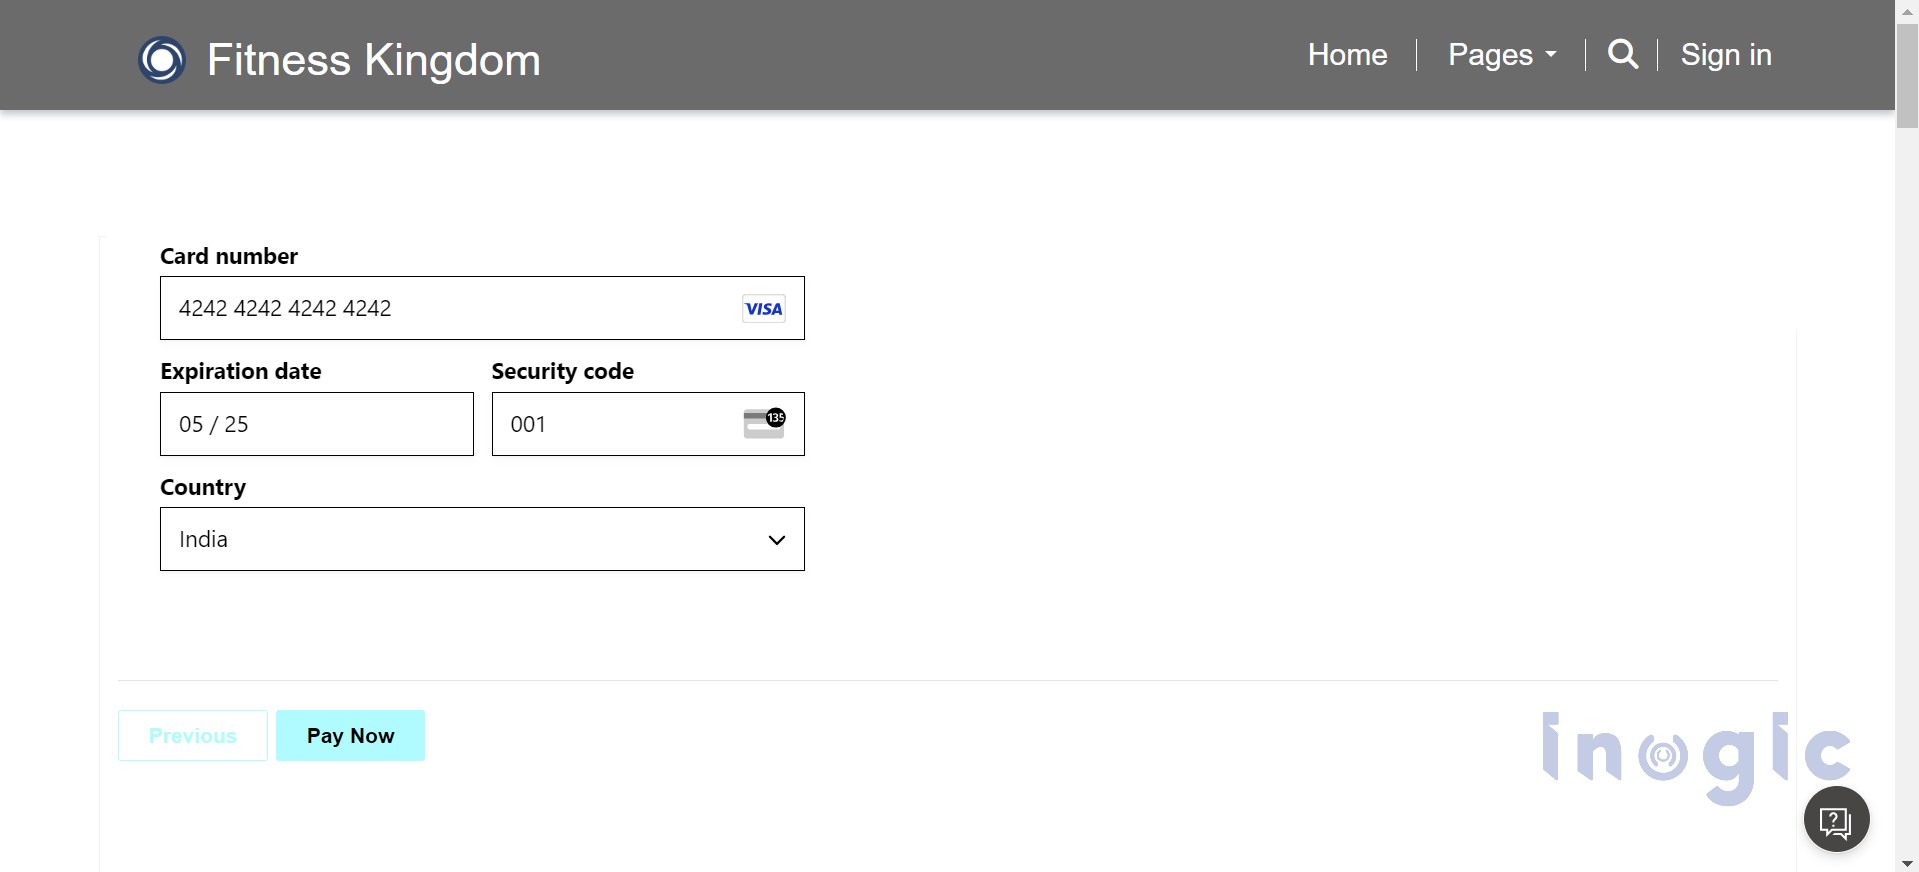
To test the portal’s payment functionality, Stripe provides dummy card details. Use these details to test how the digital payment integration works. For more information, you can explore Stripe’s Developer Tools documentation for testing card details.
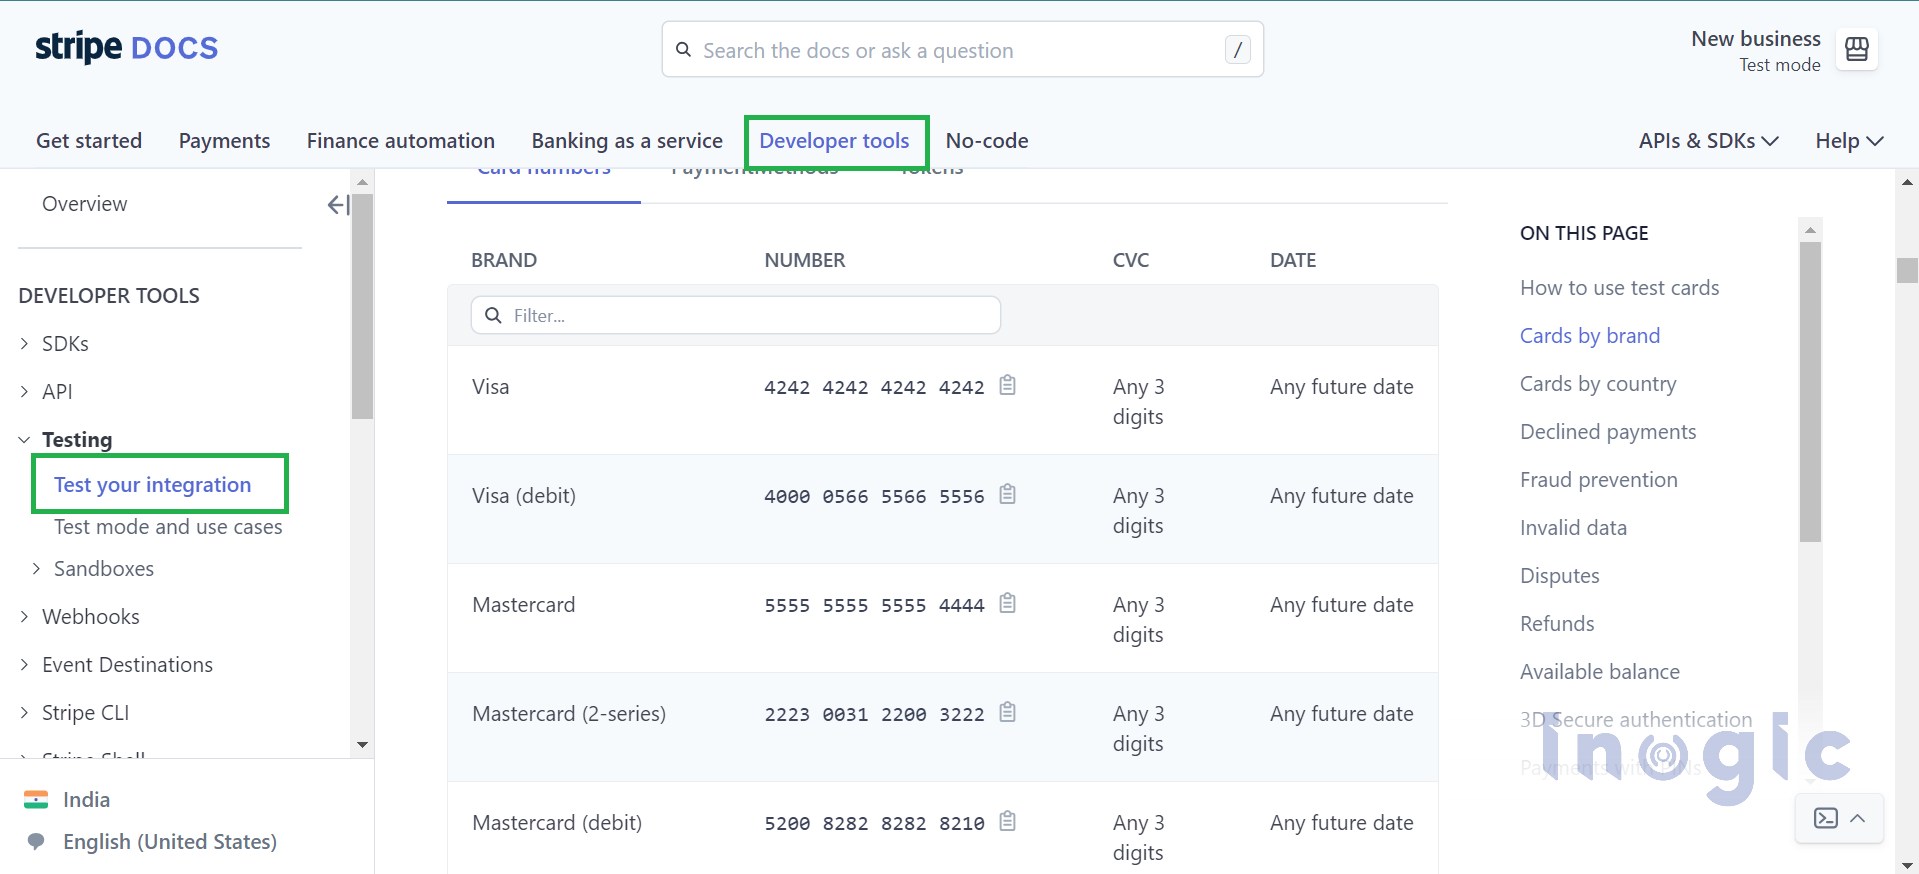
You can use any card details, regardless of region or brand (e.g., Visa, MasterCard). After entering the card information, click the “Pay Now” button to complete the payment.
After completing the payment, you’ll see the status of the initiated payment change from “Incomplete” to “Succeeded.”
Conclusion
Integrating Stripe payments into your Power Pages site simplifies the payment process for your site, making it easier for members/customers to pay for memberships, classes, and sessions. By following the setup and testing steps, you ensure a smooth and secure payment experience, enhancing overall customer satisfaction.
From customizing Microsoft Dynamics 365 to developing Copilot-enabled Power Platform Apps, our outsourced development services ensure top-notch solutions tailored to your needs. Let our experts handle the technicalities while you focus on your core business. Email us at crm@inogic.com to get started today.