 Power BI has introduced an exciting feature that allows users to leverage the capabilities of Power Automate through buttons within Power BI reports. This enhancement significantly improves the user experience by enabling users to perform operations directly by clicking on a button from the report interface.
In this blog post, we’ll provide a step-by-step guide on how to utilize a Power Automate button to trigger automated tasks within a Power BI report. Here I have taken an example to demonstrate how a single click can send a new lead directly to an Excel spreadsheet.
Let’s see how we can implement this.
Step 1: Designing the Power BI Report
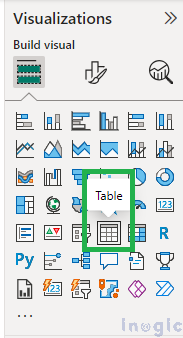
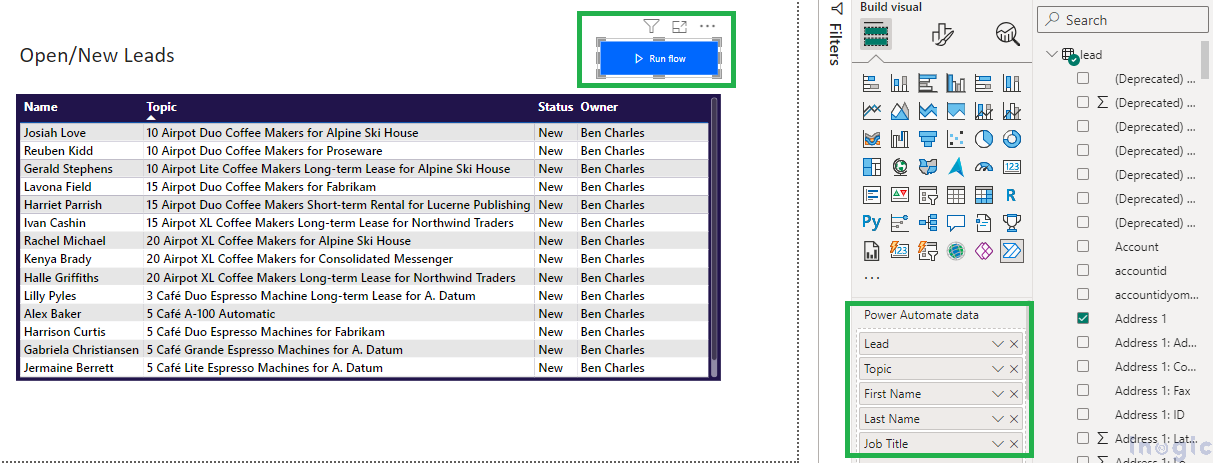
First, add a new table visual from the Visualizations pane.
Step 2: Adding the Lead Table using Dataverse
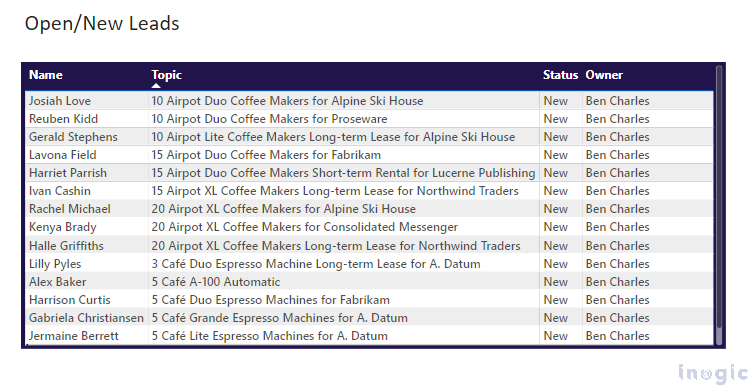
Next, connect to Dataverse to retrieve the lead records. Ensure your report is linked to a Dataverse source where your lead information is stored.
Step 3: Creating the Power Automate Flow
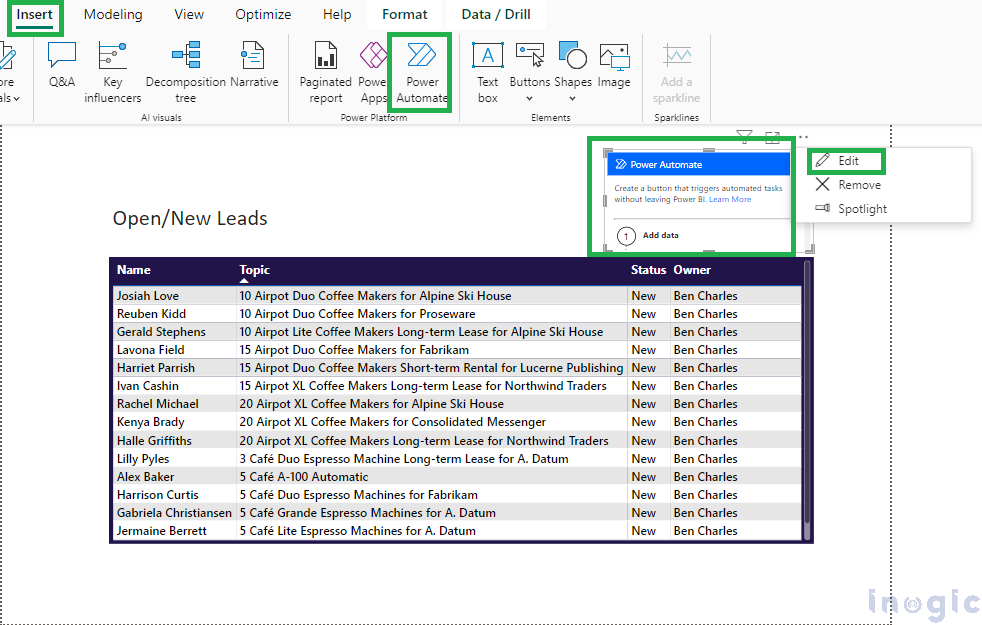
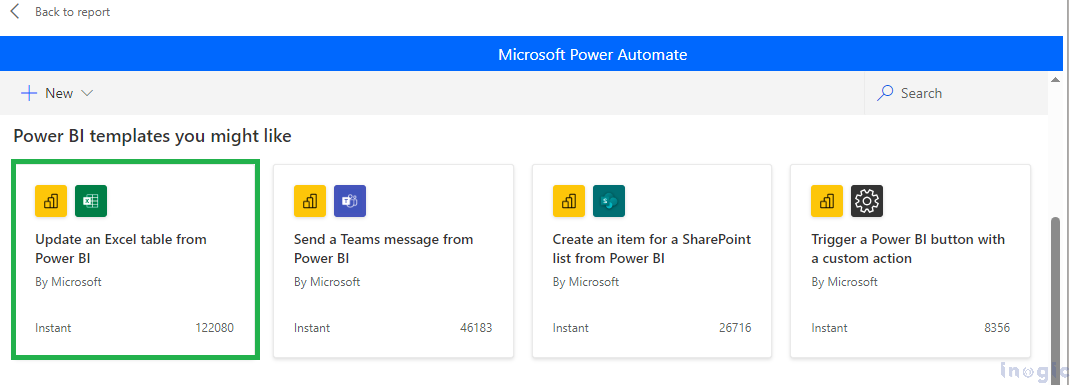
To add a new Power Automate button, click on “Insert” and then “Power Automate.” Click on the Power Automate visual button, click the three dots, and select “Edit.” This will open the Power Automate setup within the Power BI visual. Under the Power BI template, select “Update an Excel table from Power BI.“
Step 4: Initializing the Input Parameters in the Power Automate Button Visual
Once the flow is created, we need to provide the input parameters. Select the Power Automate Button visual and drag and drop the fields from the lead data source (like lead, topic, first name, etc.) into the Power Automate Data section. These fields will be sent as an array to the Power Automate flow.
Step 5: Modifying the Flow
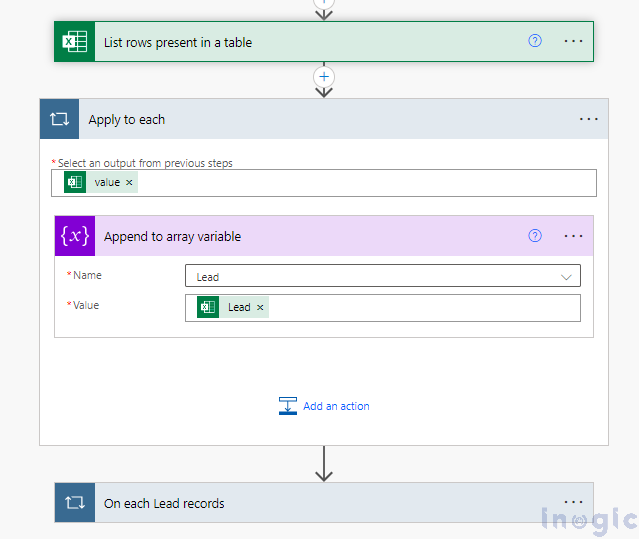
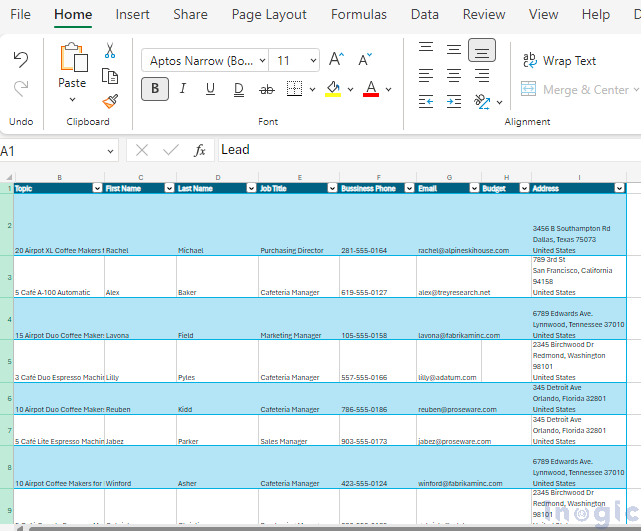
Initialize an array named “varLeadID” in Power Automate to store the list of leads’ GUIDs present in the Excel file. I have already created the Excel file (Open Lead.xlsx) in my OneDrive with all the necessary columns, i.e., Topic, First Name, Last Name, Job, Business Phone, Email, Budget, and Address. To obtain the Excel data, I utilized the “List rows present in a table” action.

Within the “Apply to each” action for the Excel data, append the lead GUIDs from the Excel data to the “varLeadID” variable as shown below.
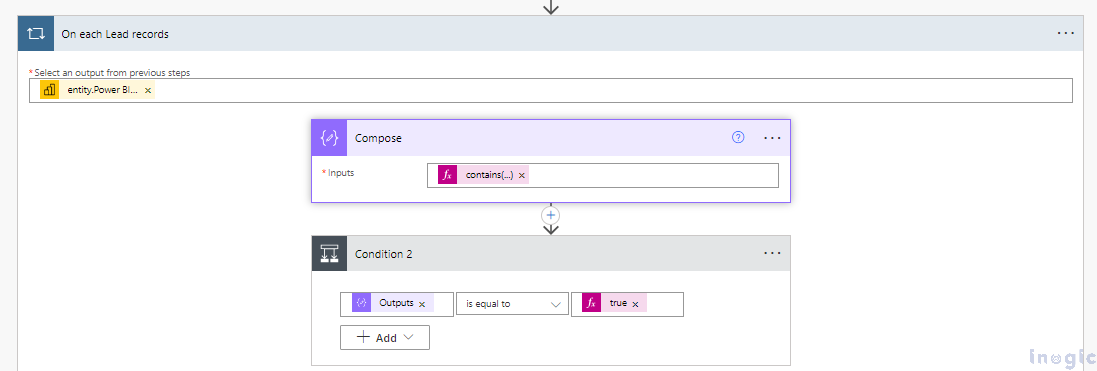
In the “Apply to each” action for the Power BI data, use a Compose action to check if the lead record from Power BI is in the “varLeadID” variable. using the following expression:
contains(variables(‘varLeadID’), items(‘On_each_Lead_records’)?[‘Lead’])
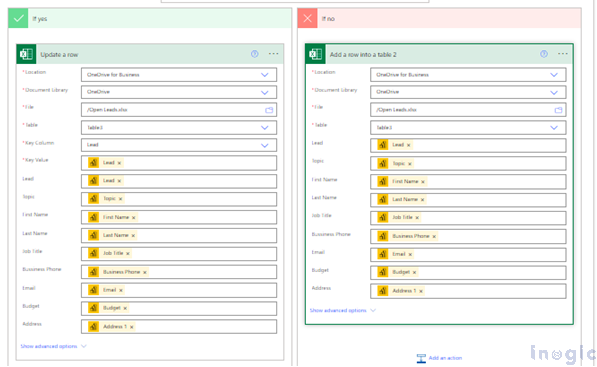
If the lead already exists in Excel (verified by the output of the Compose action), update the corresponding row. If it does not exist, add the new lead record. To perform these actions on a designated Excel spreadsheet use the “Excel Online (Business)” connector. Specify the location of the Excel spreadsheet where these operations should be carried out.
Step 6: Running the Flow
Once the flow is created, publish the report into your workspace and trigger the flow by clicking the button. You will find the updated list of lead data in your OneDrive Excel file.
Conclusion
Integrating Power Automate into Power BI reports is a game-changer for automating certain processes, thus extending the possibilities we can achieve using Power BI.