Introduction:
If you build PCF components then you must be aware that to create a standard control we render it on the container, which is provided in the PowerApps Component Framework.
Microsoft has introduced a new type of control named Virtual Control. As the name suggests, this control creates and renders on the Virtual DOM.
Virtual Components is where we can use the Virtual DOM and reuse the libraries i.e. Fluent UI and React from the PowerApps host. The primary advantage of the virtual component is its drastic performance improvements.
How they are different from Standard Control?
There are many differences between standard and virtual control. In Manifest xml file type, in the control tag, the control-type attribute is changed from standard to virtual i.e. control-type=”virtual”.
<control namespace="Custom" constructor="VirtualField" version="0.0.1" display-name-key="Virtual" description-key="Virtual description" control-type="virtual">
In the resource tag, you will find React and Fluent UI dependency as well.
<resources>

<code path="index.ts" order="1"/>

<platform-library name="React" version="16.8.6" />

<platform-library name="Fluent" version="8.29.0" />

</resources>
In standard control, if there were many components, they would be bundled in its own React and Fluent UI for each component. This increases the footprints in your bundle.js, which increases the size of the same.
However, in virtual control, components are added to the parent virtual DOM which has the dependency on React and Fluent UI. This will decrease the size of your bundle.js drastically. But, this also means that we need to make sure the correct version of Fluent UI and React is there to be used in the PCF components. In a future release, we might see the option to change the version of Fluent UI and React.
We compared the size of virtual and standard control as shown in the images below.
Note: They were the same control i.e. same code and components were added to them.
Virtual Control –
Standard Control –
As we can see clearly, the difference between the sizes of the bundle.js file is quite prominent. As said earlier, this will affect the performance and you will notice it when you will use it in your CRM.
Previously, in the index.ts file of standard control, the class was implementing StandardControl.
export class LinearInputontrol implements ComponentFramework.StandardControl<IInputs, IOutputs> {
constructor(){}
However, in virtual control, it will implement ReactControl, as we will be returning the react element.
export class LinearInputontrol implements ComponentFramework.ReactControl<IInputs, IOutputs>{
constructor(){}
This will also change the rendering of components from index.ts file. For standard control, we used to write our code as given below:
public updateView(context: ComponentFramework.Context<IInputs>): void
{

ReactDOM.render(React.createElement(App, {context}), this._container);

}
Here we were creating an element and rendering it in the physical DOM i.e. this._container that we get in the init method, which is quite expensive in memory usage. Whereas in virtual control we just need to return the created element that will render on the Virtual DOM.
public updateView(context: ComponentFramework.Context<IInputs>): React.ReactElement {
const props: AppProps = {context};

return React.createElement(App, props);

}
How to create Virtual Control?
Now let us see how we can create virtual control. It is similar to how we create standard control. Below is the command to initialize PCF control.
Standard Control – pac pcf init -ns custom -n LinearInputControl -t field
Virtual Control – pac pcf init -ns custom -n LinearInputControl -t field -fw react -npm
Here, -fw is the alias of –framework and -npm is to run the npm install command.
As we create react elements and render them on the virtual DOM so the framework will be React.
Note: This is still in preview; we may see many more things coming up in this Virtual PCF.
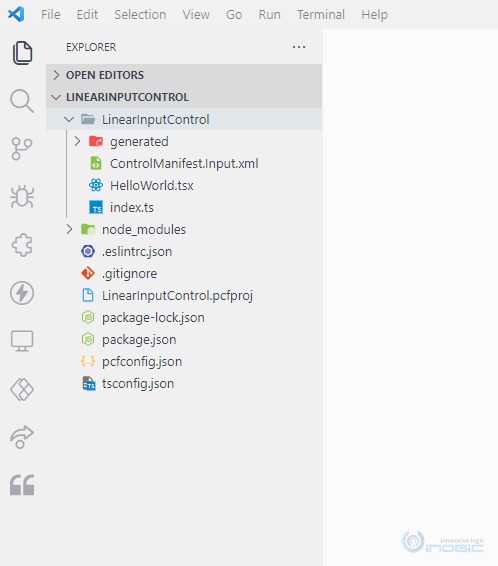
After running the above command, we will see our project as shown below:
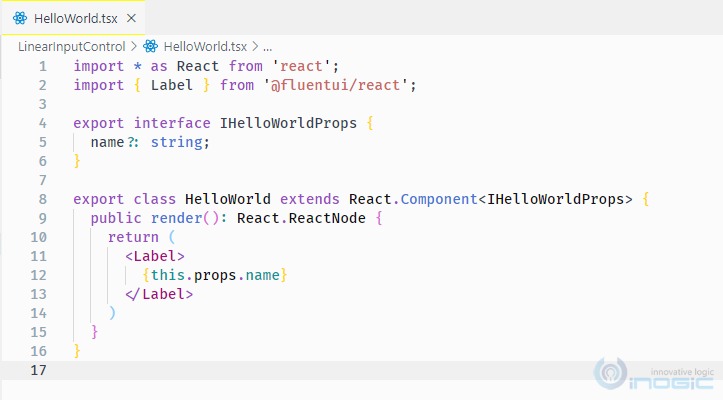
A sample component (HelloWorld) will be created by default.
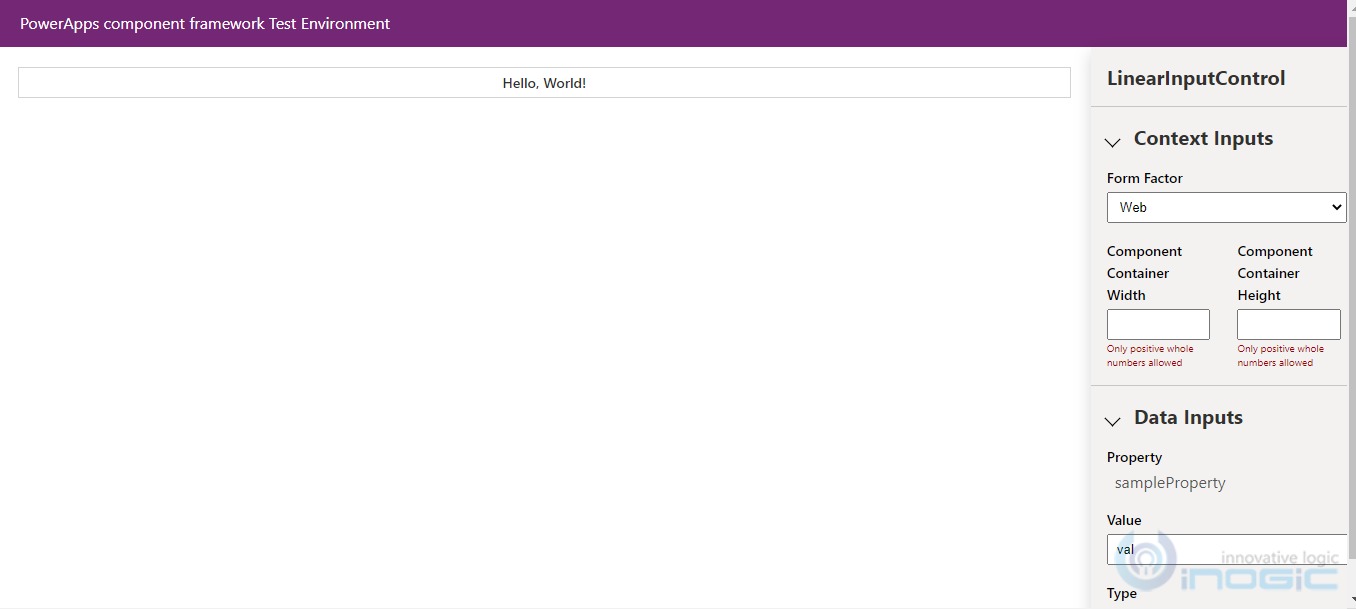
The Virtual control can be used in the test harness as well.
If we dive deep into the bundle.js then we can see that the host is providing the libraries of Fluent UI and React. Hence, the other components will not need to bring their fluent UI and React with them, which results in the reduction of size of the bundle js.
Conclusion:
I would say it would increase the performance of our components exceptionally. In addition, it is still in preview so I will recommend not putting this in your production soon.
To conclude, we learned how we can create Virtual PCF components and how they are different from the standard control.
Save 1-2 hours or $800 monthly on scheduling and managing business travel with a geo-mapping App!
Maplytics – Integrate Map with Dynamics 365 CRM and visualize data on the map, manage sales territories, auto-schedule appointments, get optimized travel routes, track field reps in real-time, and more


