Power Apps provides support for 2 types of design experience for Apps.
Model-driven apps – Data first approach – more for backend end user with full form experience.
Canvas Apps – Design first approach – more for the field users with a mobile experience with simple to use and easily accessible apps being designed to serve specific purpose.
Traditionally these have been aligned as Model-driven apps for web experience with full support for pro-dev extensions and Canvas Apps for citizen developers to design using low-code expression language now branded as Power Fx.
Custom pages is the next big step in the journey to unify the app experience and enable the developers and designer to combine the best of both worlds to give a seamless user experience to the end users without they having to worry about the technology being used and wait a second… they do not have to worry about the licensing as well.
Read here, canvas apps designed as pages do not count towards app limits.
With one of the earlier updates, we are allowed to embed Canvas apps within a model-driven form. But with Custom pages we will now be able to take advantage of Canvas app designers to build quick ui solutions that we can surface within model driven apps as;
- Standalone pages in sitemap – app navigation in the new app designer now supports adding Custom Page to navigation.
- Call them from the context of a form through client api like a popup dialog from a ribbon button on a form or home grid as an example.
Let us have a quick look at each of these options.
Standalone page in App navigation:
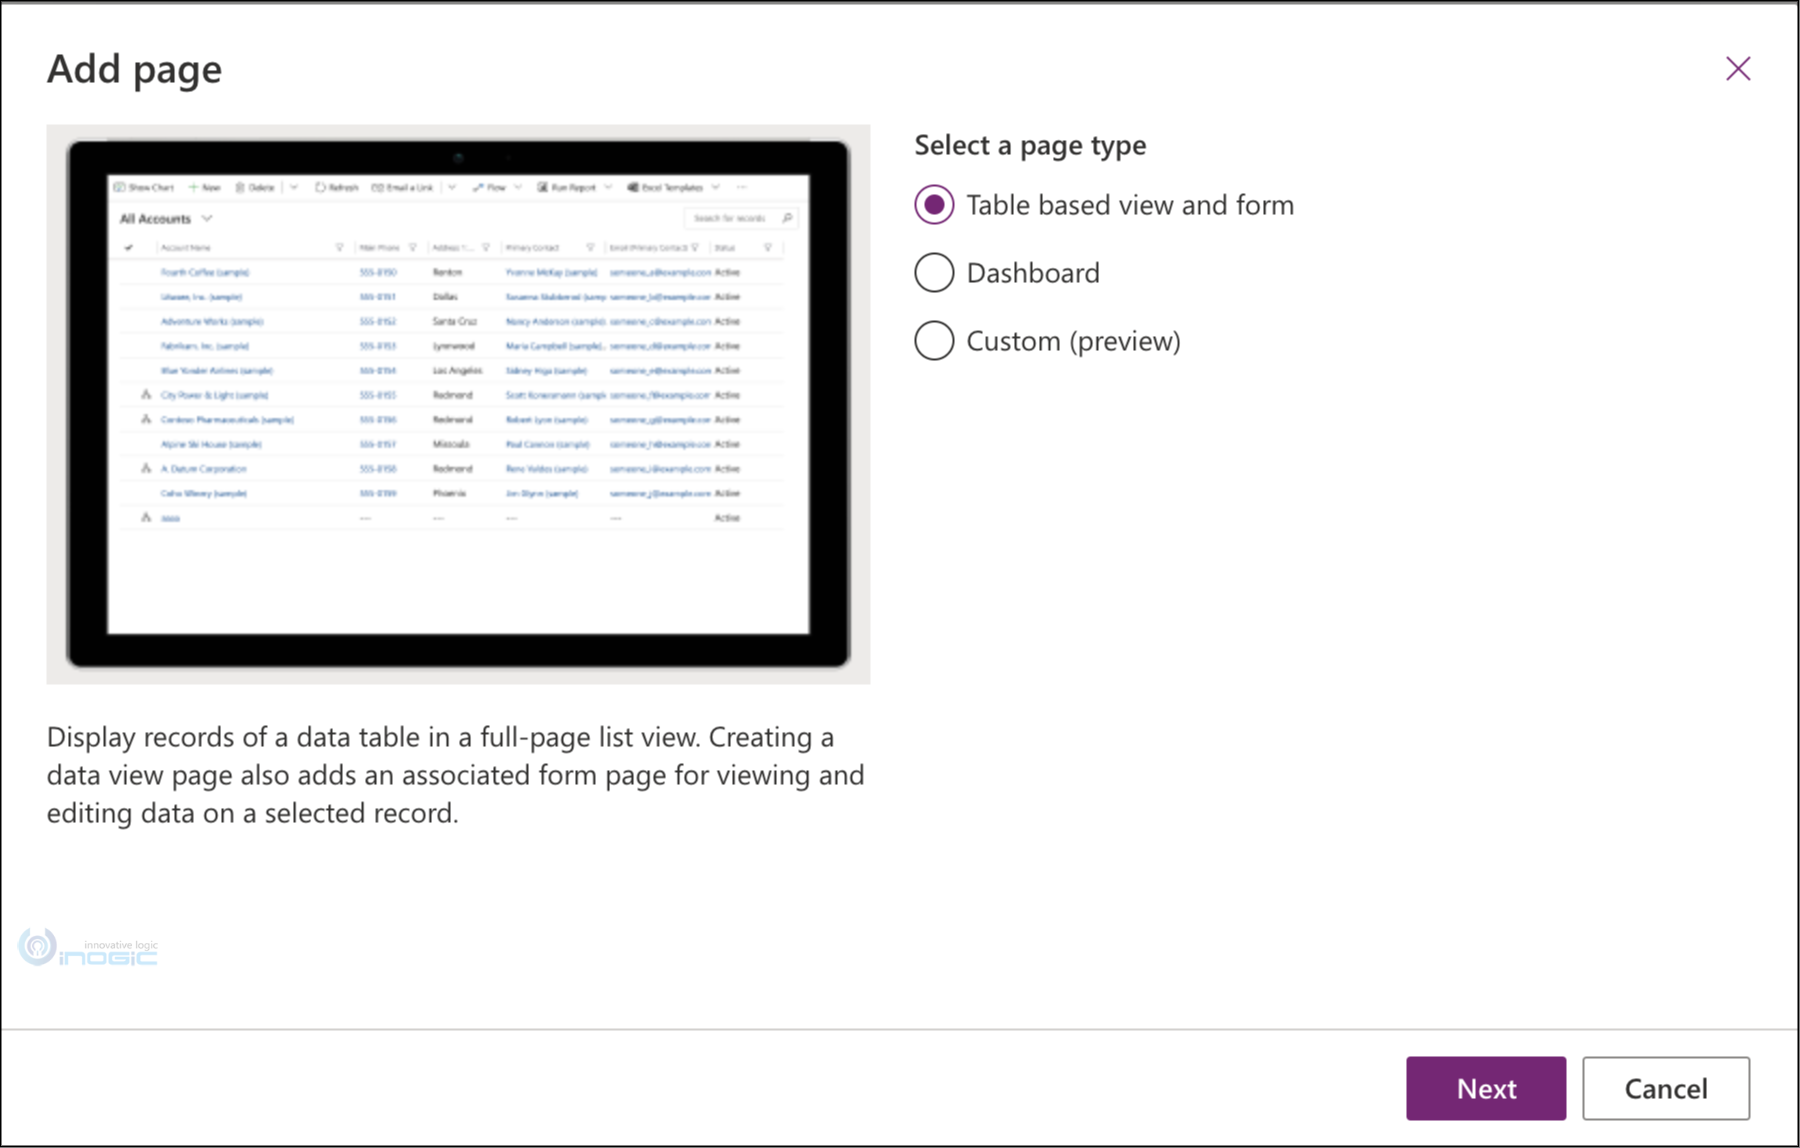
To add a custom page, we need to go through the new app designer experience that is currently in preview and choose the Custom option.
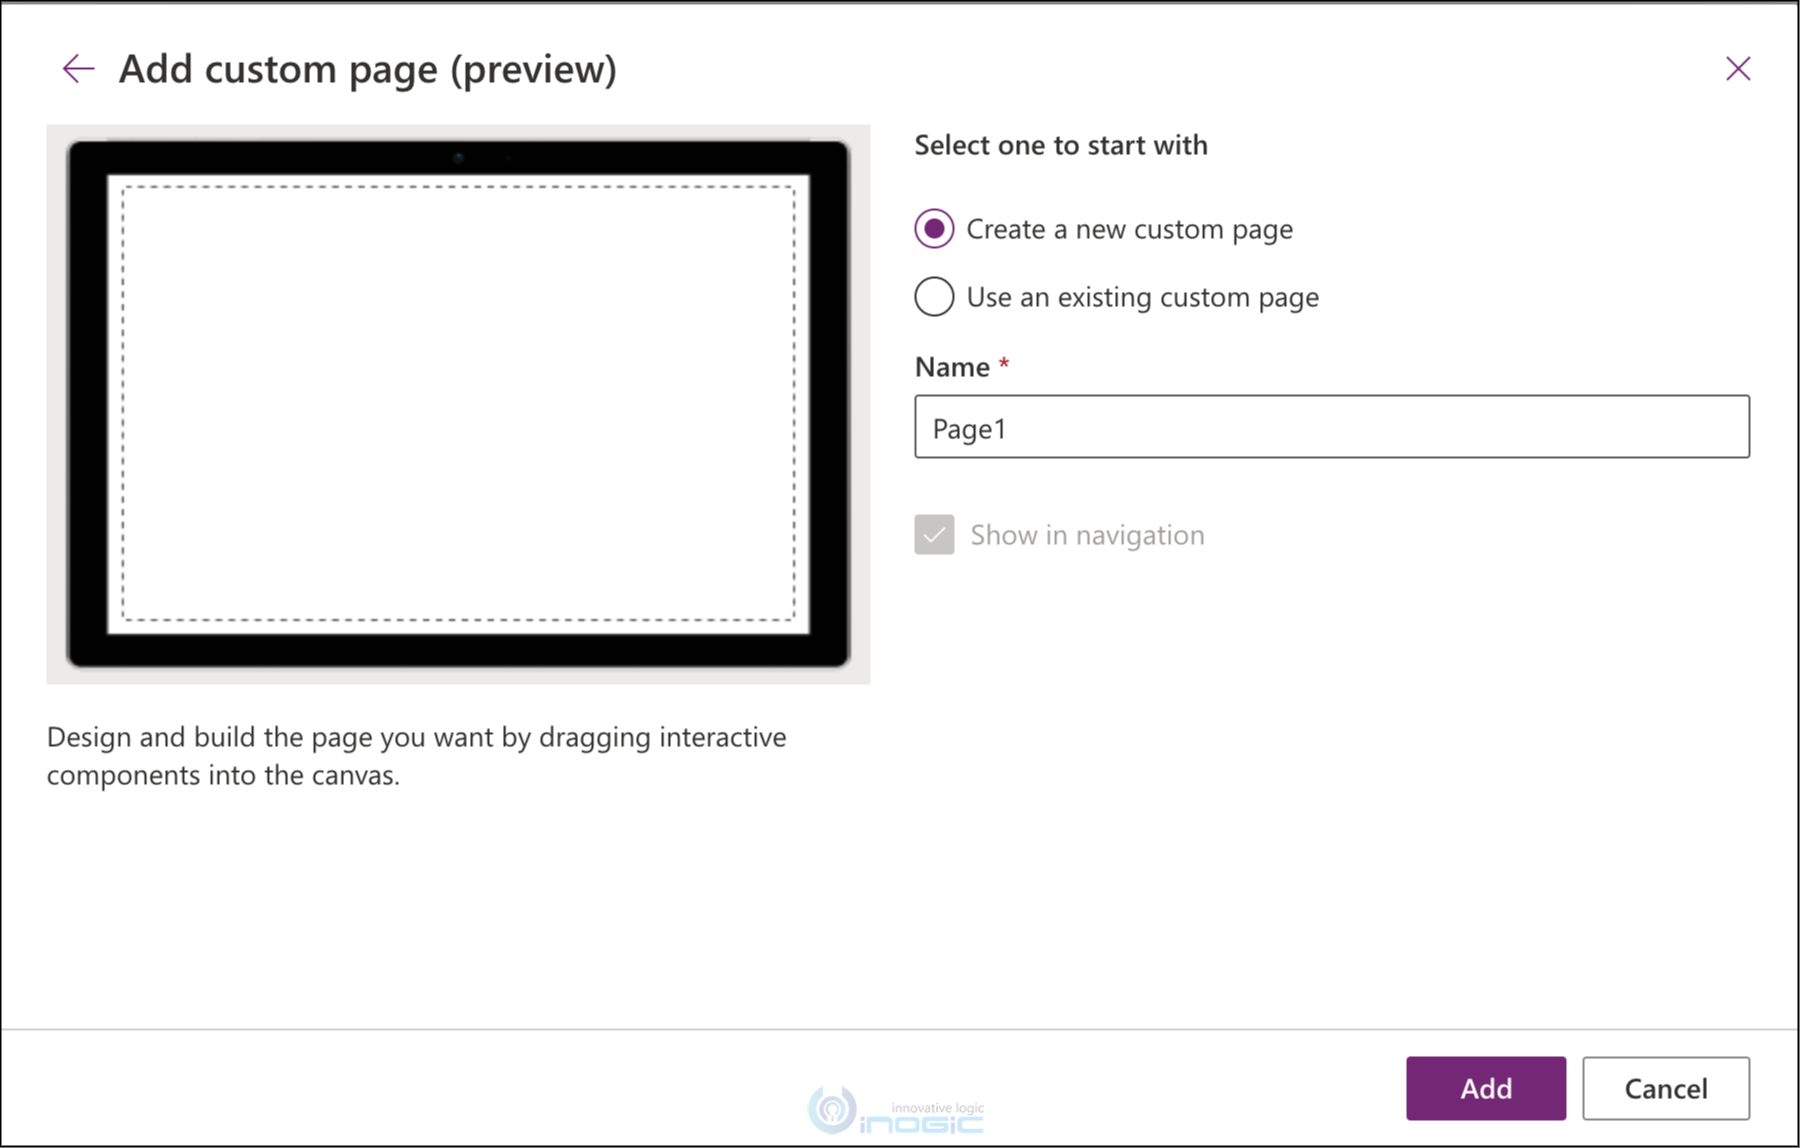
Next either choose an existing page if you have already designed one or create a new one.
Note: Since it talks Canvas apps I thought “use an existing custom page” would show me a list of all my existing canvas apps from my previous work and allow me to quickly add one of those and get going… BUT canvas apps are not custom pages – custom page is a new component type though it uses Canvas designer for designing it is not a canvas app and it won’t even be listed as an APP in your app listing.
Currently there seems no way to use existing canvas apps as is in this screen here. Check out the recommended way shared by the product team to get them migrated.
If you would like to include this as a standalone page in sitemap then check Show in navigation. Once you click Add, the very familiar Canvas App Designer shows up for you to go ahead and build your app.
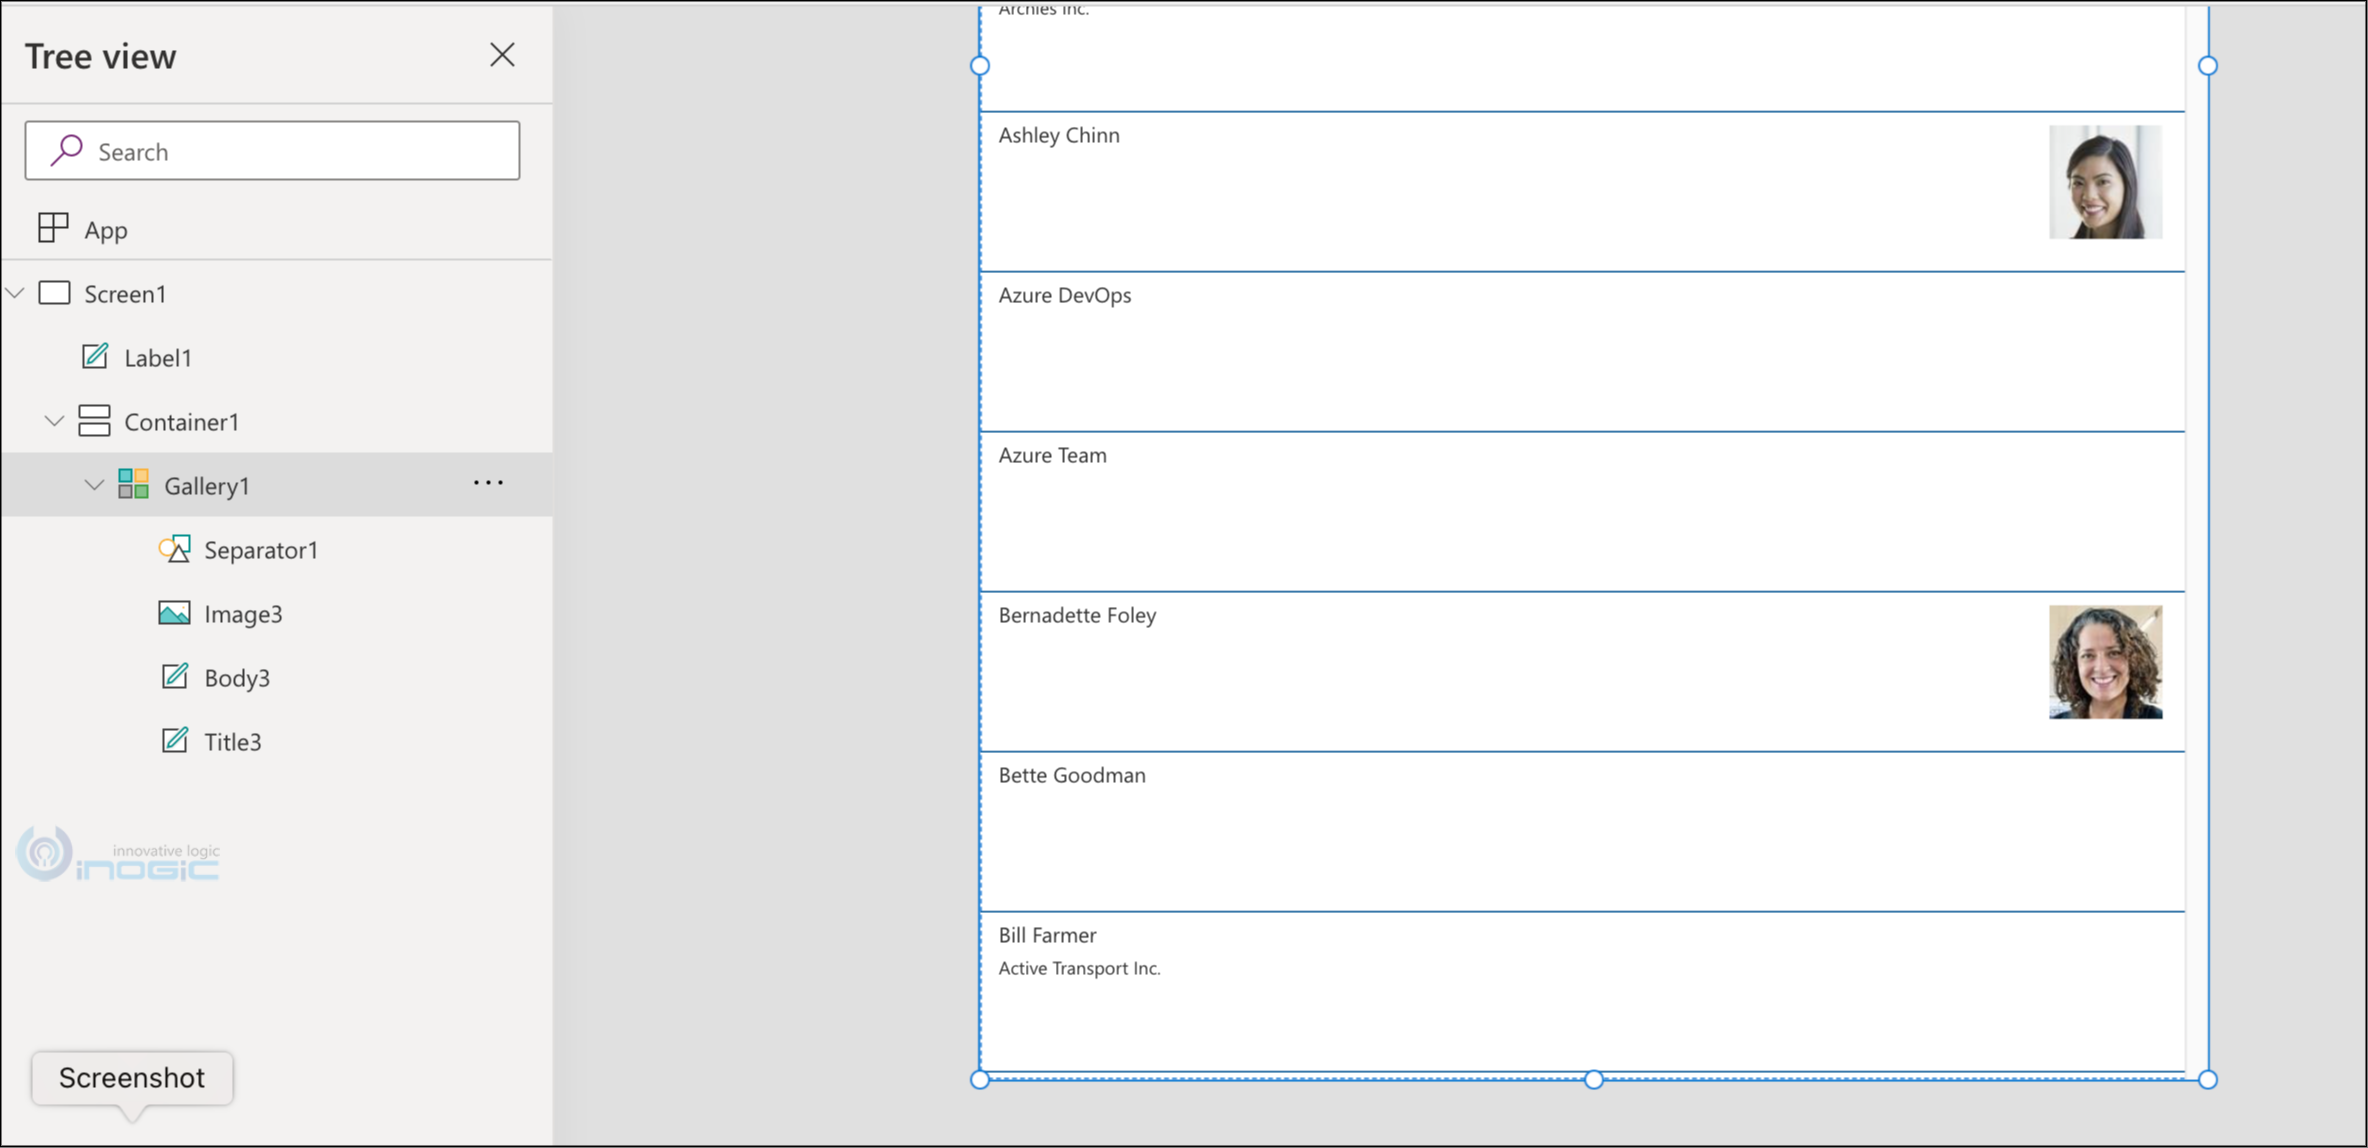
For this exercise I added a gallery component with Contacts listed in there.
With very minimal effort, we are now able to add visually appealing listing with images. Before Custom pages, this would perhaps have to be a Power Apps Component Framework Control requiring substantial efforts to develop.
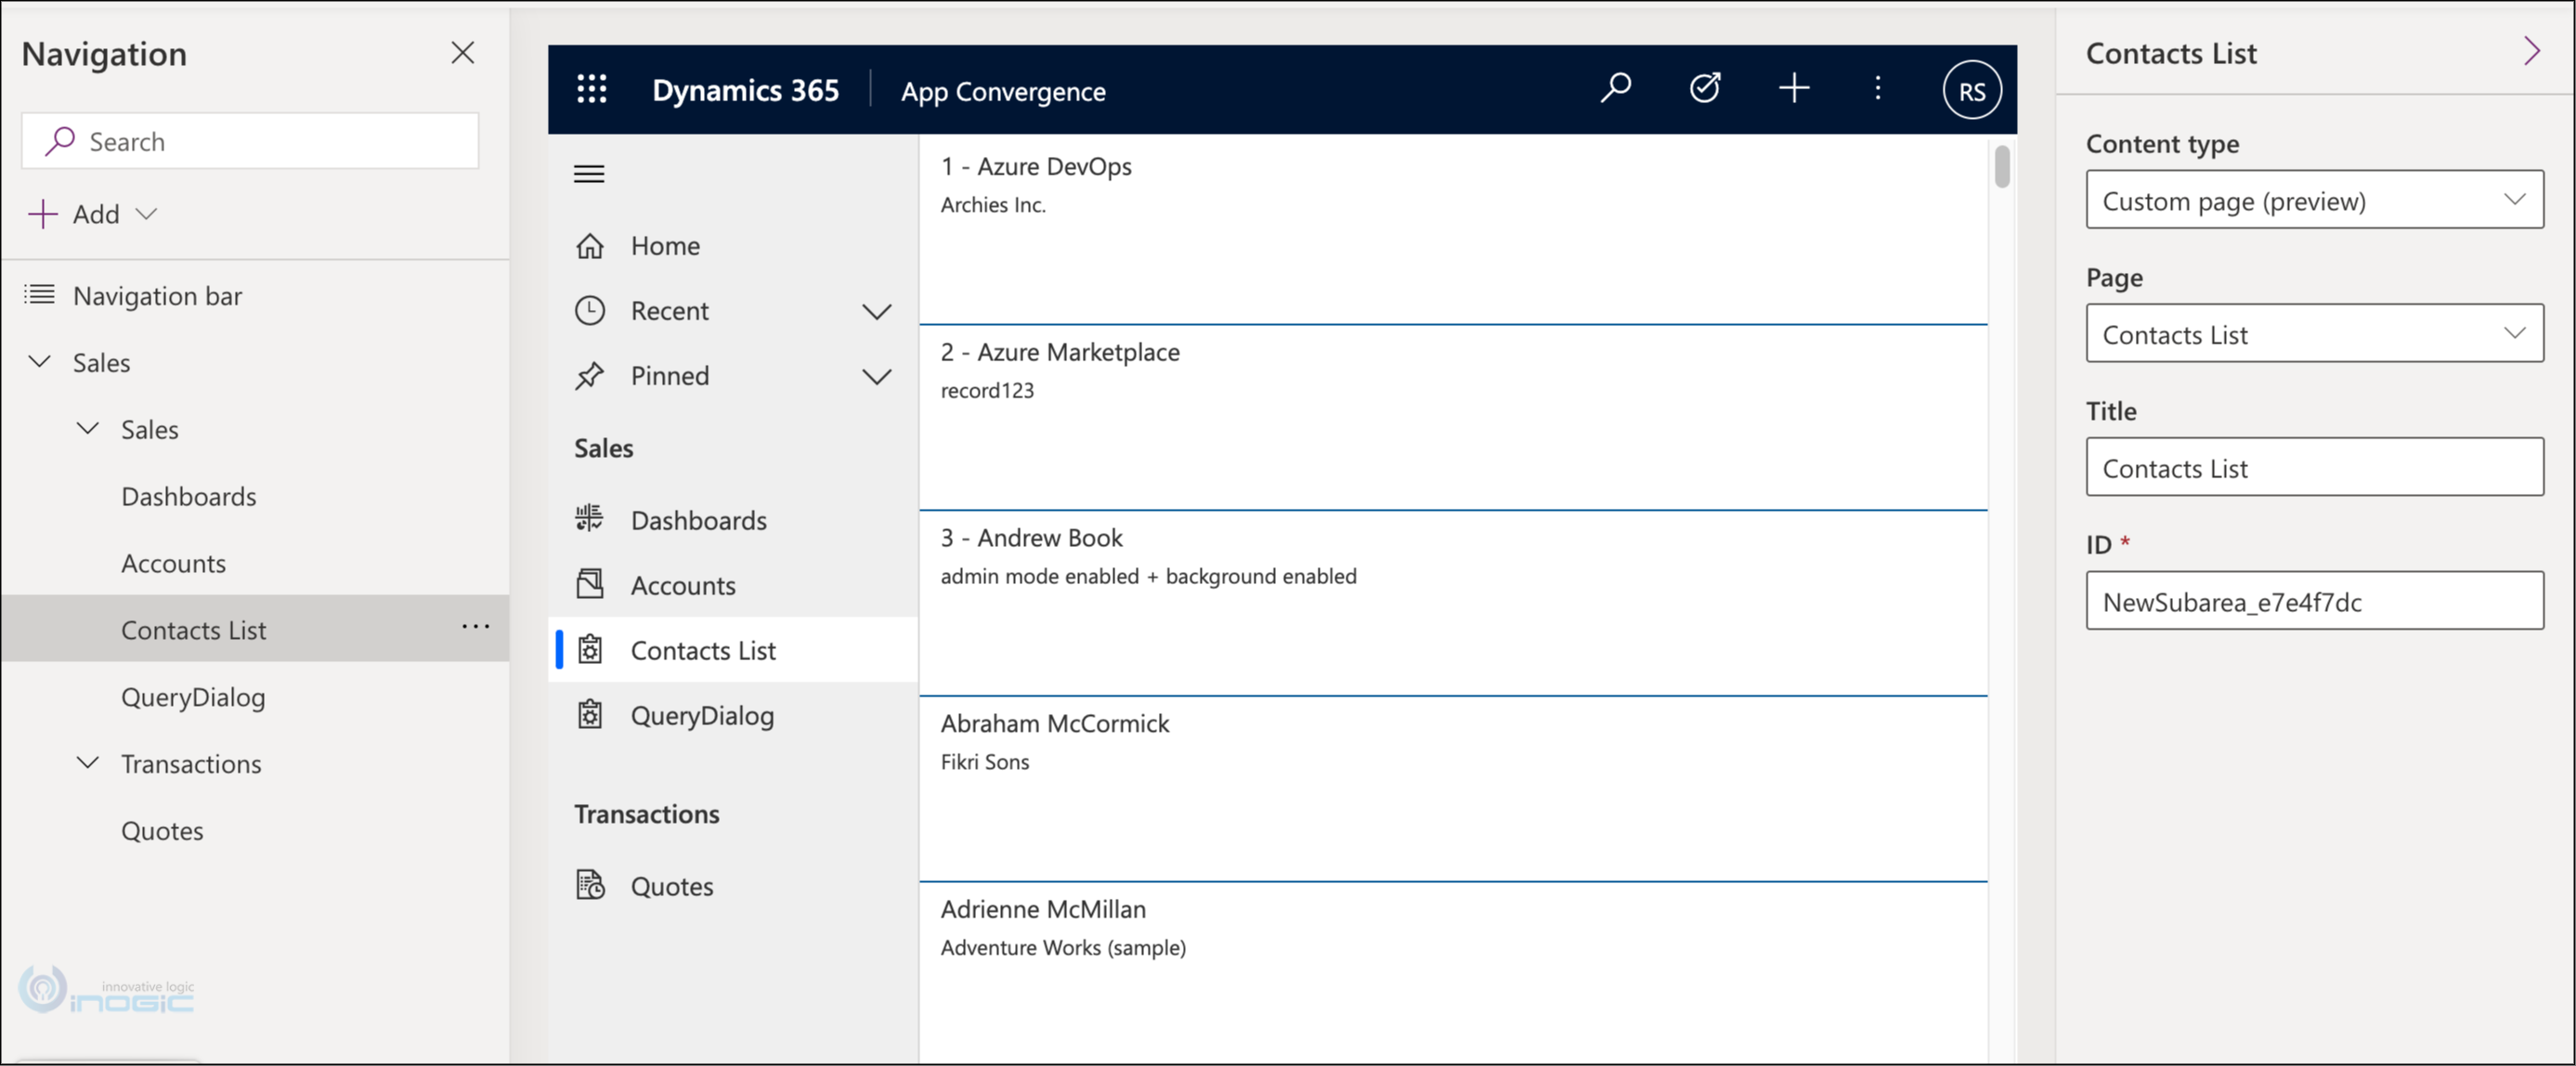
Save and publish this app from the canvas designer and click back to navigate back to the app designer to see this added to the navigation.
Make sure to publish the App to see the preview for the page.
And that is all it takes to converge a canvas app with a model driven app!
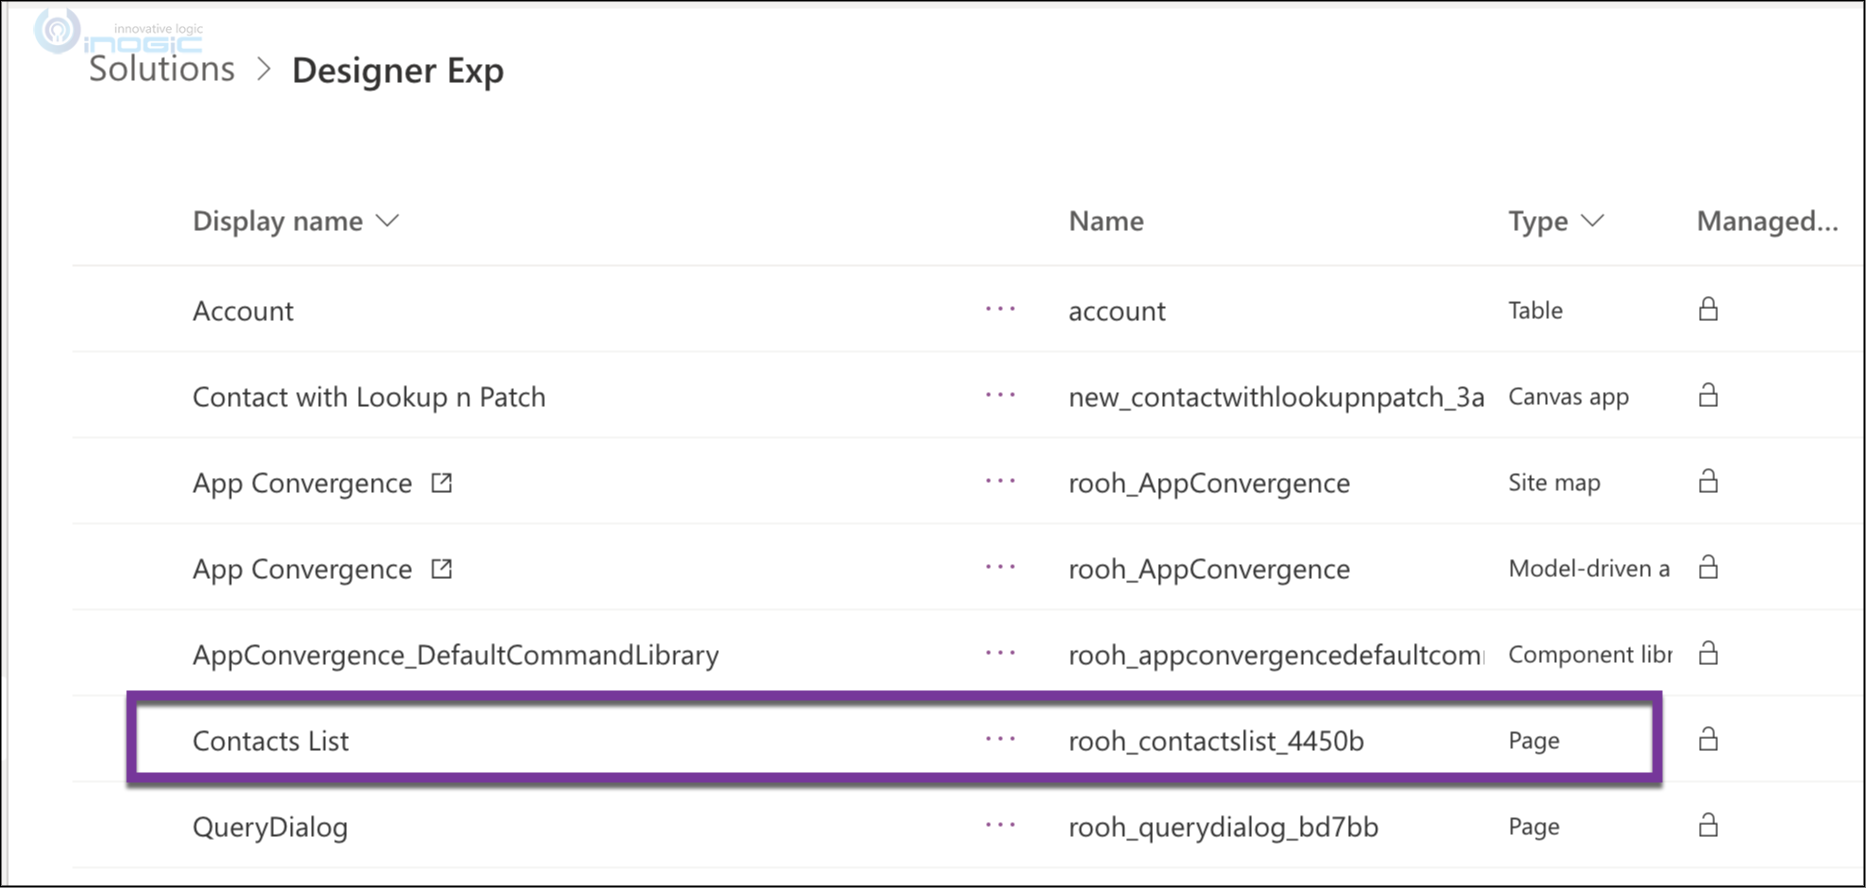
Have a look at your solution and you will see this listed as a Page and not a Canvas App.
Calling a custom page from a ribbon button
Note, you need to first have a page component created. You now have the option of adding a new page in the Add new option within a solution.
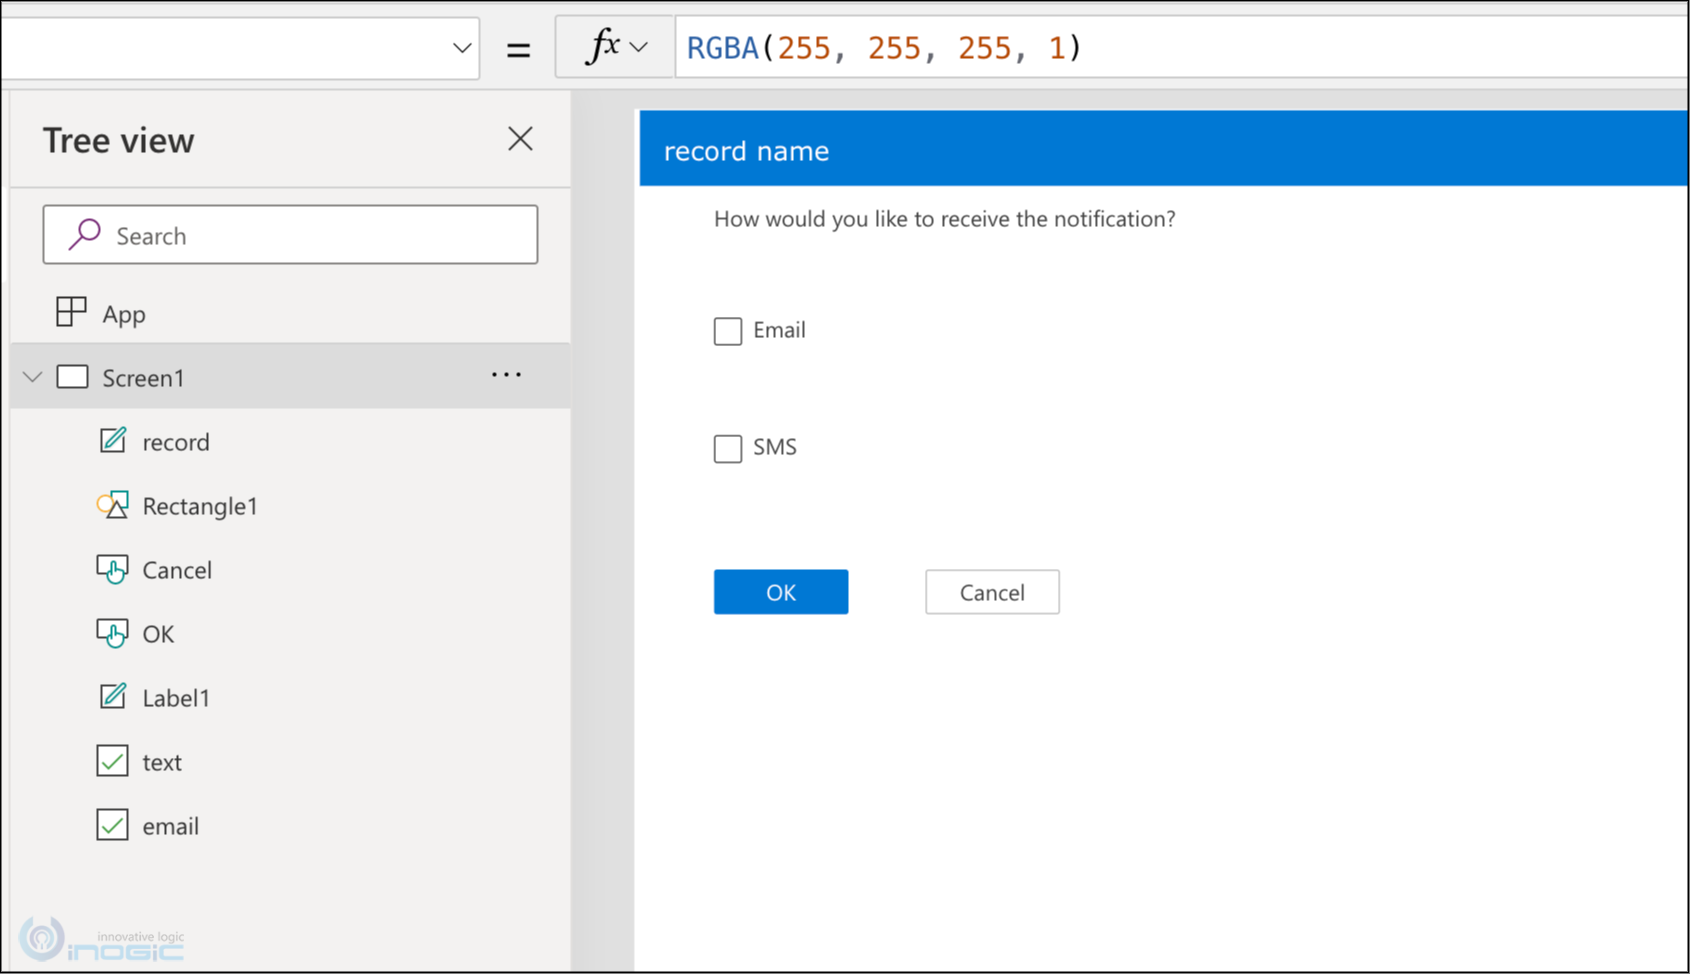
For this example, we will create an unbound screen to accept notification types from the user as shown below:
These controls have simply been arranged on the canvas. No further code is added to any control here.
Now let us modify the text for the record label to instead show the name of the record that this button was invoked for.
In the App -> OnStart event type the following code:
Set(RecordId, Param(“recordId”));
Set (selectedRecord, LookUp(Accounts, Account = GUID(RecordId)));
Notify(RecordId);
Param(“recordId”) is a parameter that we will pass to this page when invoking it from the ribbon button from model driven app. This will be the recordId of the selected record from the home grid.
LookUp(Accounts, Account = GUID(RecordId))
Here we search for an account in the database with same recordid as the parameter received.
Now modify the text property of the record label added to the canvas to show the name of the account retrieved using the recordId passed as parameter.
With this, page design is complete, let us save and publish this page and return to the solution explorer.
Note: Make sure to also publish the app each time you edit the page, I noticed the page throws an error until the app is published and then you re-open the app editor.
Go back to App designer and show the Edit in preview option to use the new designer interface.
Choose edit command bar for the account entity.
Here, choose main grid that’s where we will add the button.
Add + New Command.
Since we would like this button to show up only when one record from the grid is selected we write Power Fx expression in the Visible property as shown above.
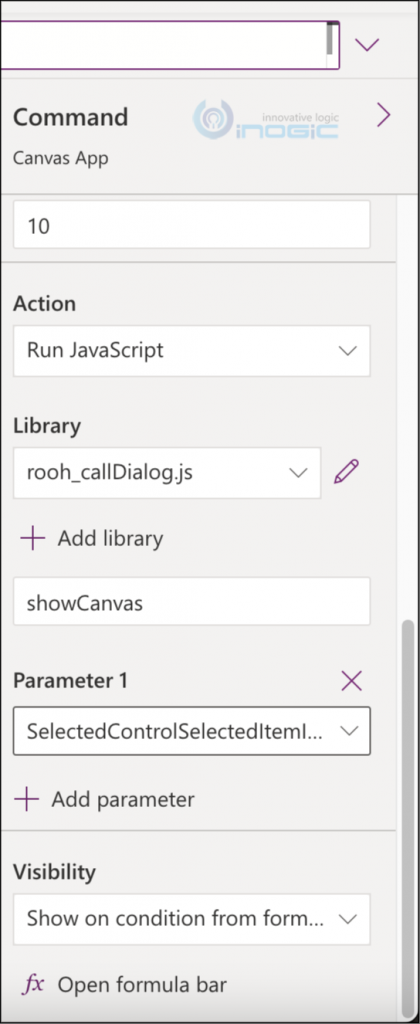
Next to show the page on the click of the button, we need to call a javascript function. Choose Run JavaScript for the Action property and select the javascript library with the code.
Type in the function name to execute from the library and in our case, we also pass the parameter which is id of selected records from the grid.
Here is what the showCanvas function looks like;
function showCanvas(id)
{
alert("in here");
alert("text " + id);
//set the pageType as custom, to call a custom page that we just created
// name is the logical name of the page you can pick this up from solution explorer
var pageInput = {
pageType: "custom",
name: "rooh_querydialog_bd7bb",
entityName: "account",
recordId: id
};
//target = 2 is for dialog
//position = 1 is for center dialog
var navigationOptions = {
target: 2,
position: 1,
title: "Notification"
};
Xrm.Navigation.navigateTo(pageInput, navigationOptions).then(
function success() {
// Run code on success
alert("loaded");
},
function error() {
// Handle errors
alert("error");
})
}
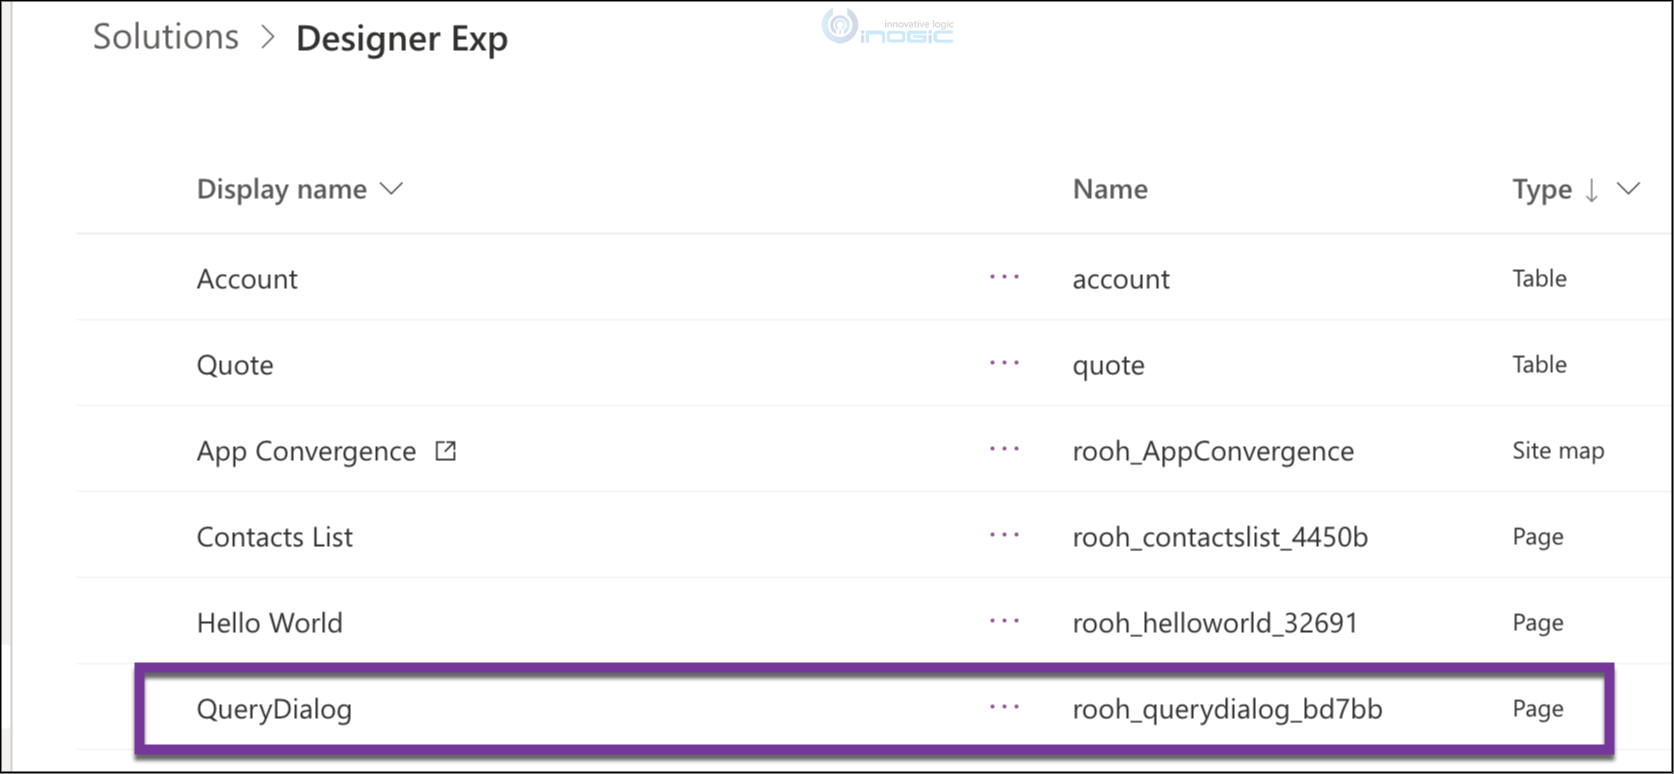
Here is where you can pick up the logical name of the page you just created.
It doesn’t allow you to copy the name so be careful when typing out the name.
Save and publish the command bar and click Play to preview.

Alternate method could certainly be to update a field of the record using the Patch() from within the custom page on the OK or Cancel button click.
Being a canvas app, you can now also invoke a flow from the buttons on the custom page to process the selection further.
Conclusion: Custom pages would certainly help with many of the UI scenarios that have traditionally required developing custom web resources or pcf controls and with license considerations out of the picture, it would make adoption of this one a lot easier.
