Introduction
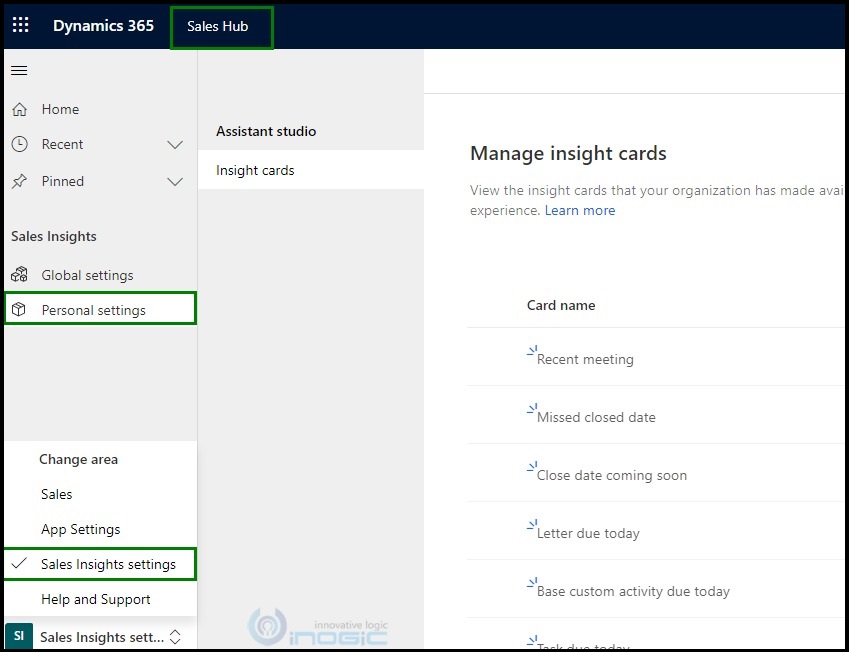
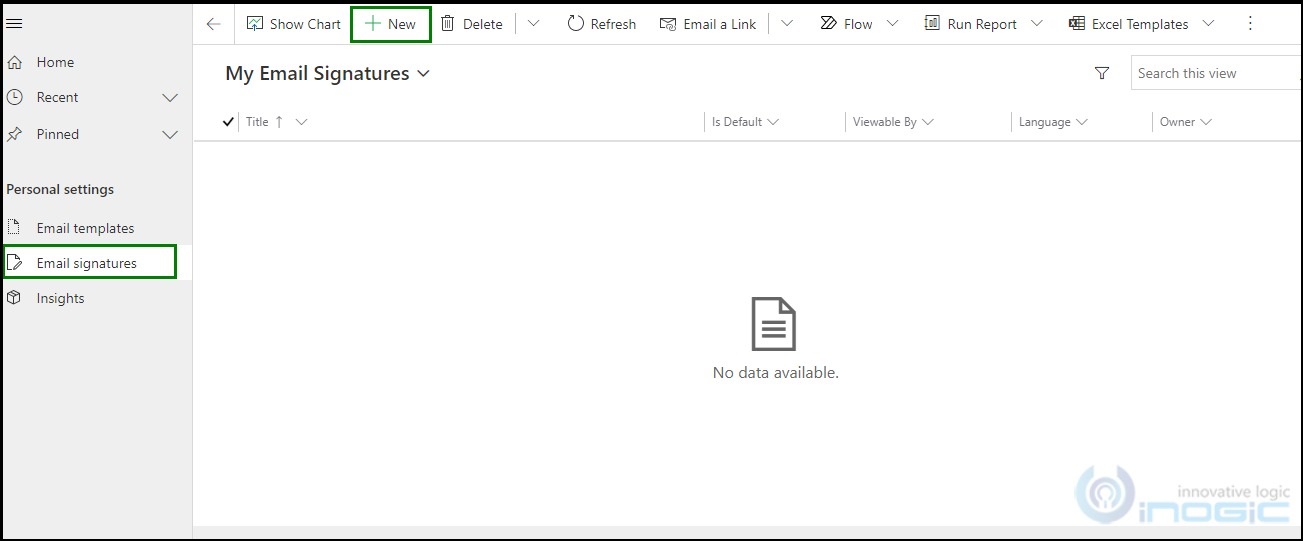
In this blog, we have explained how to create an Email template and Email signature in UCI. Earlier, this feature was not present in UCI as shown in the below screenshot, but now it is available in the 2021 Wave 1 release.
Feature Details
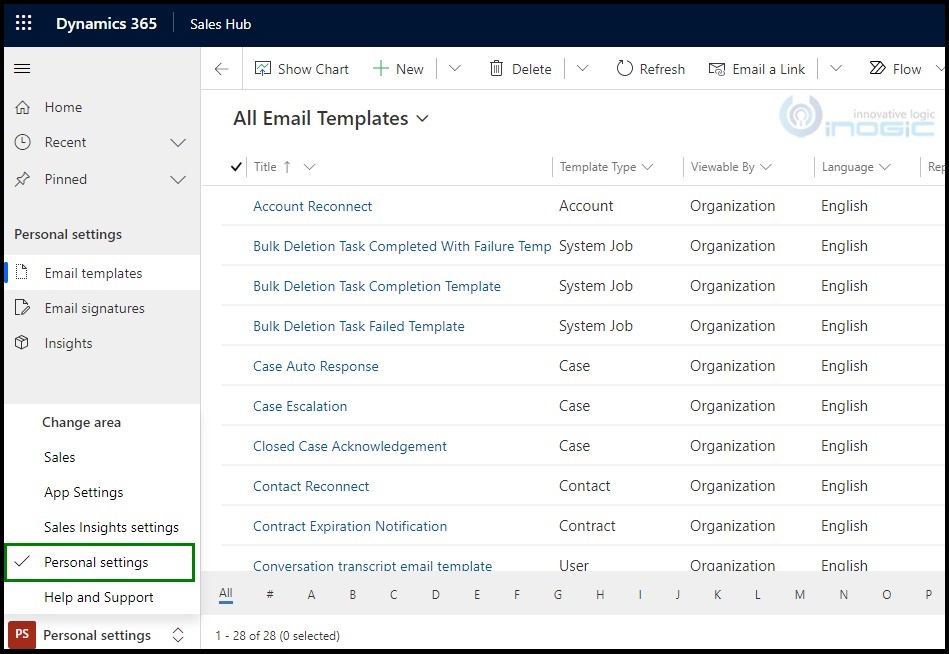
1. Personal settings are moved to a dedicated area switcher in Dynamics 365 Sales hub app.
2. We can access the modern email template and signature editor in Personal settings.
Email Template
Let’s start with the Email template. Here, we are getting two options for creating an Email template.
1. Start with a blank template
2. Start with an existing template
1. Start with a blank template
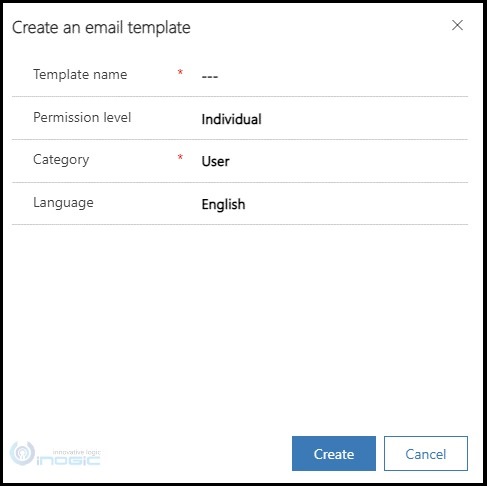
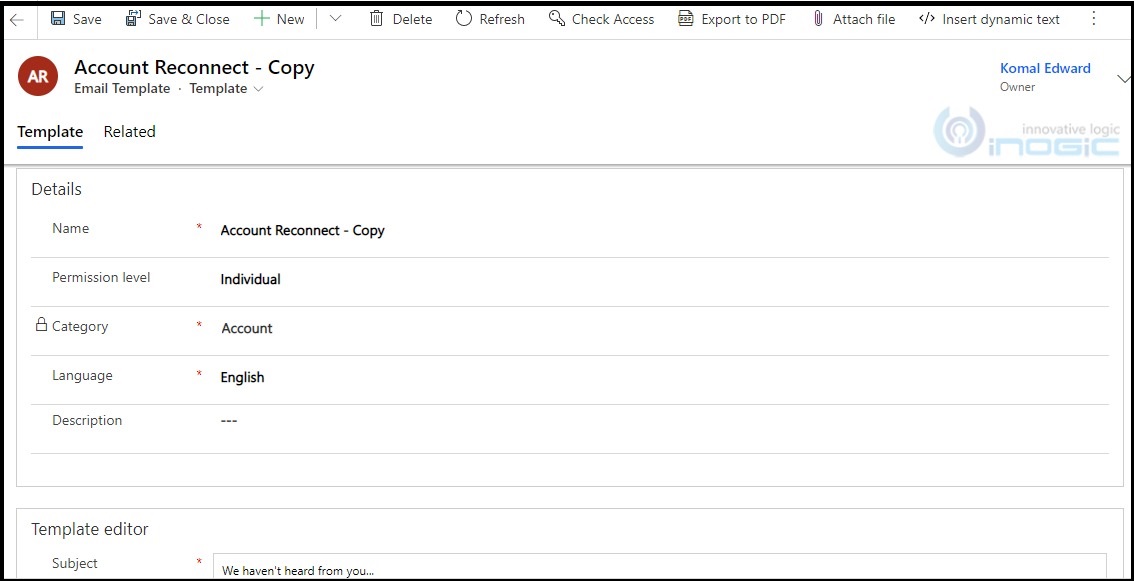
Once you have chosen your template type, Dynamics 365 will open the editor of the email where you can Enter a Template Name, Permission level (Individual/Organization), Language.
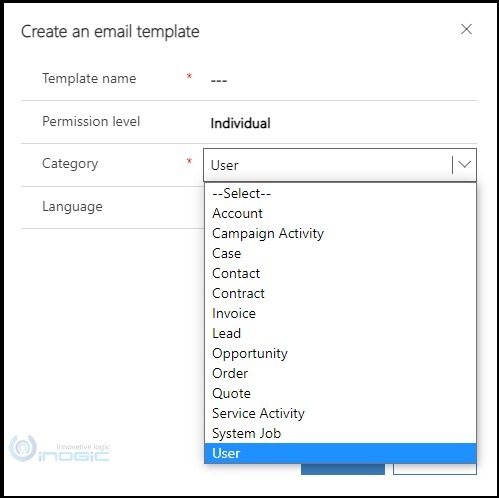
Category – If you choose a specific type of record, as a Lead or an opportunity, the template will be available only for that type of record. For example, if you have selected Category = Lead, then this template will be available only if you select “Regarding”, “TO”, “CC” as Lead record for the Email.
After creating the template, you won’t be able to modify Category, so make sure you check properly while selecting Category. To use the same content for another type of record, you must create a new template.
Once you select Category, click on the Create button, a new email template will get created.
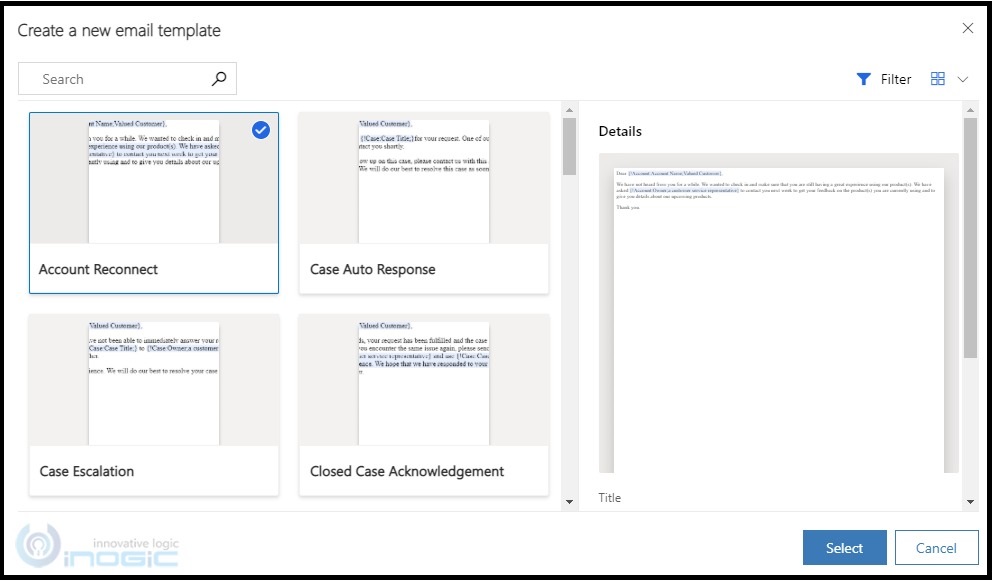
2. Start with an existing template
We have to choose the existing template here and click on Select.
Copy of the selected template gets created.
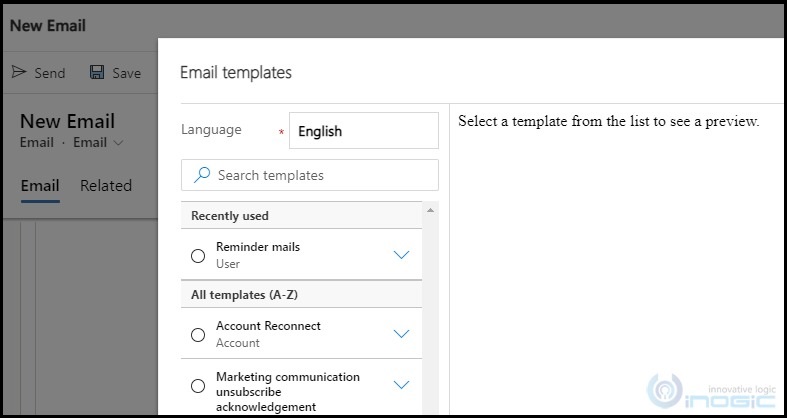
You can see these templates from the Email record as you can see in the below screenshot.
Email Signature
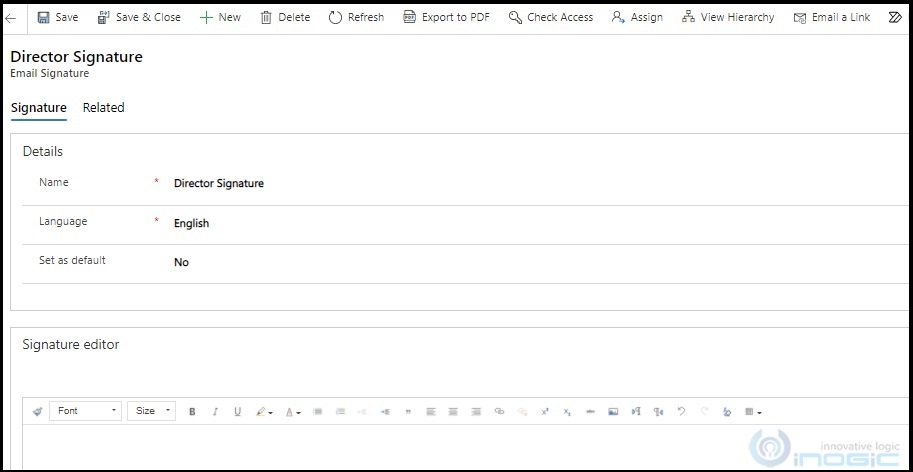
Follow the below steps to create a new email signature:
1. Click New to create a new email signature for a user.
To create the email signature record, you’ll need to update the following fields:
- Name –Enter a name for the signature.
- Language -Select the language based on the languages you’ve added to the system.
- Set as Default- Set one signature as “Default” by selecting “Yes”
2. In the body of the signature you can type/paste the signature you want to add. You can also add images (typically from a Web address).
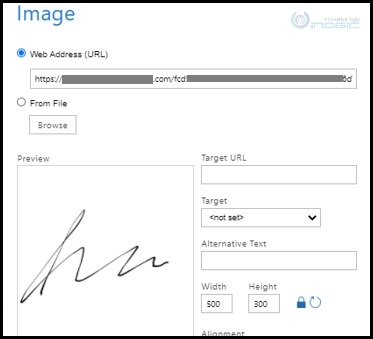
3. In the below image, I have entered Web Address (URL) and in the preview box we can see signature is taken from the mentioned Web Address. To add this Web Address (URL), you need to select the “Image” control in the body editor.
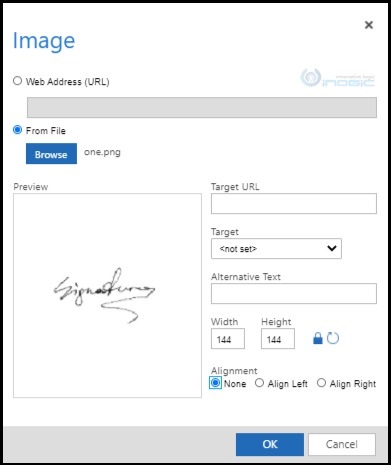
4. As we can see in the below screenshot, I have selected the image from the drive
This way we can create an Email template and signature easily. Similarly, we can select this Signature from Email record on the Insert Signature ribbon button.
Conclusion
Using enhanced personal settings, we can easily create an email template and signature in UCI.
