Introduction
Recently we had a requirement to create a mobile app to show the product information. So, we decided to develop the app in Canvas App. Canvas App is No code/low code business app. You can design the app by dragging and dropping elements onto a canvas. To show product information in text format is good but if we were to show the same information in 3D images then that will be an added advantage and good visual representation. With the help this 3D view, customer also gets a clearer picture of the product. Now, to show 3D images in Canvas App there is option called ‘View in 3D’.
Note: The ‘View in 3D’ control in not available by default.
Follow the below steps to enable ‘View in 3D’ control:
1. Select File from the top menu from Canvas App.
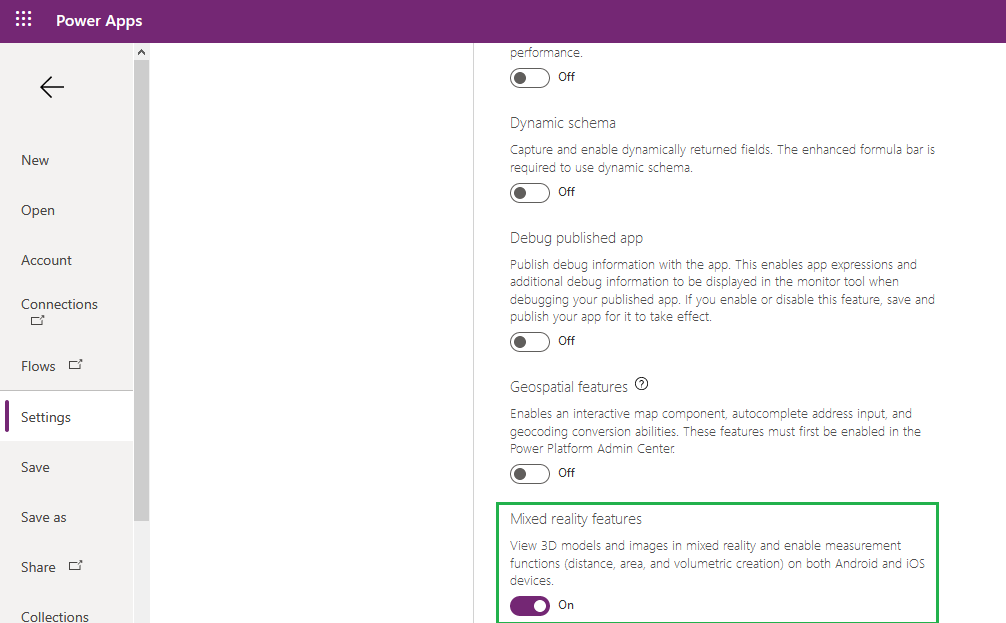
2. Go to the Settings -> Advanced settings -> Scroll down to ‘Mixed reality features’ optionàSet the option to ‘On’ as shown below.
We have explained about mixed reality in our previous blog also.
When we set Mixed reality features ‘On’ then we are able to see ‘View in 3D’ control in Canvas App.
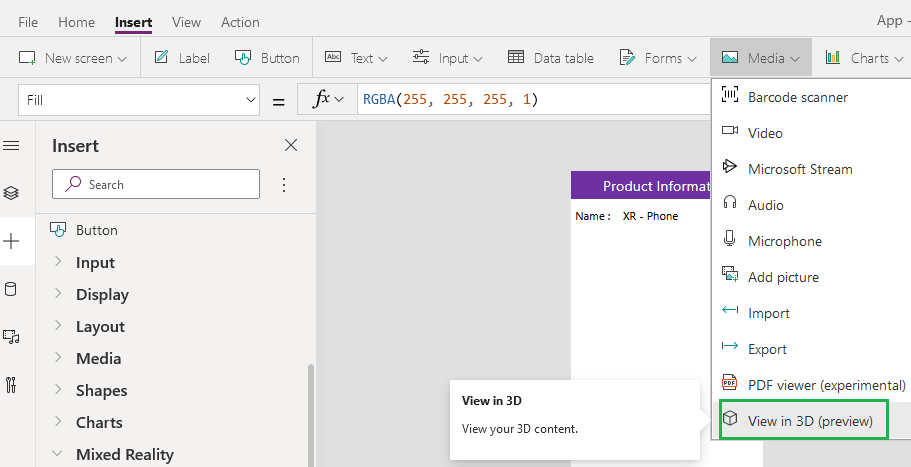
To add the ‘View in 3D’ control in Canvas App, we need to go to the ‘Insert tab’, select Media menu and in that select ‘View in 3D’ control as shown below:
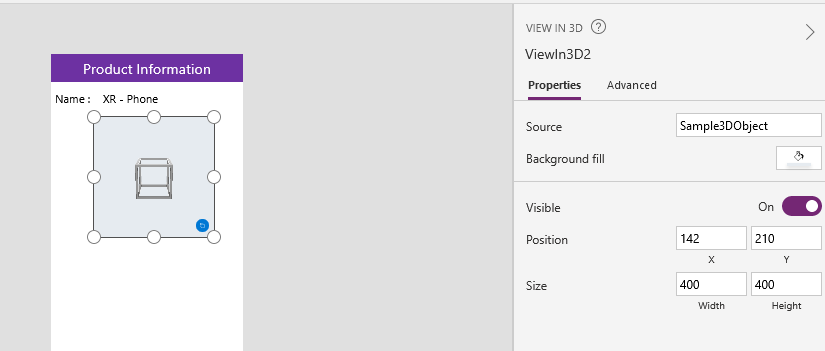
After clicking on it, ‘View in 3D’ control will be added in Canvas App and the right hand side will display all properties.
From properties window we can set properties for control as per requirement. The main property to show 3D view is in ‘Source’ property.
In ‘Source’ property we can put URL that points to 3D model file (.glb/gltf). The ‘View in 3D’ component supports models from publicly accessible, CORS-compliant URLs, Base64-encoded URIs, Attachments or media content accessed through data connectors.
We can set the source for View in 3D control as a URL that has a ‘.glb/gltf’ file, as a base64-encoded URI.
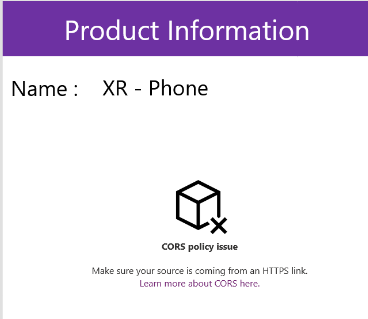
We can’t view a 3D model in your app if the file is on a server that has restrictive cross-origin (CORS). To resolve this issue, the hosting server must permit cross-origin requests from powerapps.com
In our case we have used Dropbox to store 3D images, you can use any other sources link such as GitHub, One Drive, SharePoint, etc.
To use file from Dropbox, follow the below steps:
1. Login to Dropbox account.
2. Upload file in Dropbox.
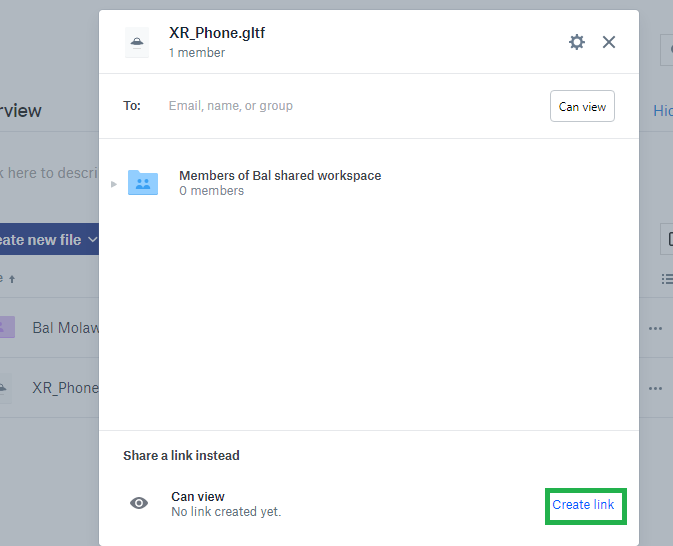
3. Select that file and click on Share. Once you click on it then below window will open, in that click on Create link.
Once we click on ‘Create link’, it will create download link as shown below:
https://www.dropbox.com/s/96fl73l9j53ik4a/XR_Phone.gltf?dl=0
When we enter the above URL is Source property of ‘View in 3D’ control then it will show the below error message:
In order for this URL to work in Canvas App, we have to make the below modifications:
Replace ‘www’ in the URL with ‘dl’, and remove ‘?dl=0’ at the end.
The modified URL will look as follows:
https://dl.dropbox.com/s/96fl73l9j53ik4a/XR_Phone.gltf
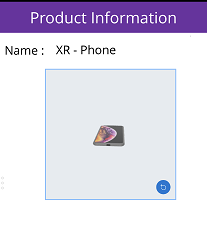
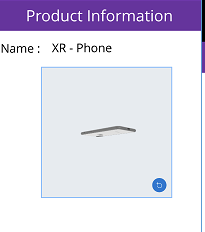
Now enter the above URL and it will start displaying the information in 3D view.
We can also store 3D file in SharePoint/One Drive and use gallery of Canvas App and get the . glb/gltf file from there and set in source property of ‘View in 3D’ control.
Once it is developed and published, the sales persons can use the app.
Now when the sales person go to the customer, they can open the Canvas App in their mobile and show the product information along with 3D view so that the customer gets better idea of the product.
Conclusion
In this way, with the help of ‘View in 3D’ control you can enhance user experience by providing information in 3D view.
