Introduction
In Wave 2 release Microsoft has introduced new feature in PowerApps to scan Business Card. In this blog we will explore how to add Business Card scan control in PowerApps to scan business cards.
Steps to configure:
1. Create a canvas app (Blank App) as shown in below screenshot:
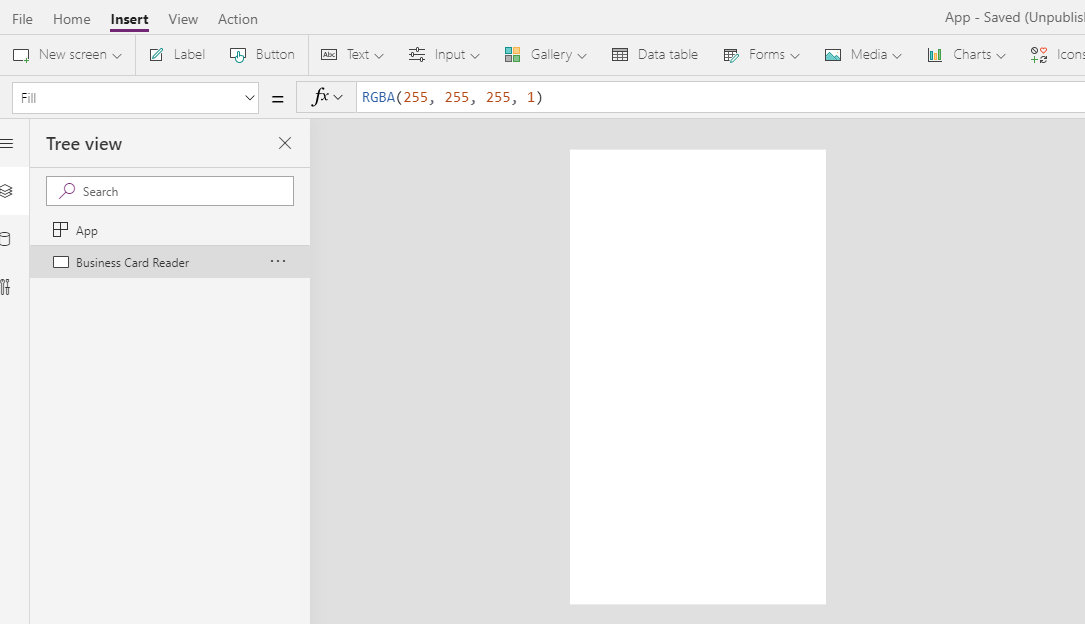
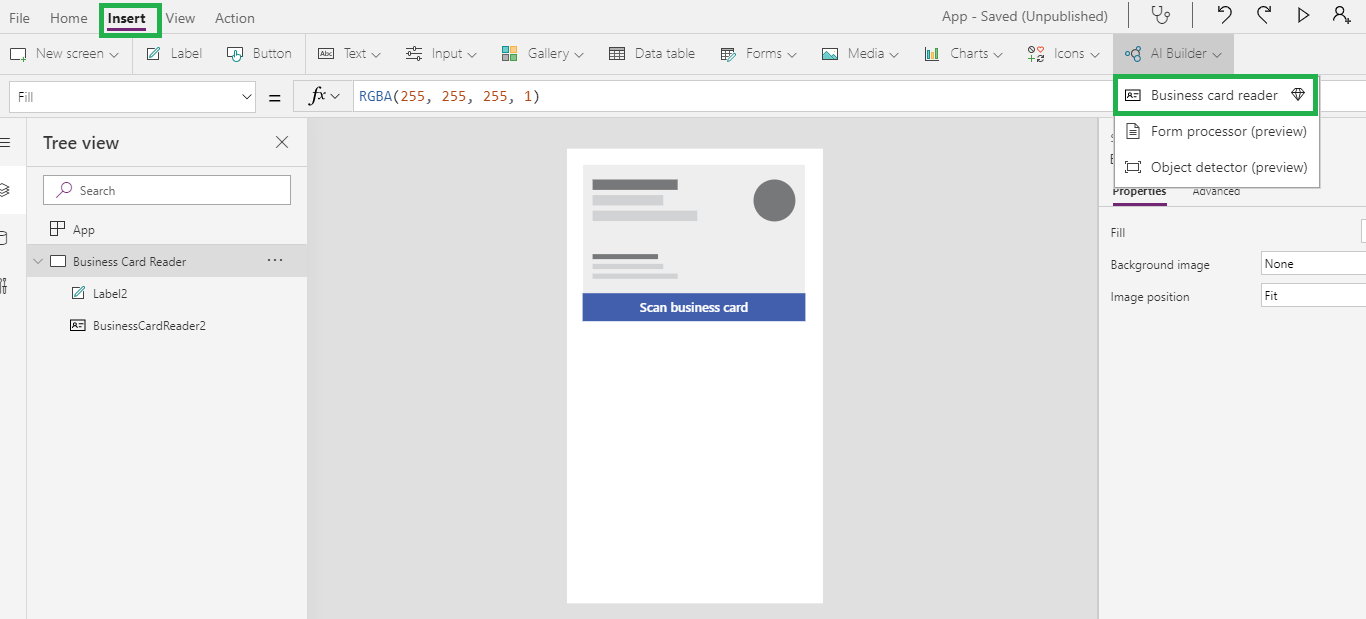
2. Then add Business card reader control under Insert tab as shown in below screenshot:
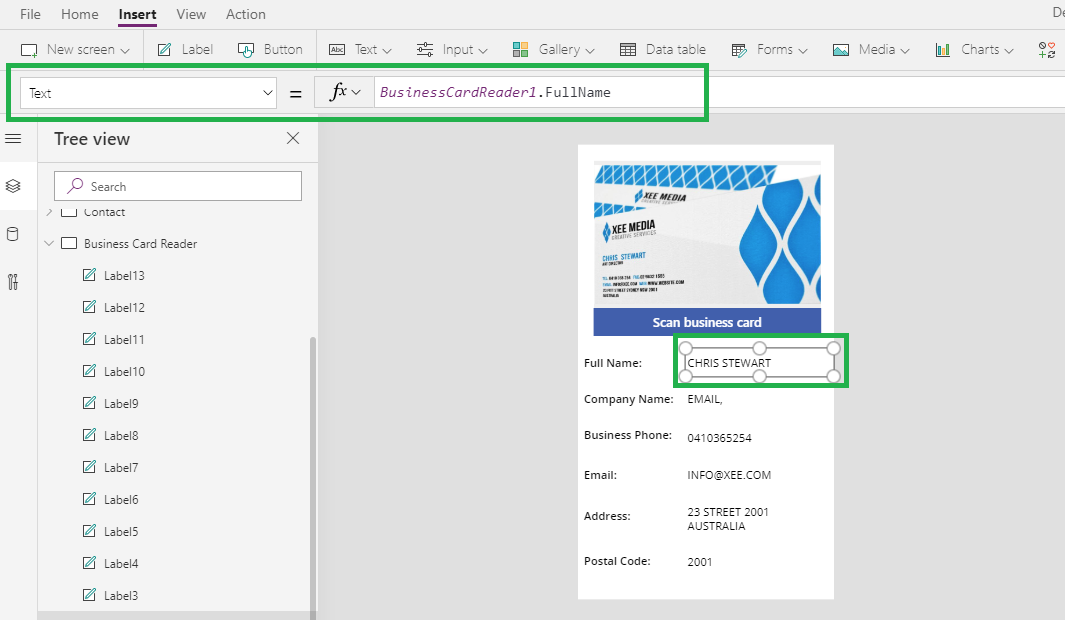
3. Add label below the Business Card control to set business card details like Fullname, Email Address, Company Name, etc. as shown below and set the formula on Text property of Label control as: BusinessCardReader1.FullName
This formula will print the fullname of Business Card.
4. You can also add other details like Email, Company name, Business phone, Address, Postal code, etc. as shown in above screenshot.
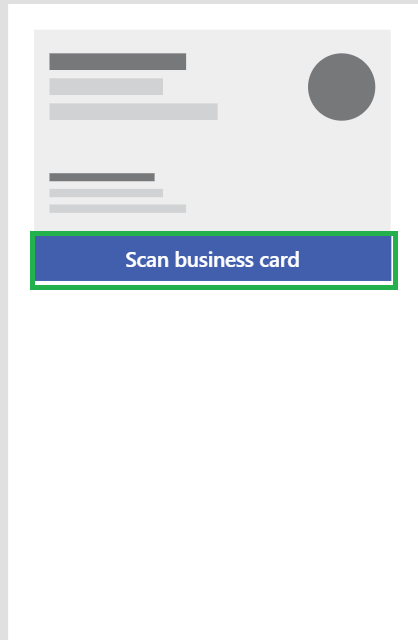
5. After adding all these details save the App and run. Next, click on ‘Scan business card’ button as shown in below screenshot and add the business card for which you want to scan details.
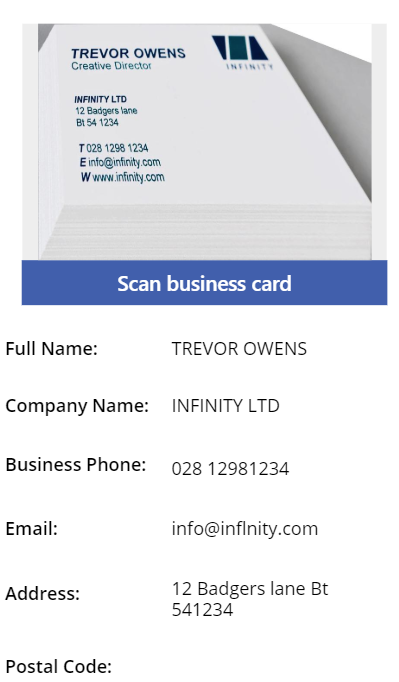
6. It will fetch all the details of your business card and print them on labels as shown in below screenshot:
Conclusion
In this way, we can add Business Card Reader in PowerApps to scan business card by using Business Card Reader control.
