Introduction
Power App helps you to create a quick mobile app to show details of your CRM organization. In today’s blog, we will explore more on how to set Date and Time field of Dynamics365 in Power App.
Following are the steps to set Date and Time fields of Dynamics 365 in Power Apps:
1. Create a default Canvas app for appointment entity by using Dynamics 365. You can refer our previous blog here.
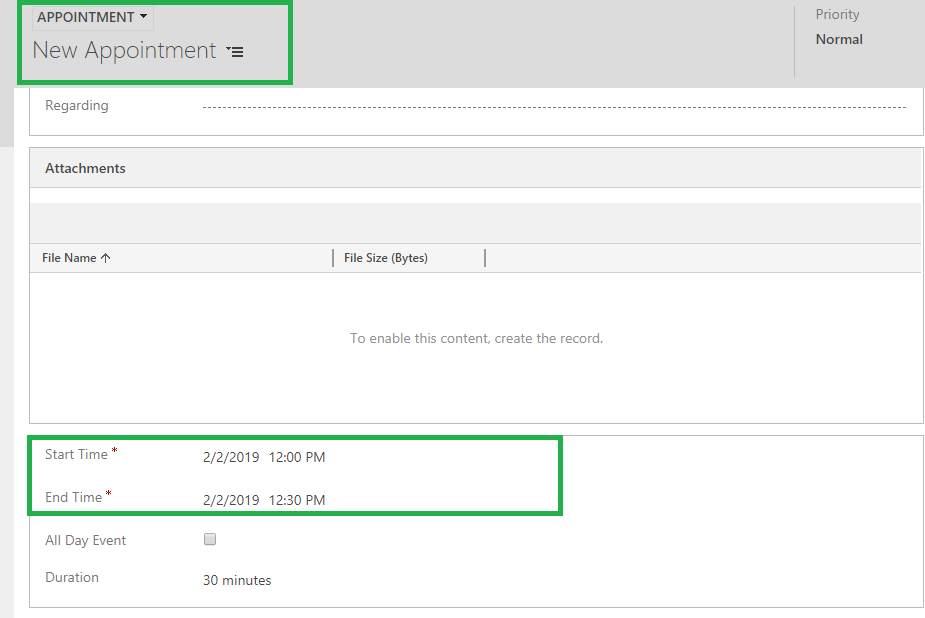
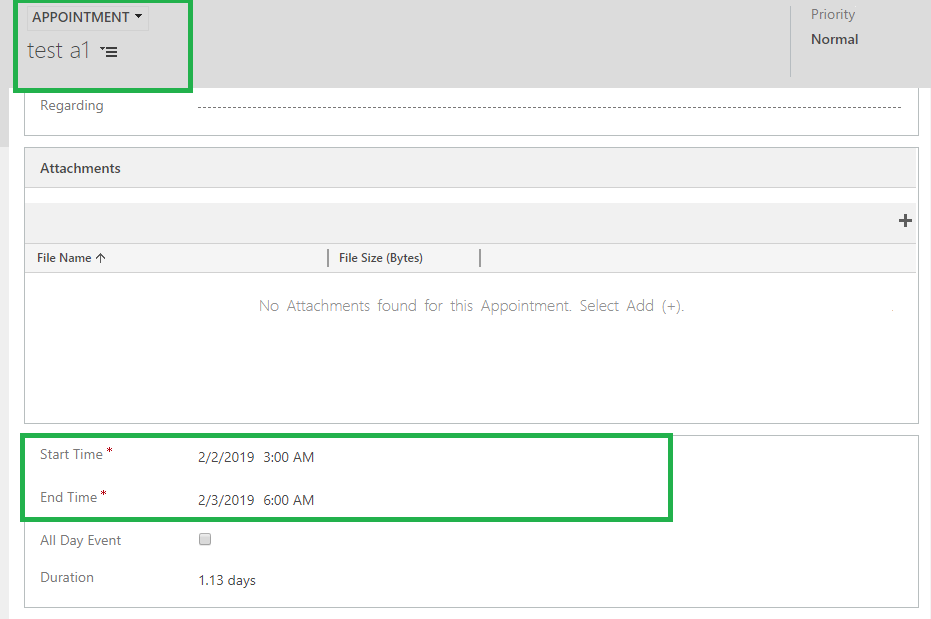
2. As you know appointment entity contains two date and time fields i.e. “Start Time” and “End Time” as shown in below screenshot:
Let’s set the value of “Start Time” and “End Time” through Power App.
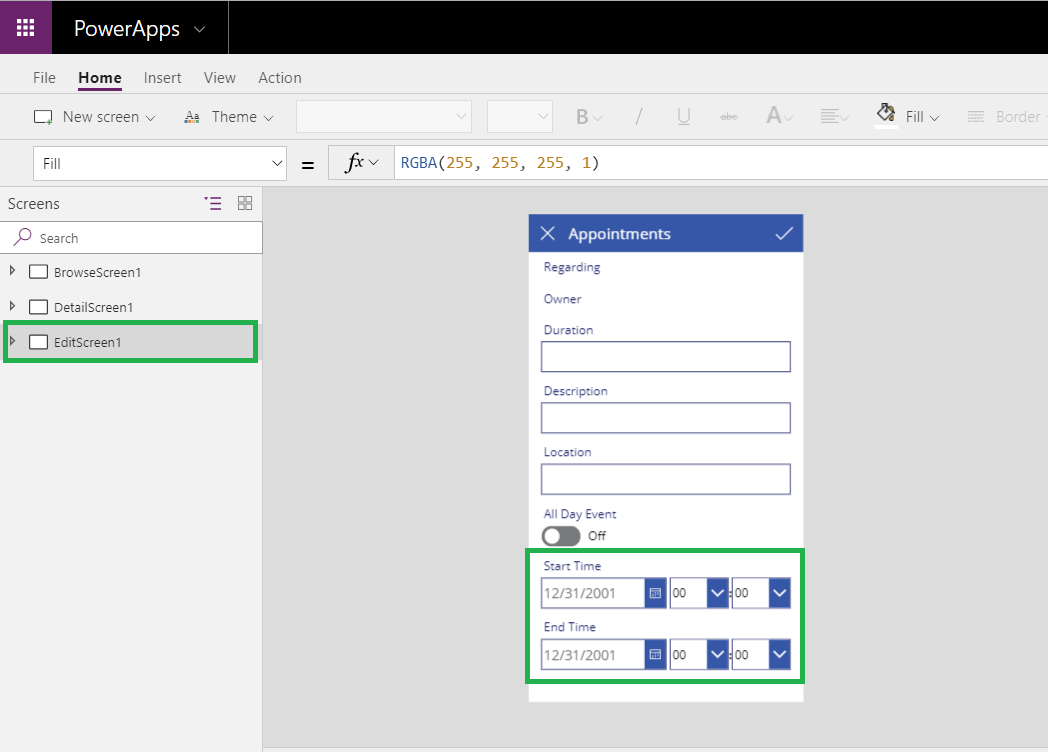
3. Now in “Edit screen” in power app you can see the “Start Time” and “End time” fields with “date and time” data type as shown in below screenshot:
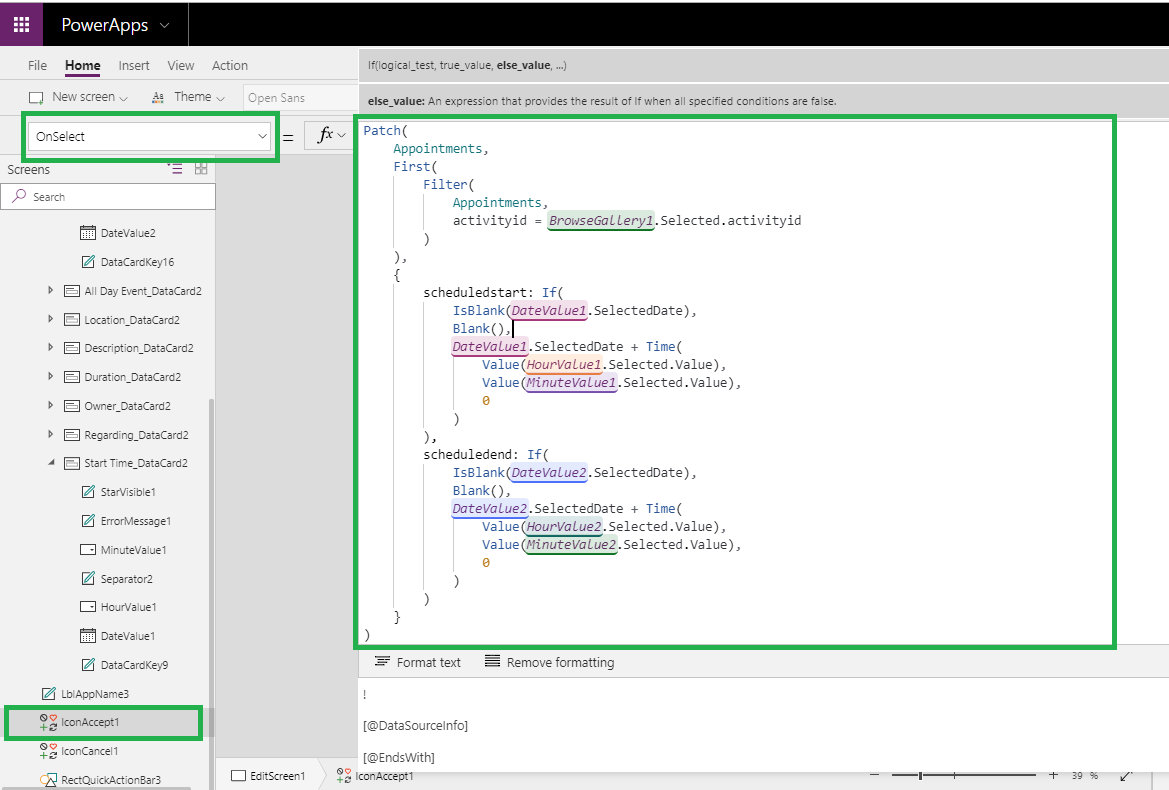
4. Now on “onSelect” property of “IconAccept” add patch formula as given below:
Patch(
Appointments,
First(
Filter(
Appointments,
activityid = BrowseGallery1.Selected.activityid
)
),
{
scheduledstart: If(
IsBlank(DateValue1.SelectedDate),
Blank(),
DateValue1.SelectedDate + Time(
Value(HourValue1.Selected.Value),
Value(MinuteValue1.Selected.Value),
0
)
) ,
scheduledend: If(
IsBlank(DateValue2.SelectedDate),
Blank(),
DateValue2.SelectedDate + Time(
Value(HourValue2.Selected.Value),
Value(MinuteValue2.Selected.Value),
0
)
)
}
)
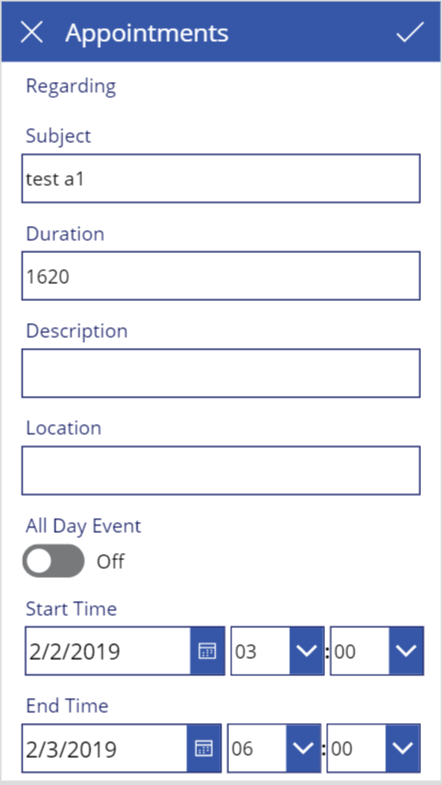
5. Let’s run the app and set “Start Time” and “End Time” for a record in CRM through Power App by selecting
in power App.
Now as shown below the “Start Time” and “End Time” values are updated in CRM:
Conclusion
By using the simple steps we can set date and time fields of Dynamics365 in Power App.
To help evaluate your business needs and design a custom app for your specific requests reach out to us at crm@inogic.com | Read our blog series on Microsoft PowerApps
