Introduction
Document Processing has been a tedious manual task for a while now. With the introduction of AI services, it is now a simplified and automated process in most organizations. Microsoft has been at the forefront of the democratization of AI through its AI Builder services. AI Builder a no/low code service helps citizen developers to quickly get started with building AI models that can read and understand the data provided to be processed. One such category of models supported includes Form Processing Model.
The Form Processing model can be used to train the model to extract data from forms, these could be forms that you are required to submit, like say the Tax form or the Candidate details form. Another type of form could be Invoices and Receipts.
To expedite and simplify the user learning curve, Microsoft introduced ready-made templates.
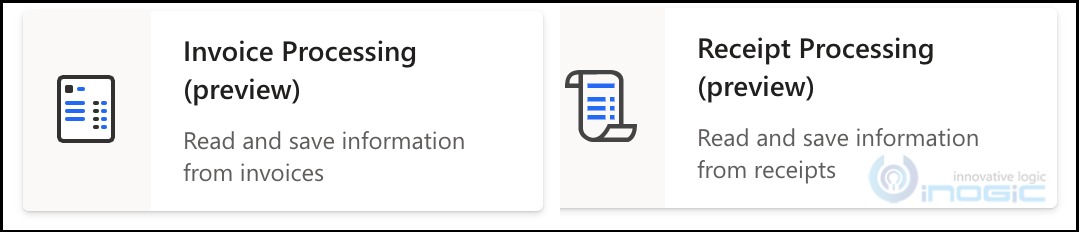
Using these templates you can build and train models to read and process invoices and receipts. Once trained the model could be used to extract information from the invoices like customer name, invoice amount, etc., and use this data for further processing.
Microsoft has now come with a Document Automation solution which is a step further to provide an end-to-end working app that one can simply download and start using without any need to write any code.
Document Automation is currently in preview and is available in limited regions only. This article is written using the service available in the North American region (.crm). Navigate to the flow portal to be able to see this additional option available in the navigation bar.

Once installed, this comes with its own solution that contains supporting Canvas App, Flows, and intermediary entities to store details of the information extracted.
The solution has been designed for a scenario where you receive forms as email attachments that you need to automatically process.
Using the Canvas App, you can choose the model to use in the app and view the document processing results.
Prerequisite:
To configure and use the Document Automation feature, you will require the below licenses:
• Power Automate license to run all the flows present in the Document Automation solution.
• Power Apps license for reviewing the document manually and for the user doing the configuration.
Installation and setup:
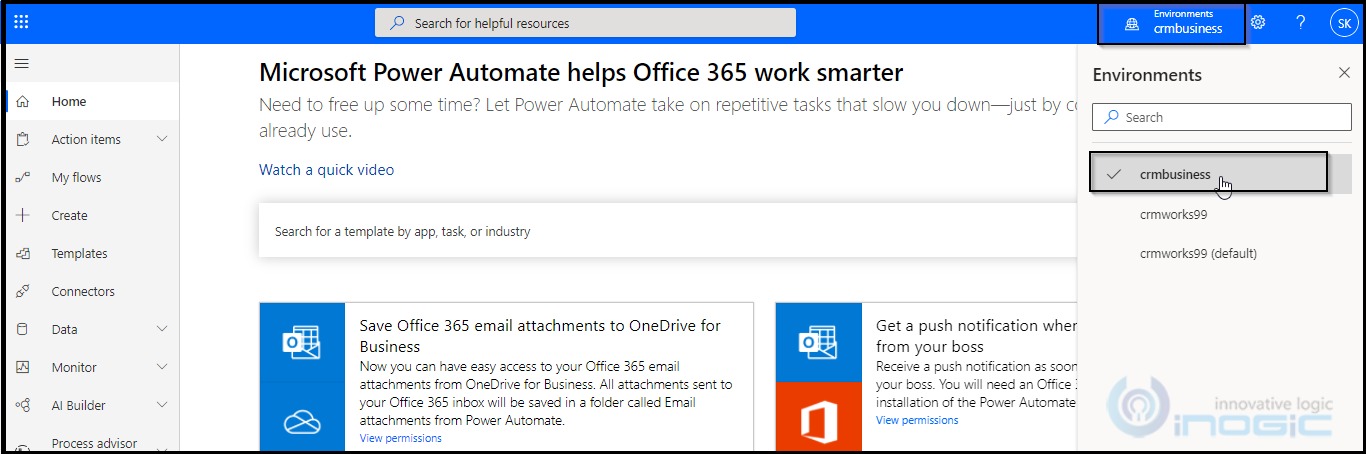
1) Navigate to flow.microsoft.com and then select your environment.
2) In the left Navigation Pane expand the AI Builder section and click on the Document automation (preview).
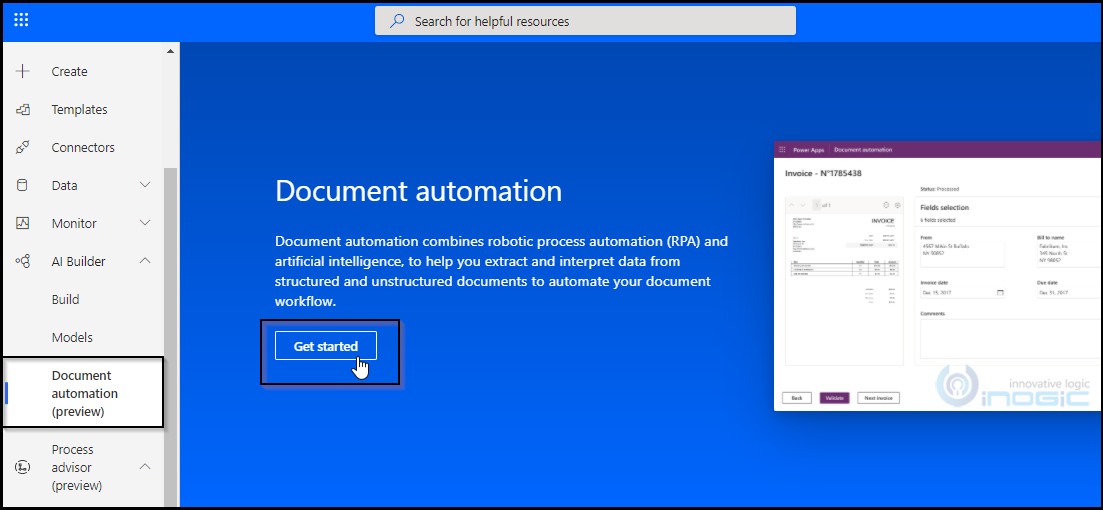
3) Currently, only the app for processing Custom Documents is available. Click on Select to proceed.
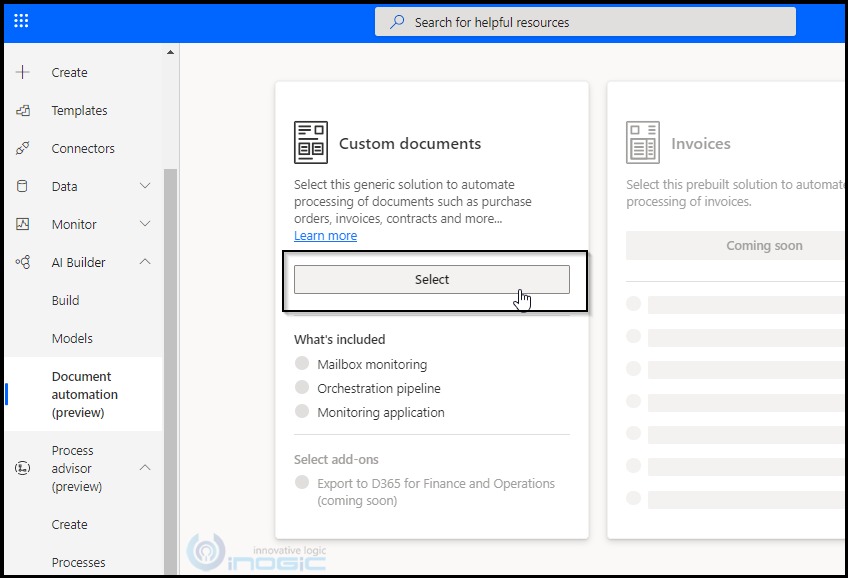
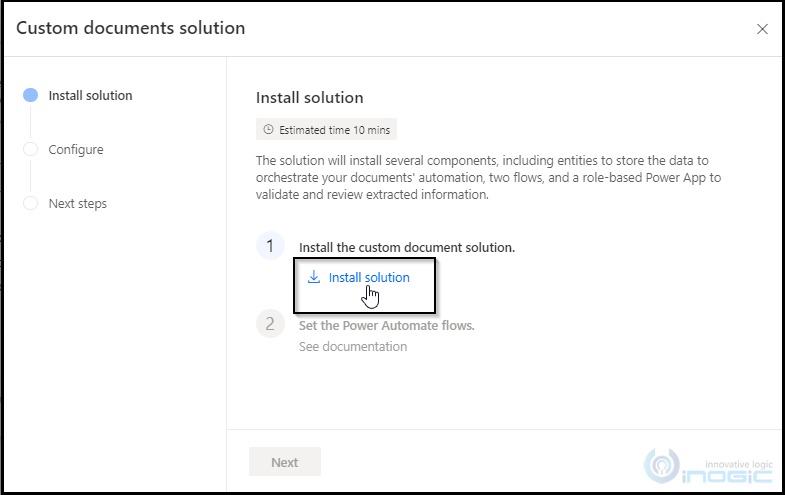
4) It will now prompt you to install the Custom document solution, click on the Install solution as shown in the below screenshot.
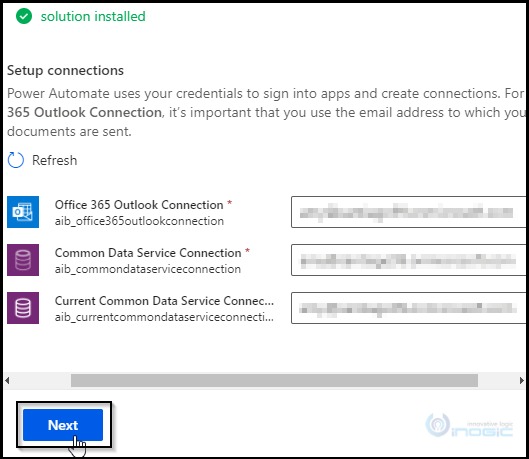
5) Once the solution is imported we need to setup the connection for the connectors used by the APP. Choose from an existing connection if you already have one for that connector type or click +New connection to create a new one.
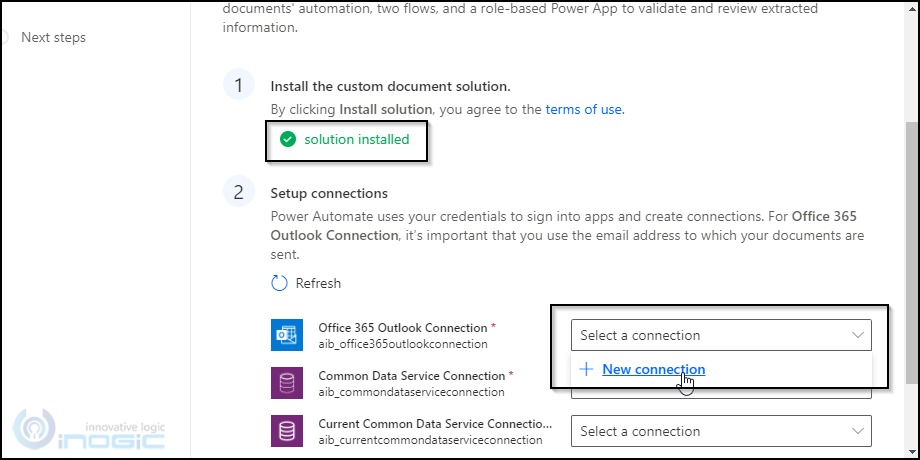
6) Click Create to go ahead and create a new connection for each of the connectors.

7) Once all the connections have been refreshed click on the Next button.
8) Once all the configuration steps have been completed and the solution successfully installed you will see the Open application button which is highlighted in the below screenshot.
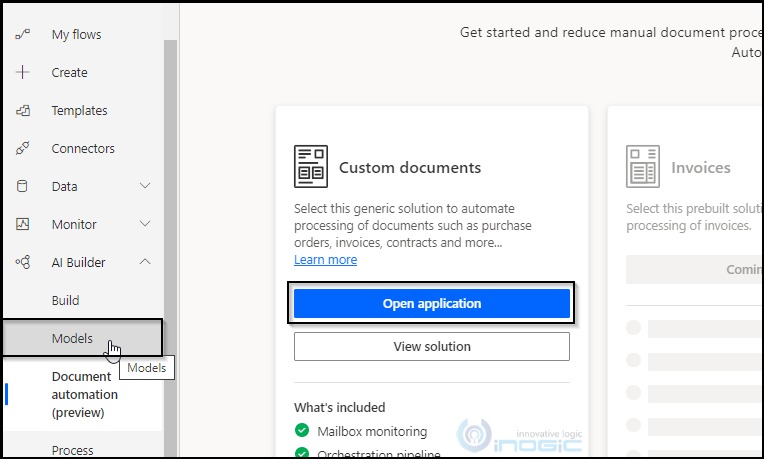
9) And if you navigate to the APPs section, you will find the following app available:

Next, we need to create a model that has been trained to read the documents that we need to process before we can go ahead and use the app.
Build your model:
1) Navigate to models and click on the Build an AI model button.
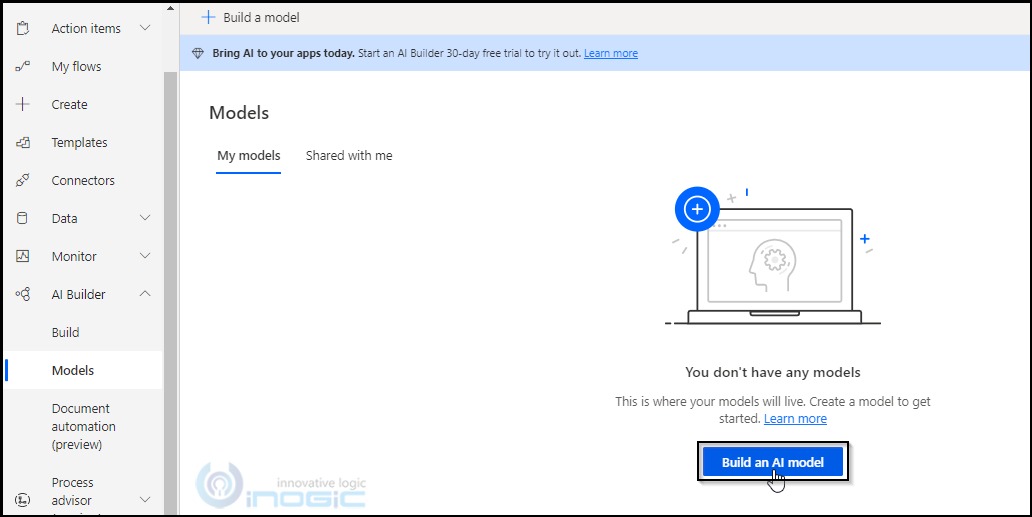
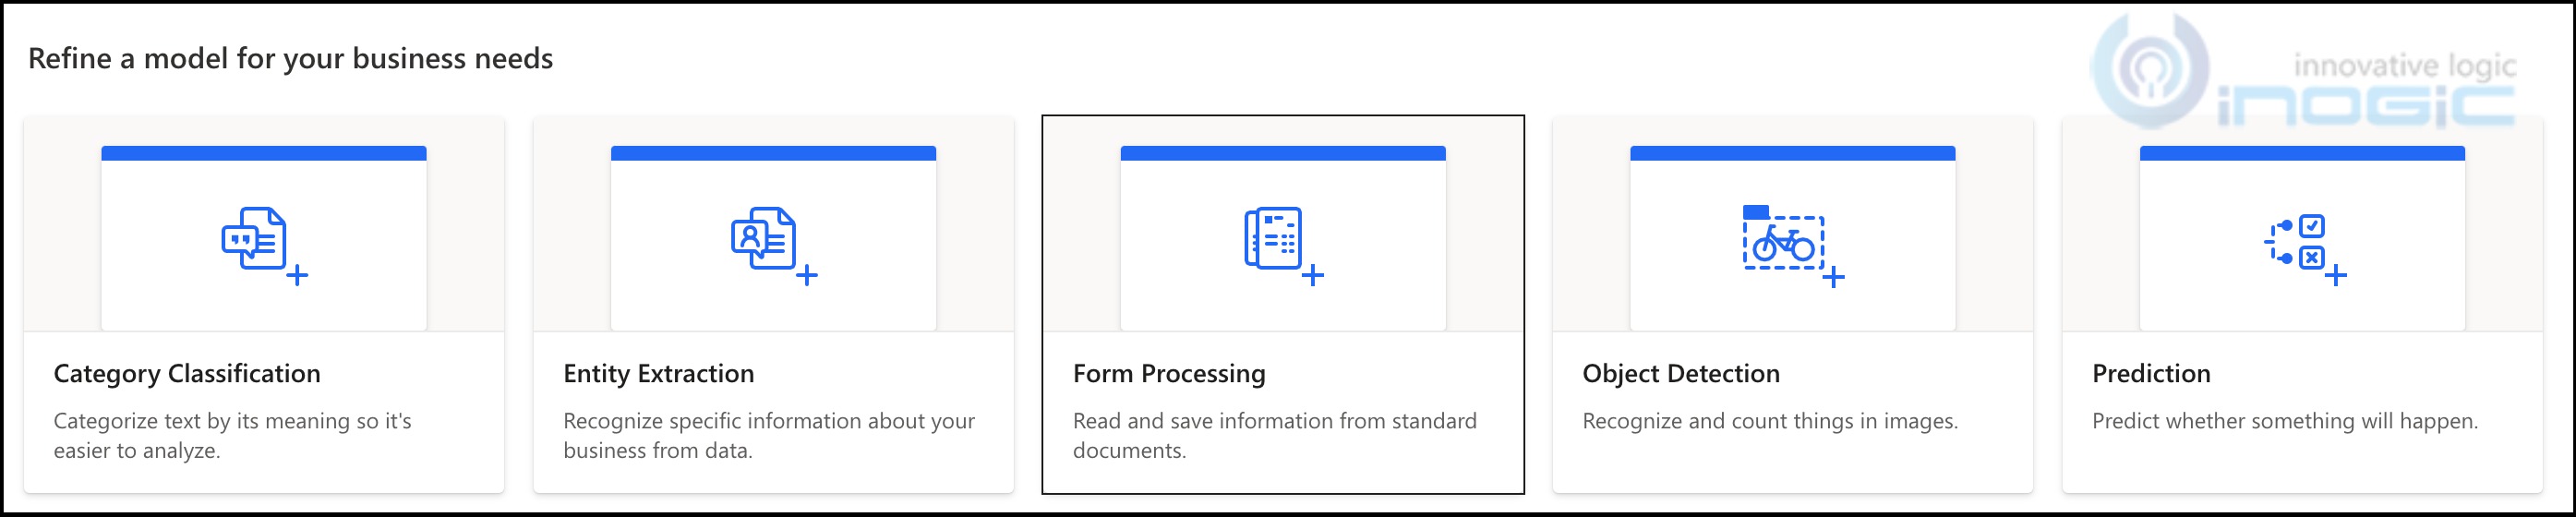
2) Now select the Form Processing section.

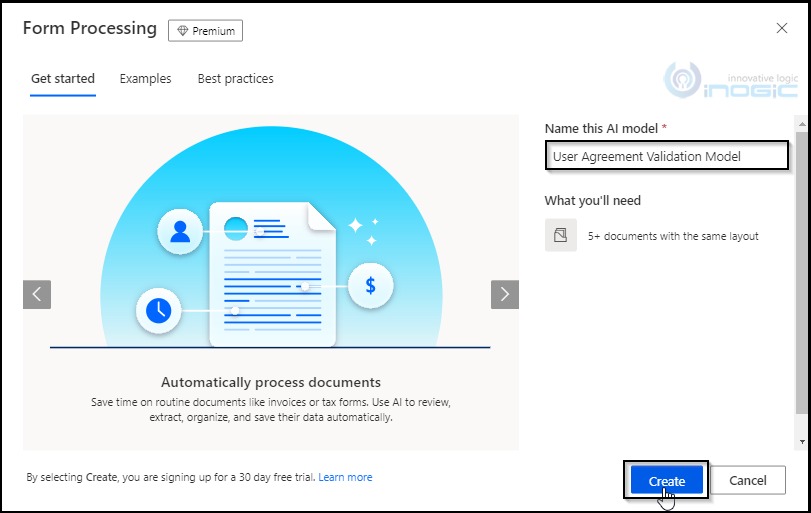
3) Provide an appropriate name to your model and then click on the Create button.
4) Next, we need to provide the fields or the data that we need to be extracted for the documents.
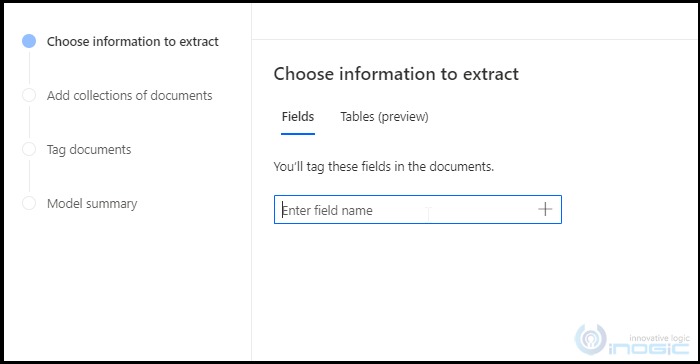
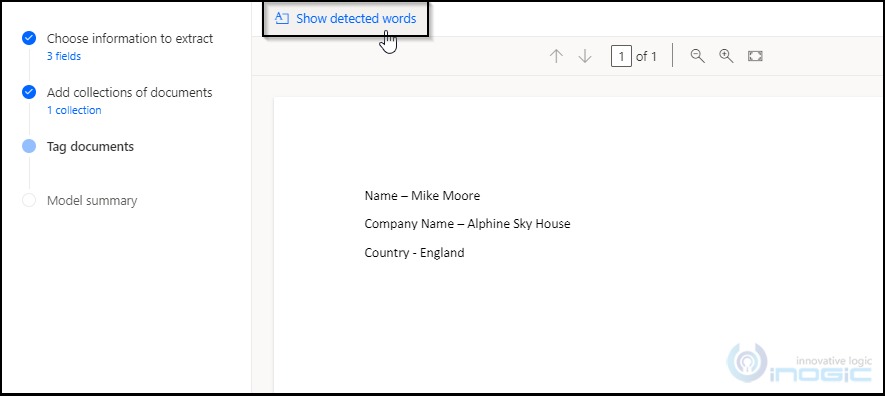
Here is a sample form that we are looking to automate. We will receive the below document as an attachment and we need to build a model that will detect and extract the Name, Company Name, and Country from the document.

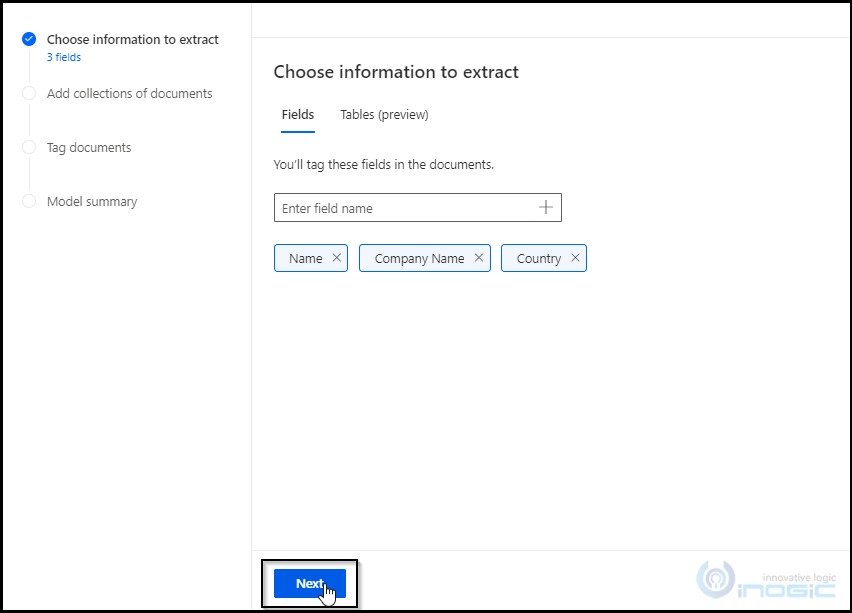
5) Create a field for each of the 3 listed above.
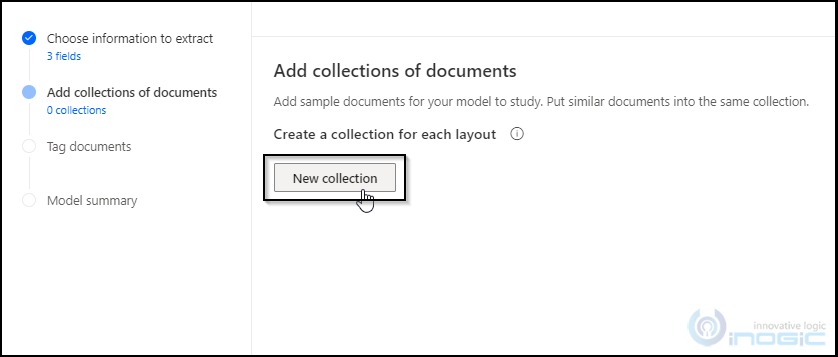
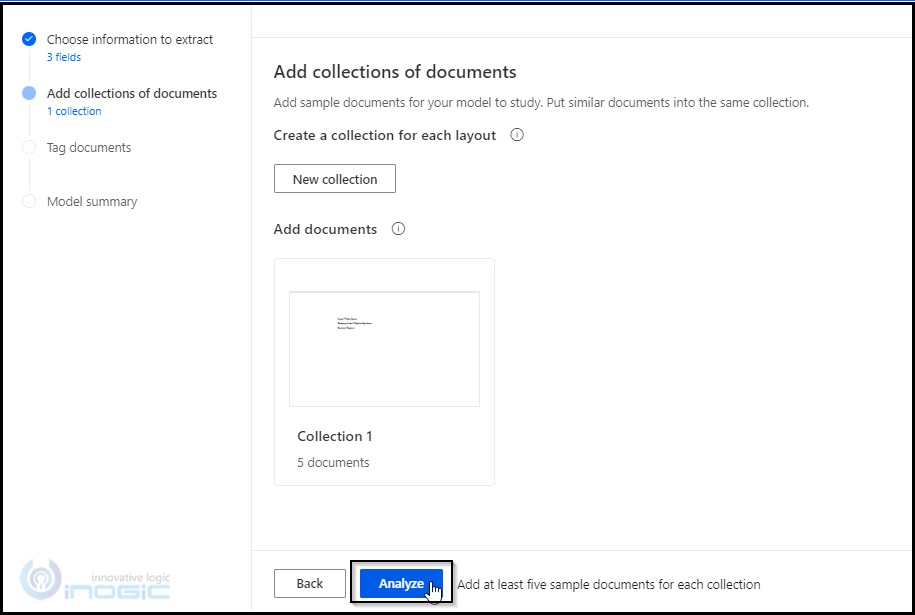
6) The next step is to provide sample document formats and train the model to read the document and extract the data for these fields. You need to provide a minimum of 5 documents to train the model but the more the better as it helps train the model better and results in better accuracy.
Build one collection each for every different type of form that would be submitted to the model for processing. If you have only a single type of form that would be processed, you can add all of those in a single collection.
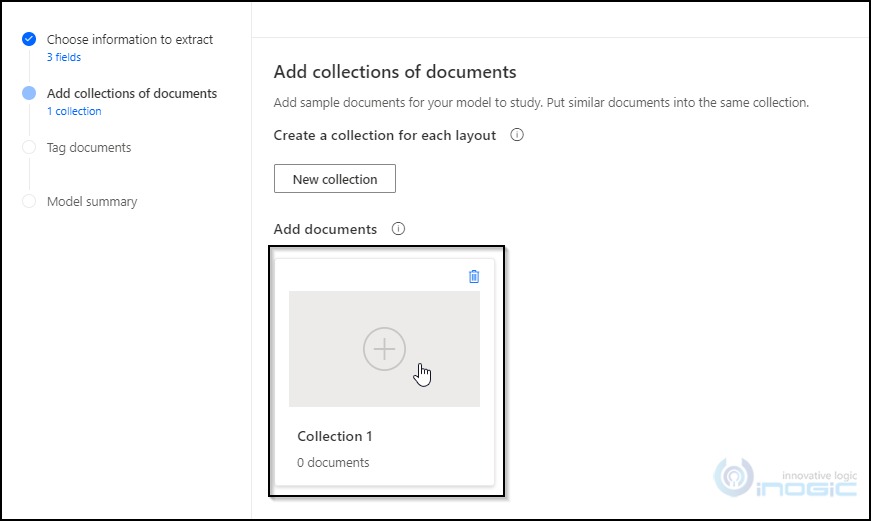
7) Click on the section Collection 1 under Add documents to upload the documents.
8) Once all the documents are uploaded click on the Analyse button.
9) In this step, we are training the model by associating data in the form with the fields that we had created at the beginning. Now click on the Show detected words button on the top.
10) For mapping, first you need to select the value and then select the respective field as shown in the below screenshot:
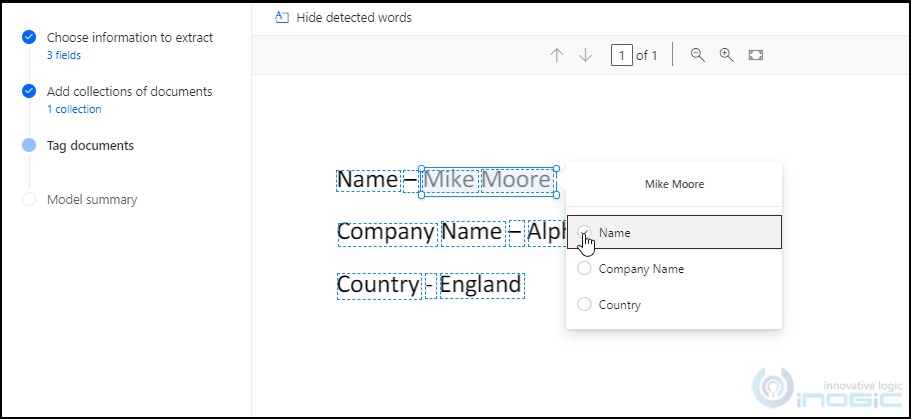
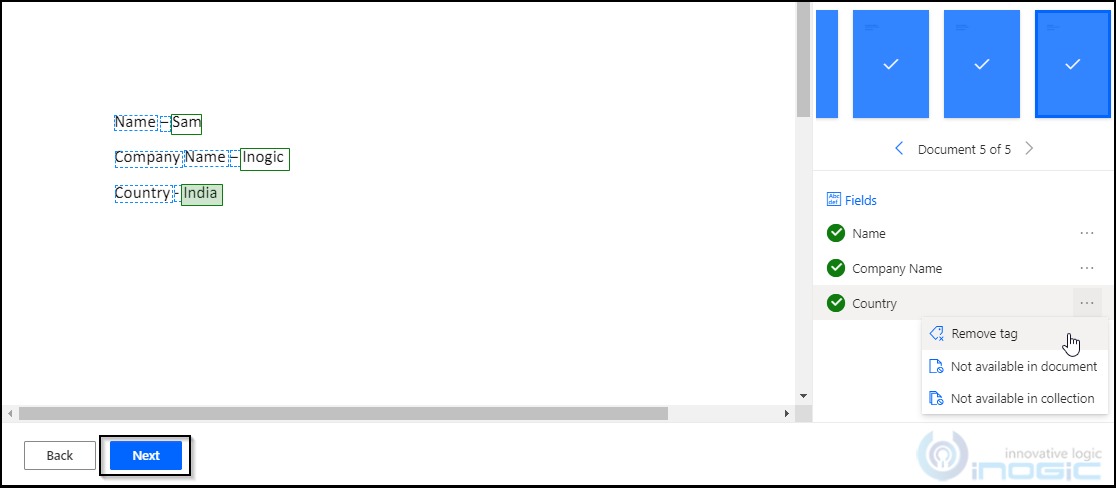
• If you find that the AI builder has auto mapped the values but they are incorrect, you can remove the tag and retag it with the appropriate field
• If you find data for some fields missing in some documents you can use the Not available in document option to skip that field
11) Once fields are mapped click on the Next button.
12) You are now ready to train your model.
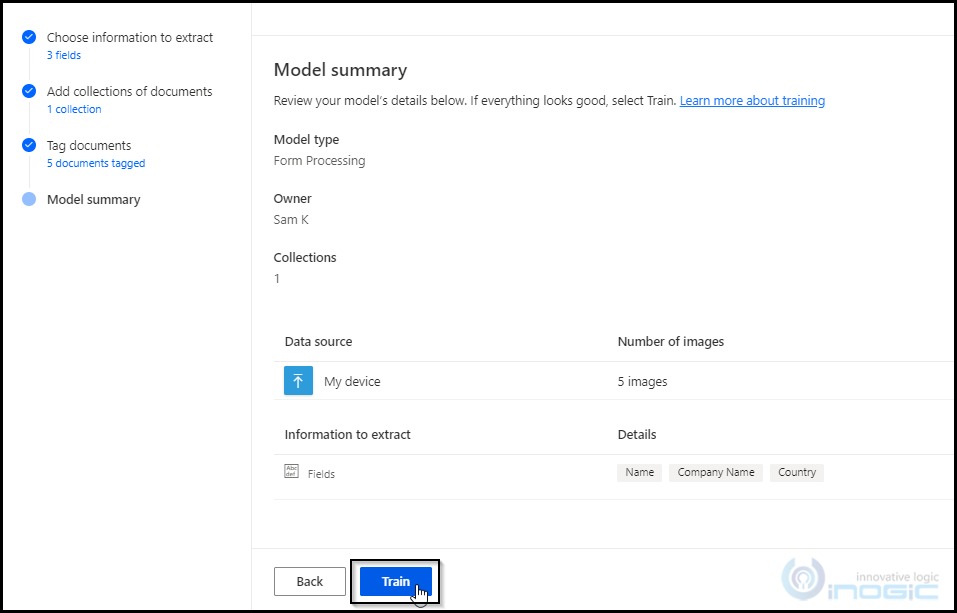
The training process requires a few minutes depending on the fields and documents provided. Once the model has been trained, we could go a quick test by providing a sample document and see if it extracts the information as expected.
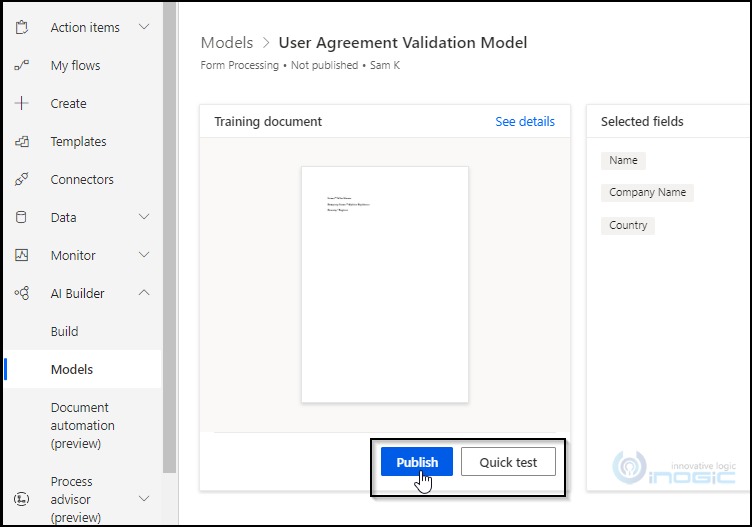
13) Publish the model so that it is available for use in your Flows and Canvas Apps.
With the model published, you are ready to configure the app using the Canvas App.
You can find the app in the App section on the flow portal.

Configure the APP:
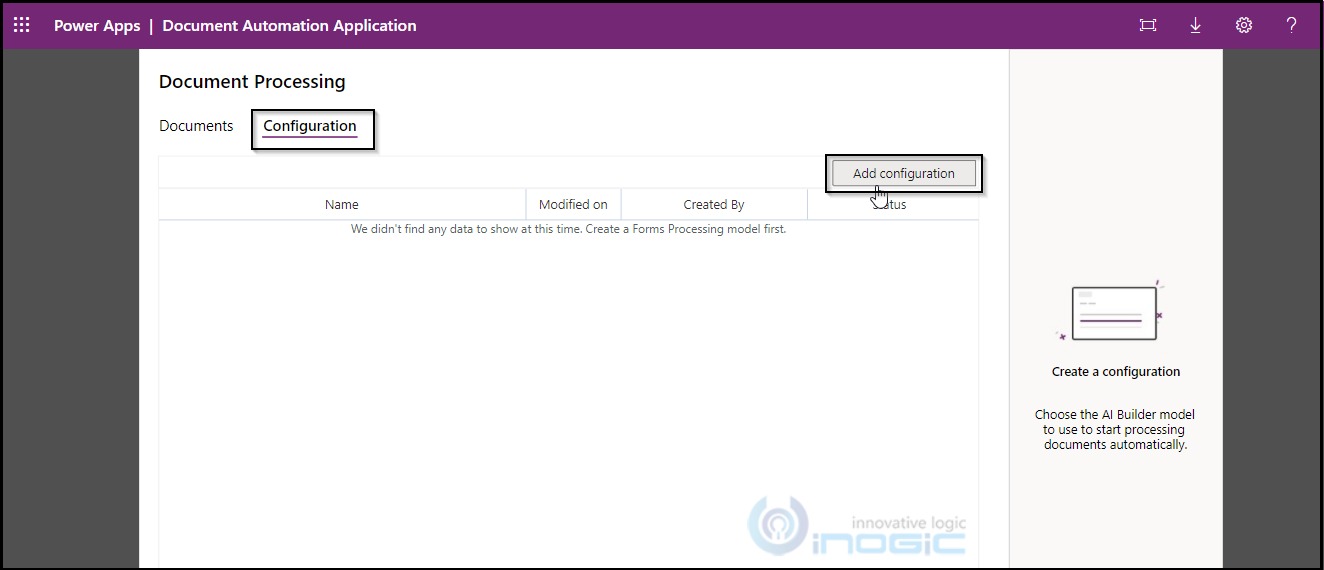
Begin with Configuration. Click on the Configuration tab and then click on the Add configuration button.
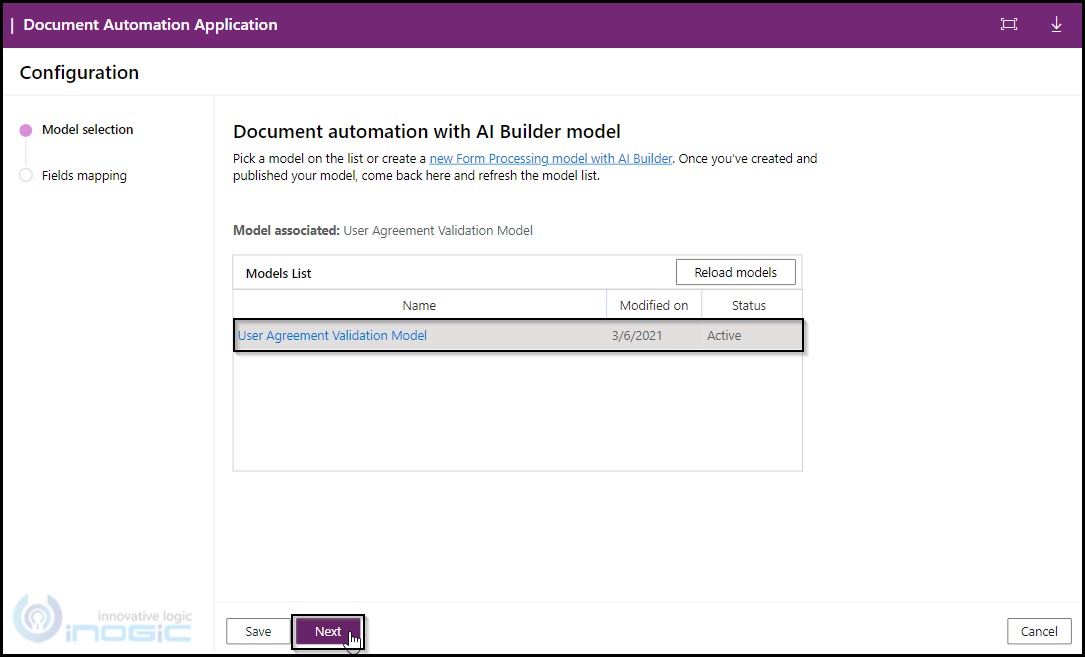
You will find the model you created earlier listed here. Choose the model and select Next.
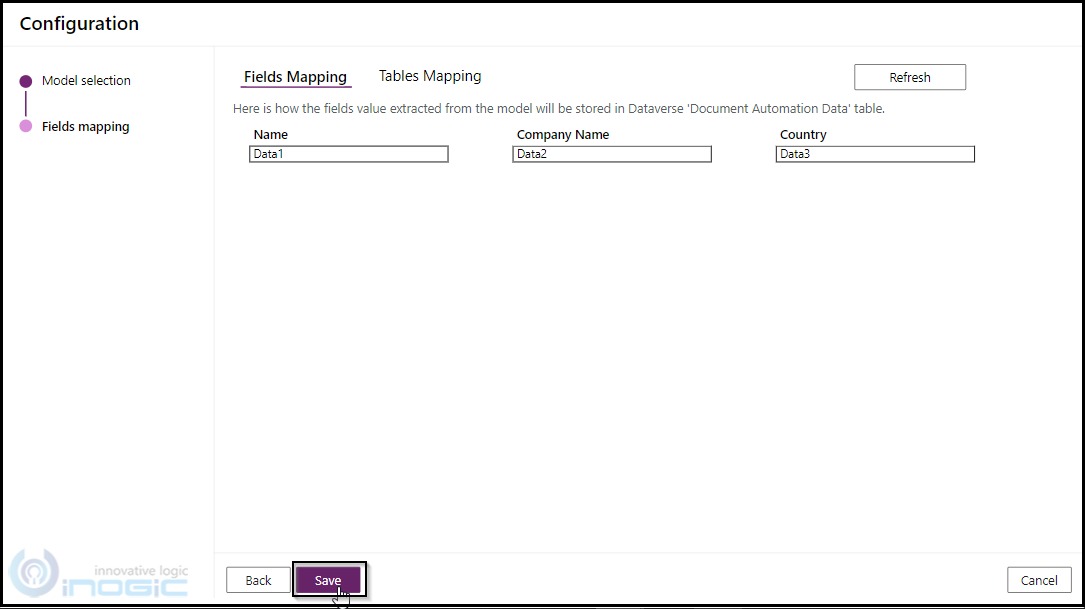
It shows you the field mapping for the fields defined in the model. You can view the extracted information in the ‘Document Automation Data’ table in the fields Data1, Data2, Data3. Save this configuration.
Document Automation Application in action:
To test the process, you need to send an email with the form as an attachment.
Note: The form Processing model currently only supports PDF, JPEG, and PNG files.
Once the email is received and processed you will find the document listed in the document list tab of the Document Automation Application canvas app.
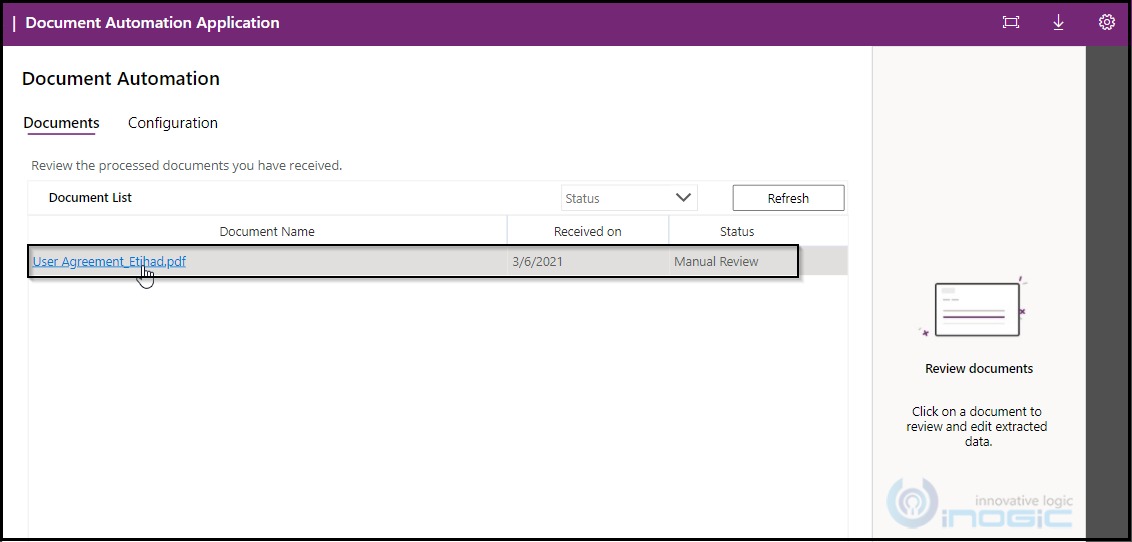
Click on the tab to review the information extracted.

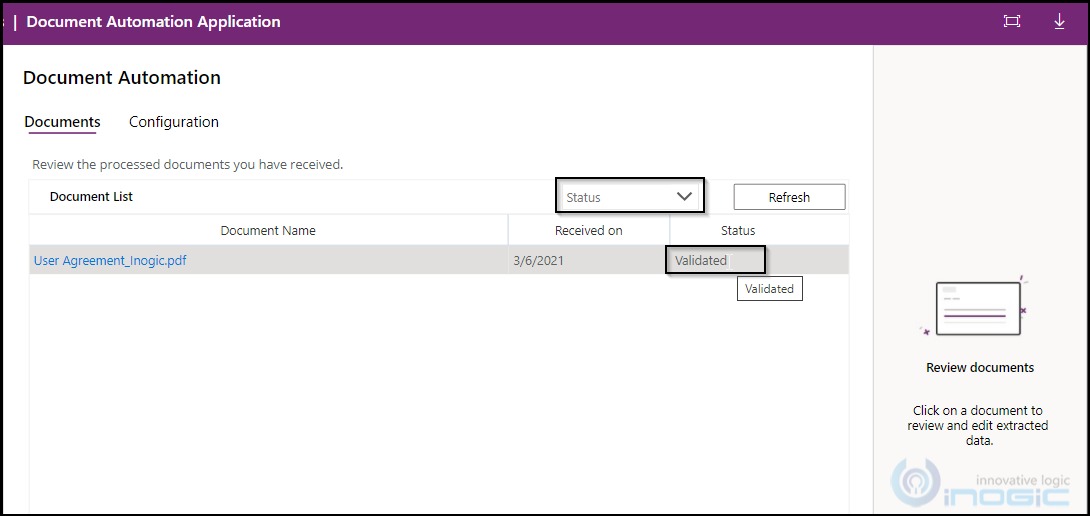
If all looks good, click on Validate to change the status of the document to Validated.
Note: To view the extracted data navigate to the Power Apps Data > Tables menu and Document Automation Data table.
The Document Automation Application demonstrates the automatic processing of forms to extract information from the forms. This app lets end users verify the data extracted out of submitted forms and stores them in a table in Dataverse for further use.
It can be used as a reference by Citizen developers to understand how AI builder capabilities of Power Platform could be leveraged to develop automation apps specific to their own needs.
In the next part, we will see how we could automate the process such that the user does not need to manually review and validate the document instead once the model verifies the data fields in the document/form the status is auto-populated as validated and moved for further processing.